Microsoft Dynamics Cases
Set up Dynamics 365 Customer Service with LiveChat
Create an Application in Azure Active Directory
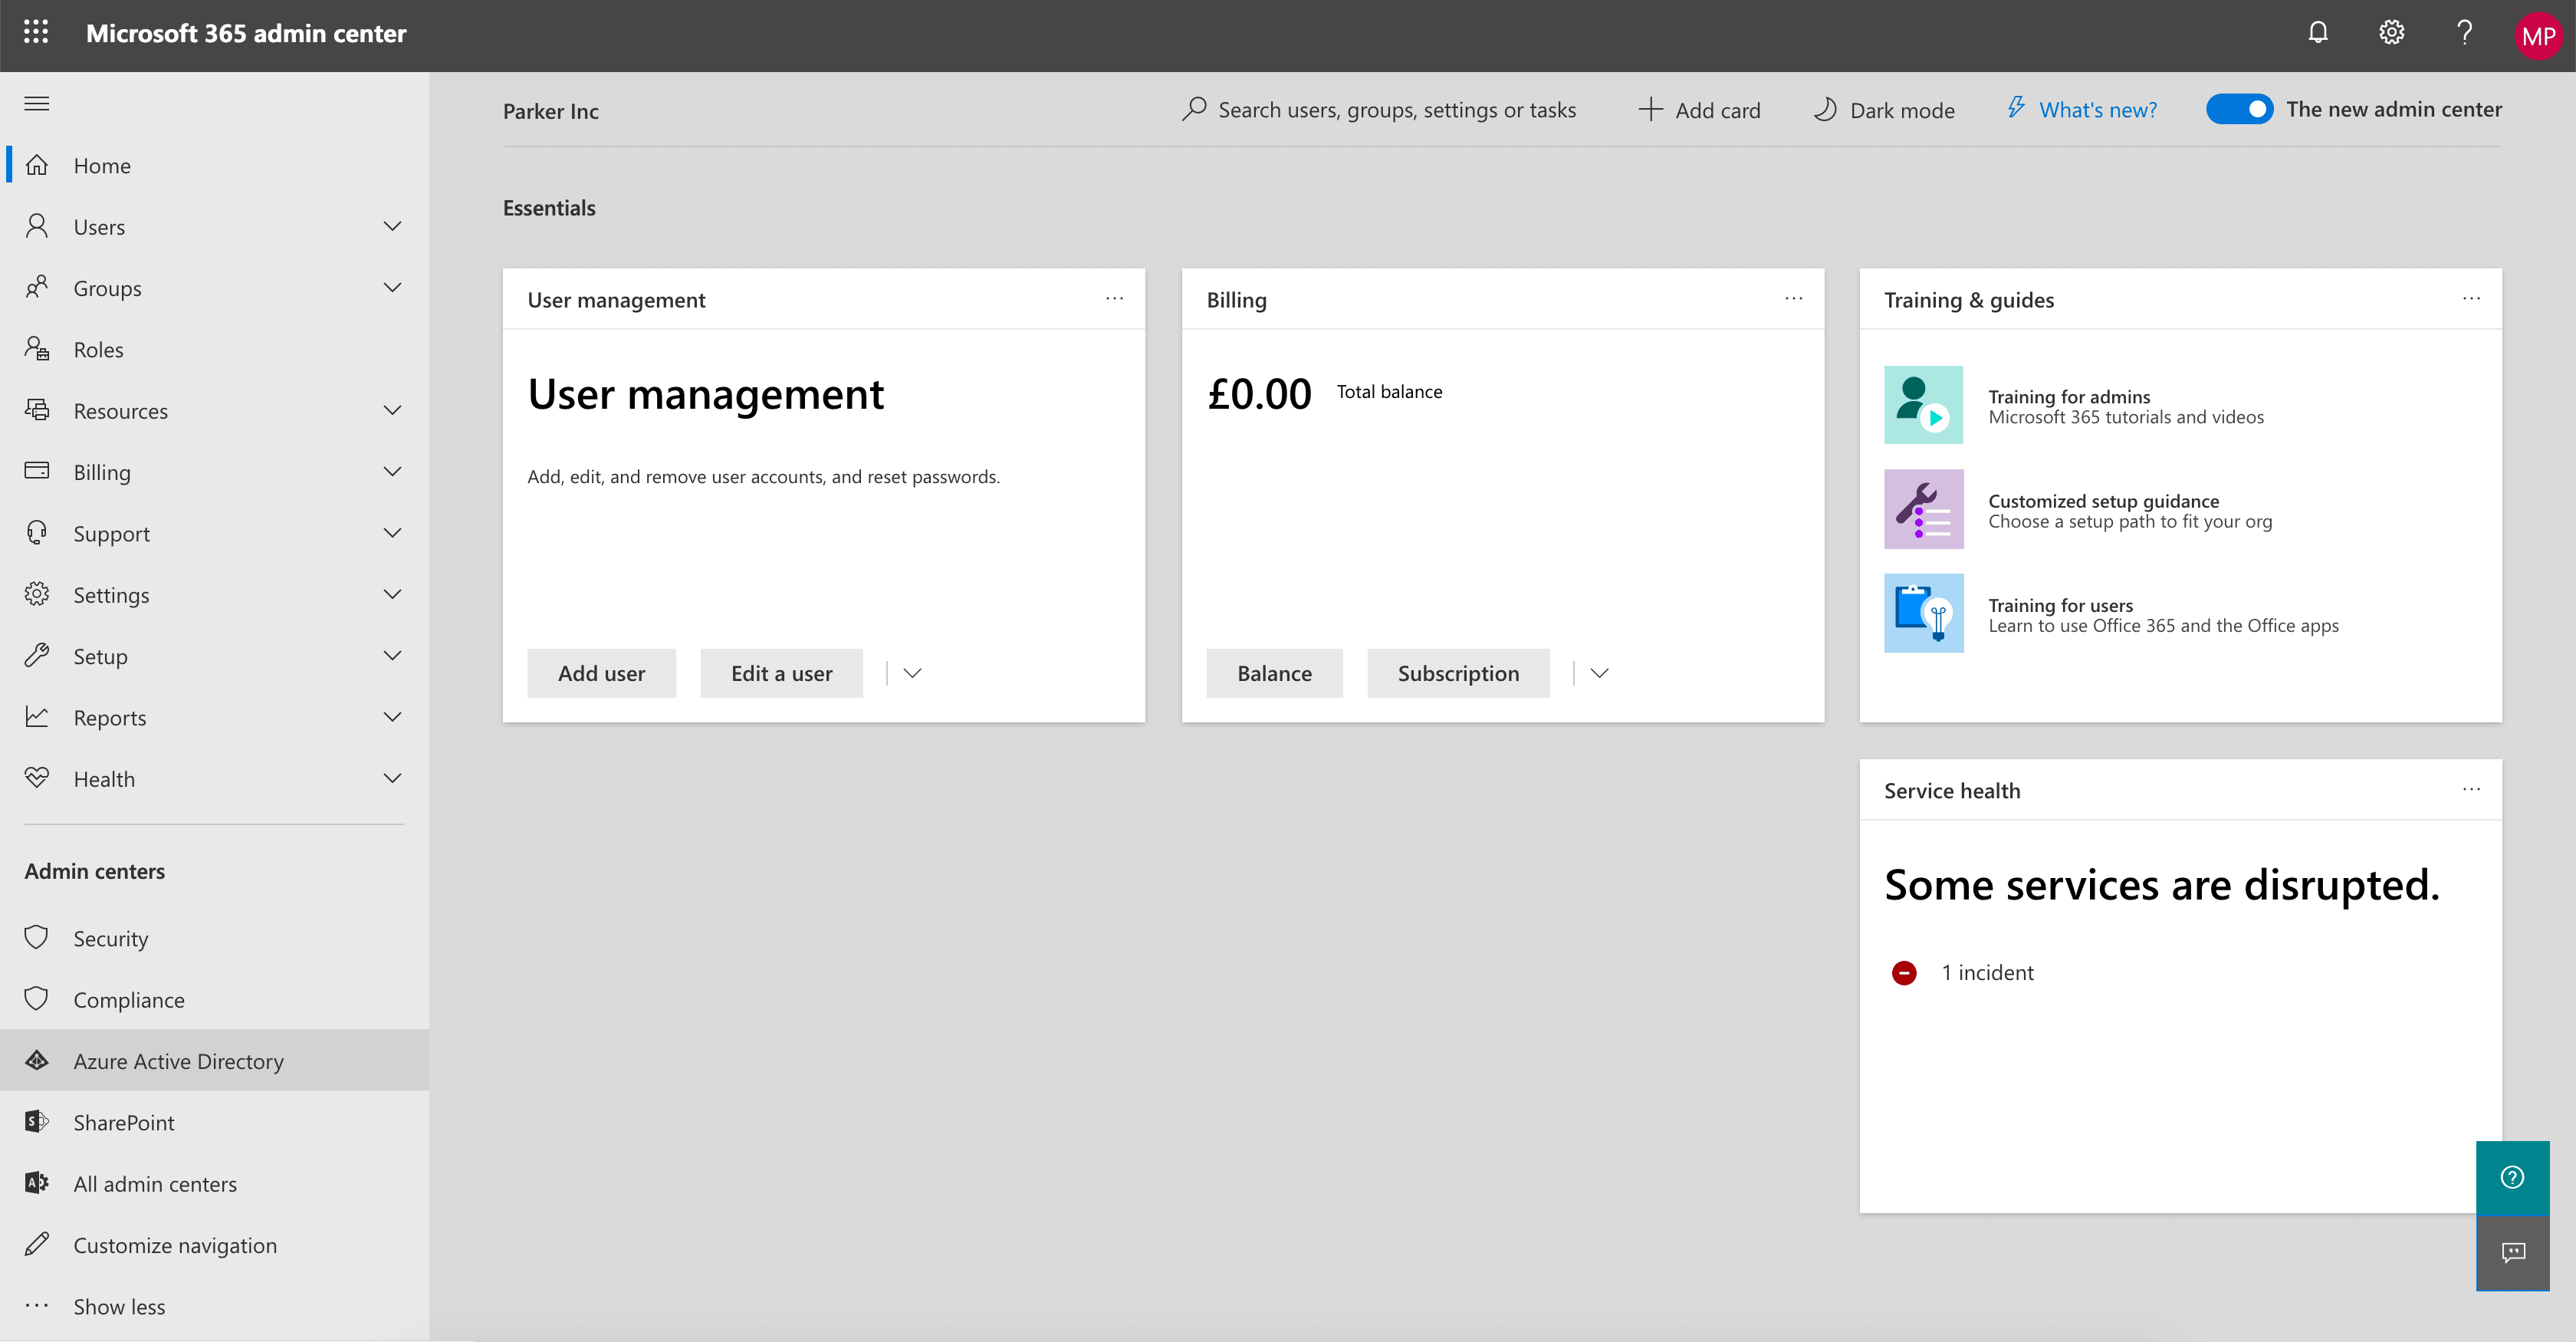
- Go to https://admin.microsoft.com and select Azure Active Directory.
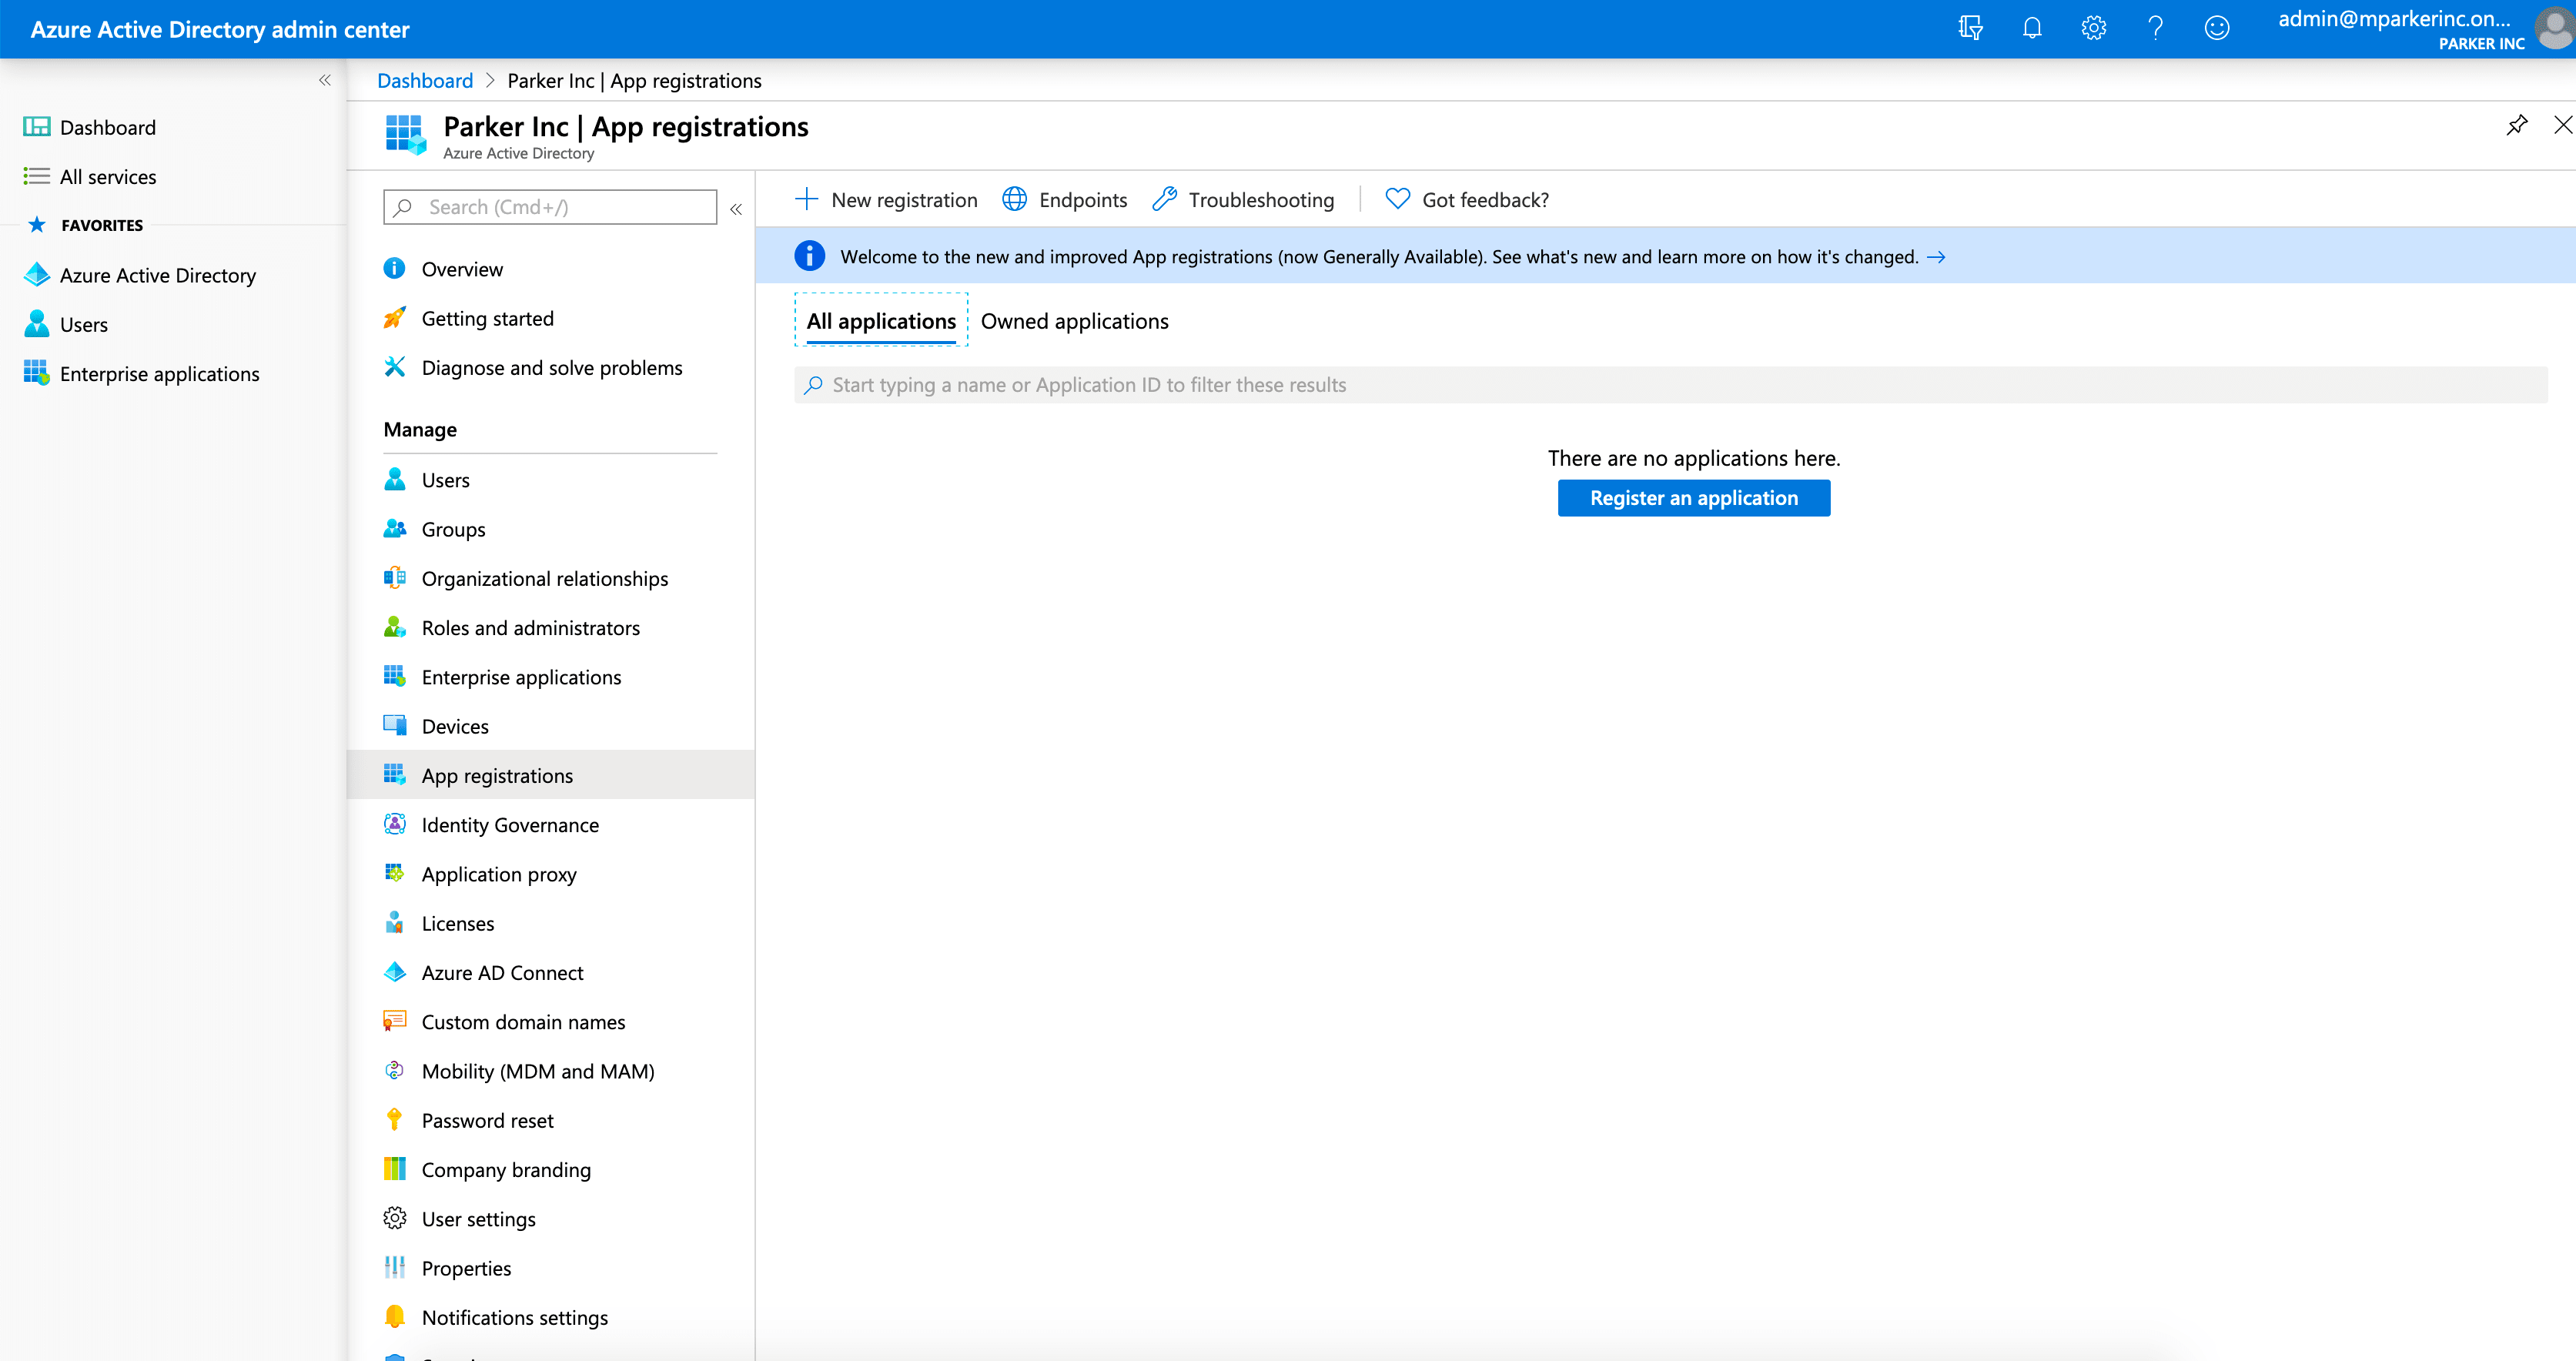
- When in the Azure Active Directory admin center, select Azure Active Directory from the left sidebar. Then, go to App registrations and click Register an application.
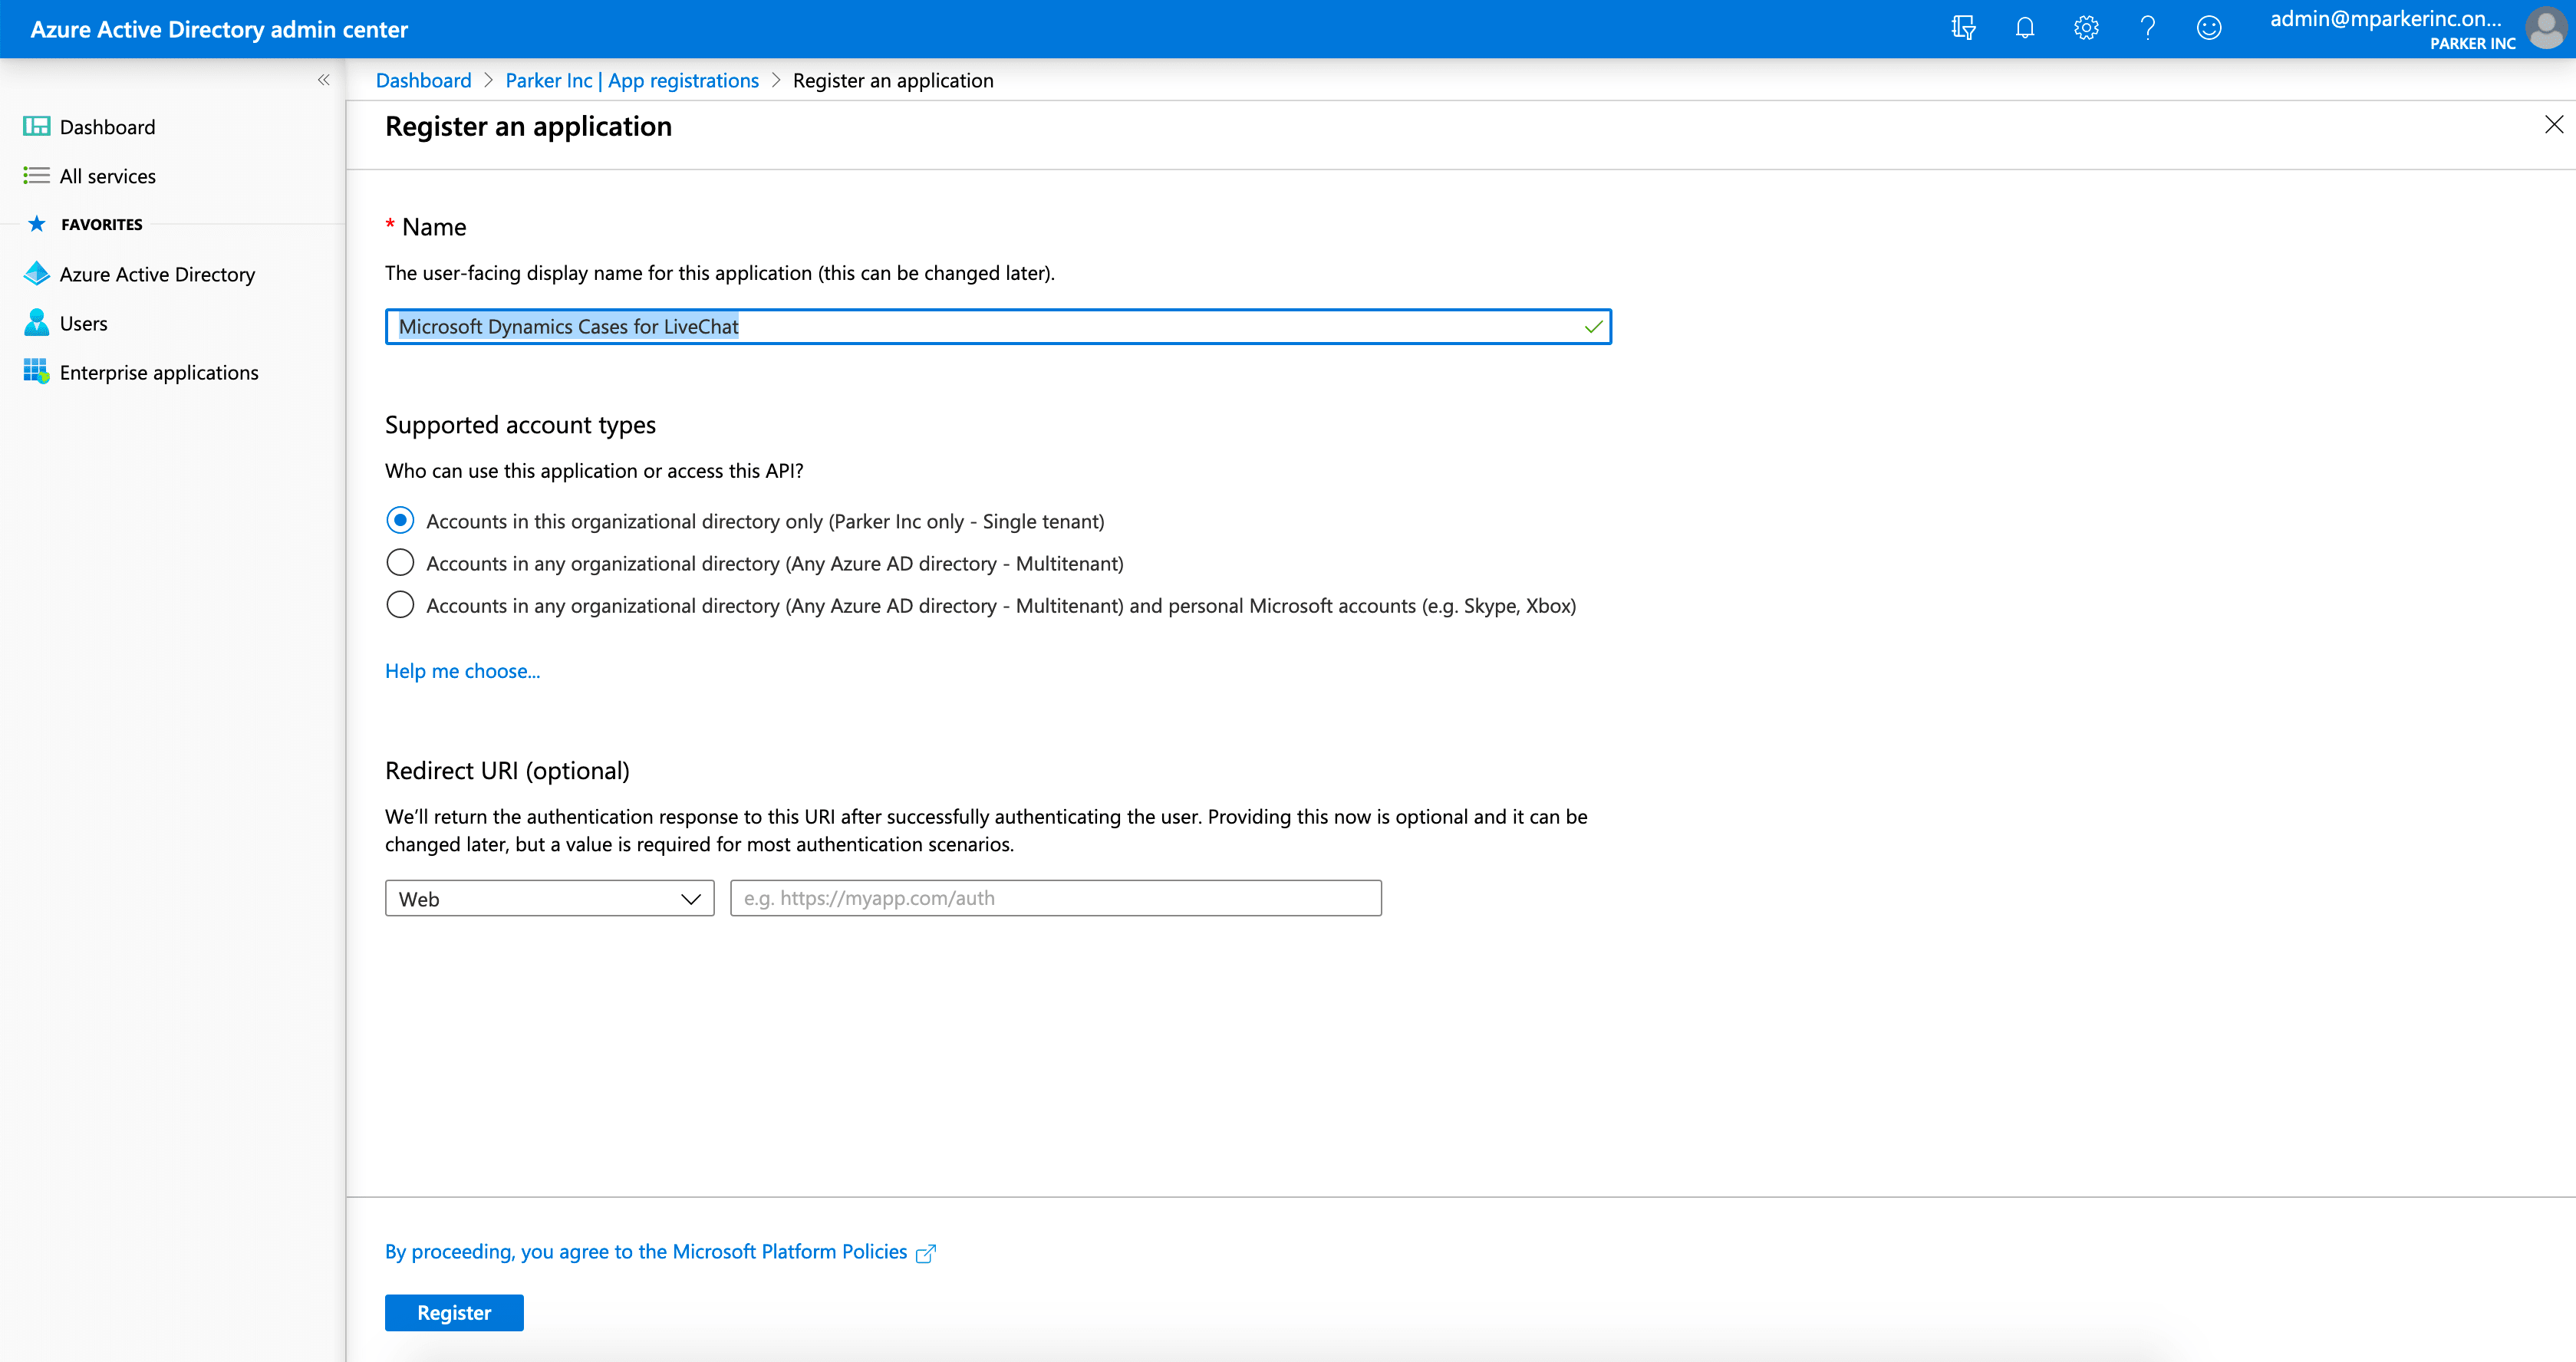
- Enter the name for your integration, for example Microsoft Dynamics Cases for LiveChat (you can change it later). Choose the supported account types for your organization and click Register.
- Next, go to the API permissions tab and click Add a permission. You'll see several tiles in the Commonly used Microsoft APIs category. Choose Dynamics CRM.
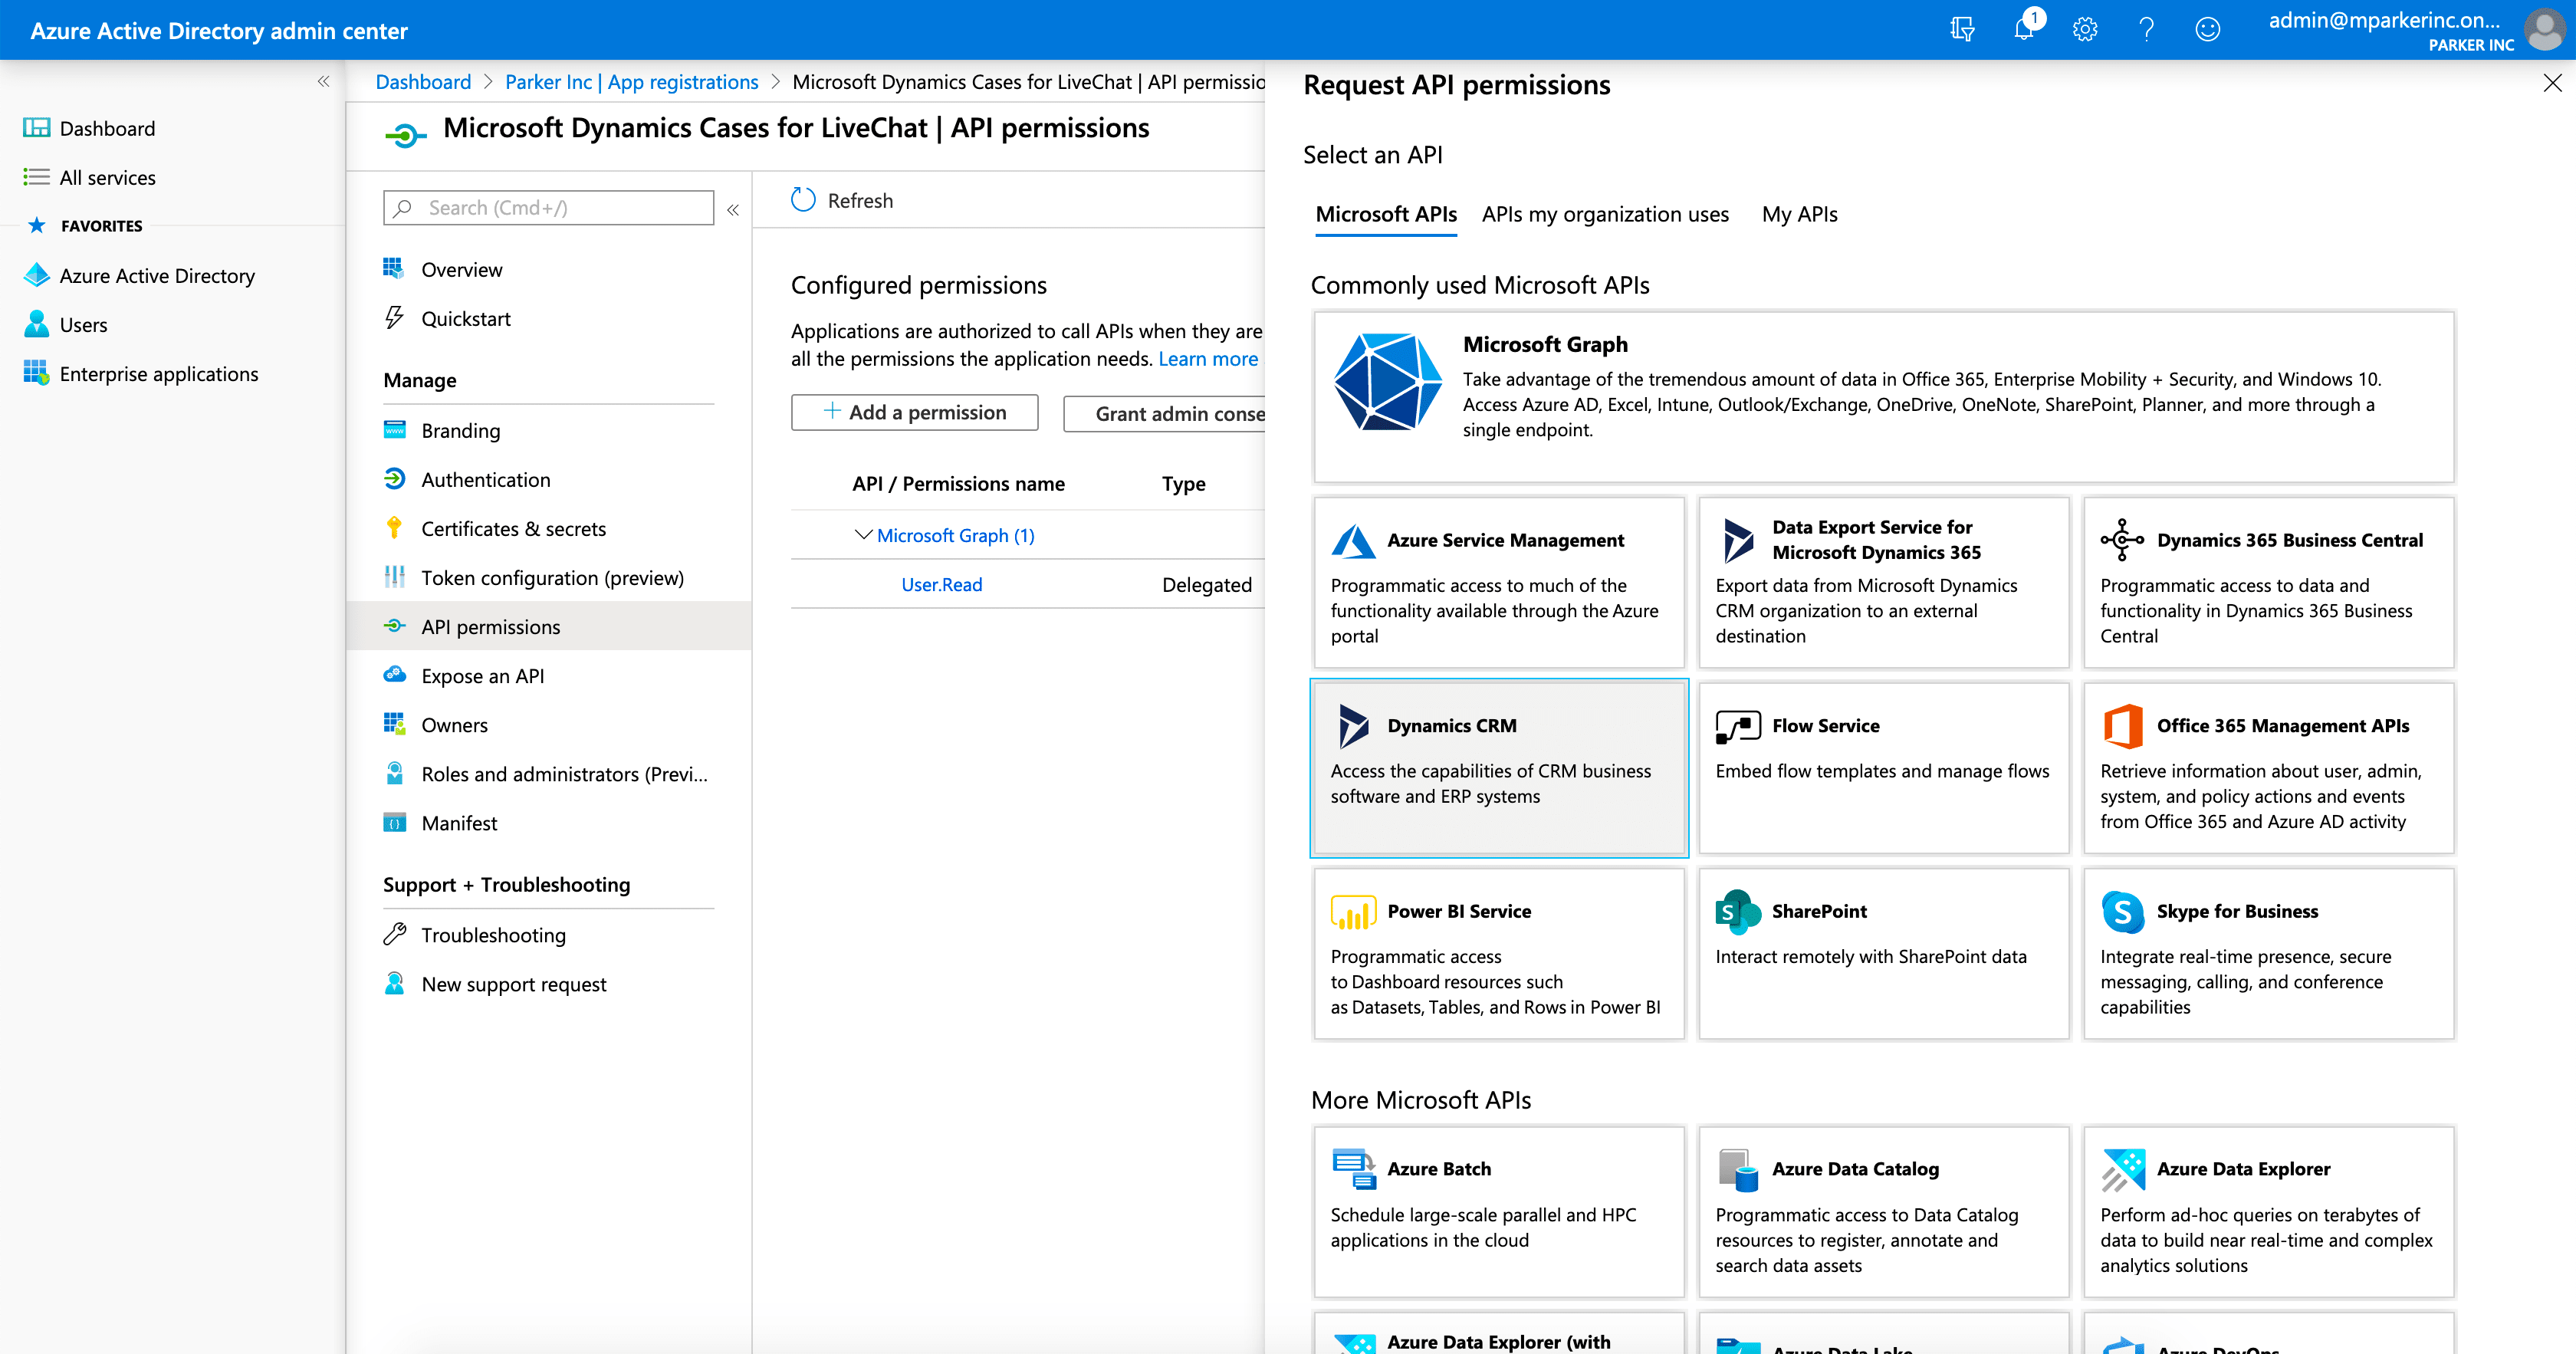
- After that, select the user_impersonation permission and click Add permissions.
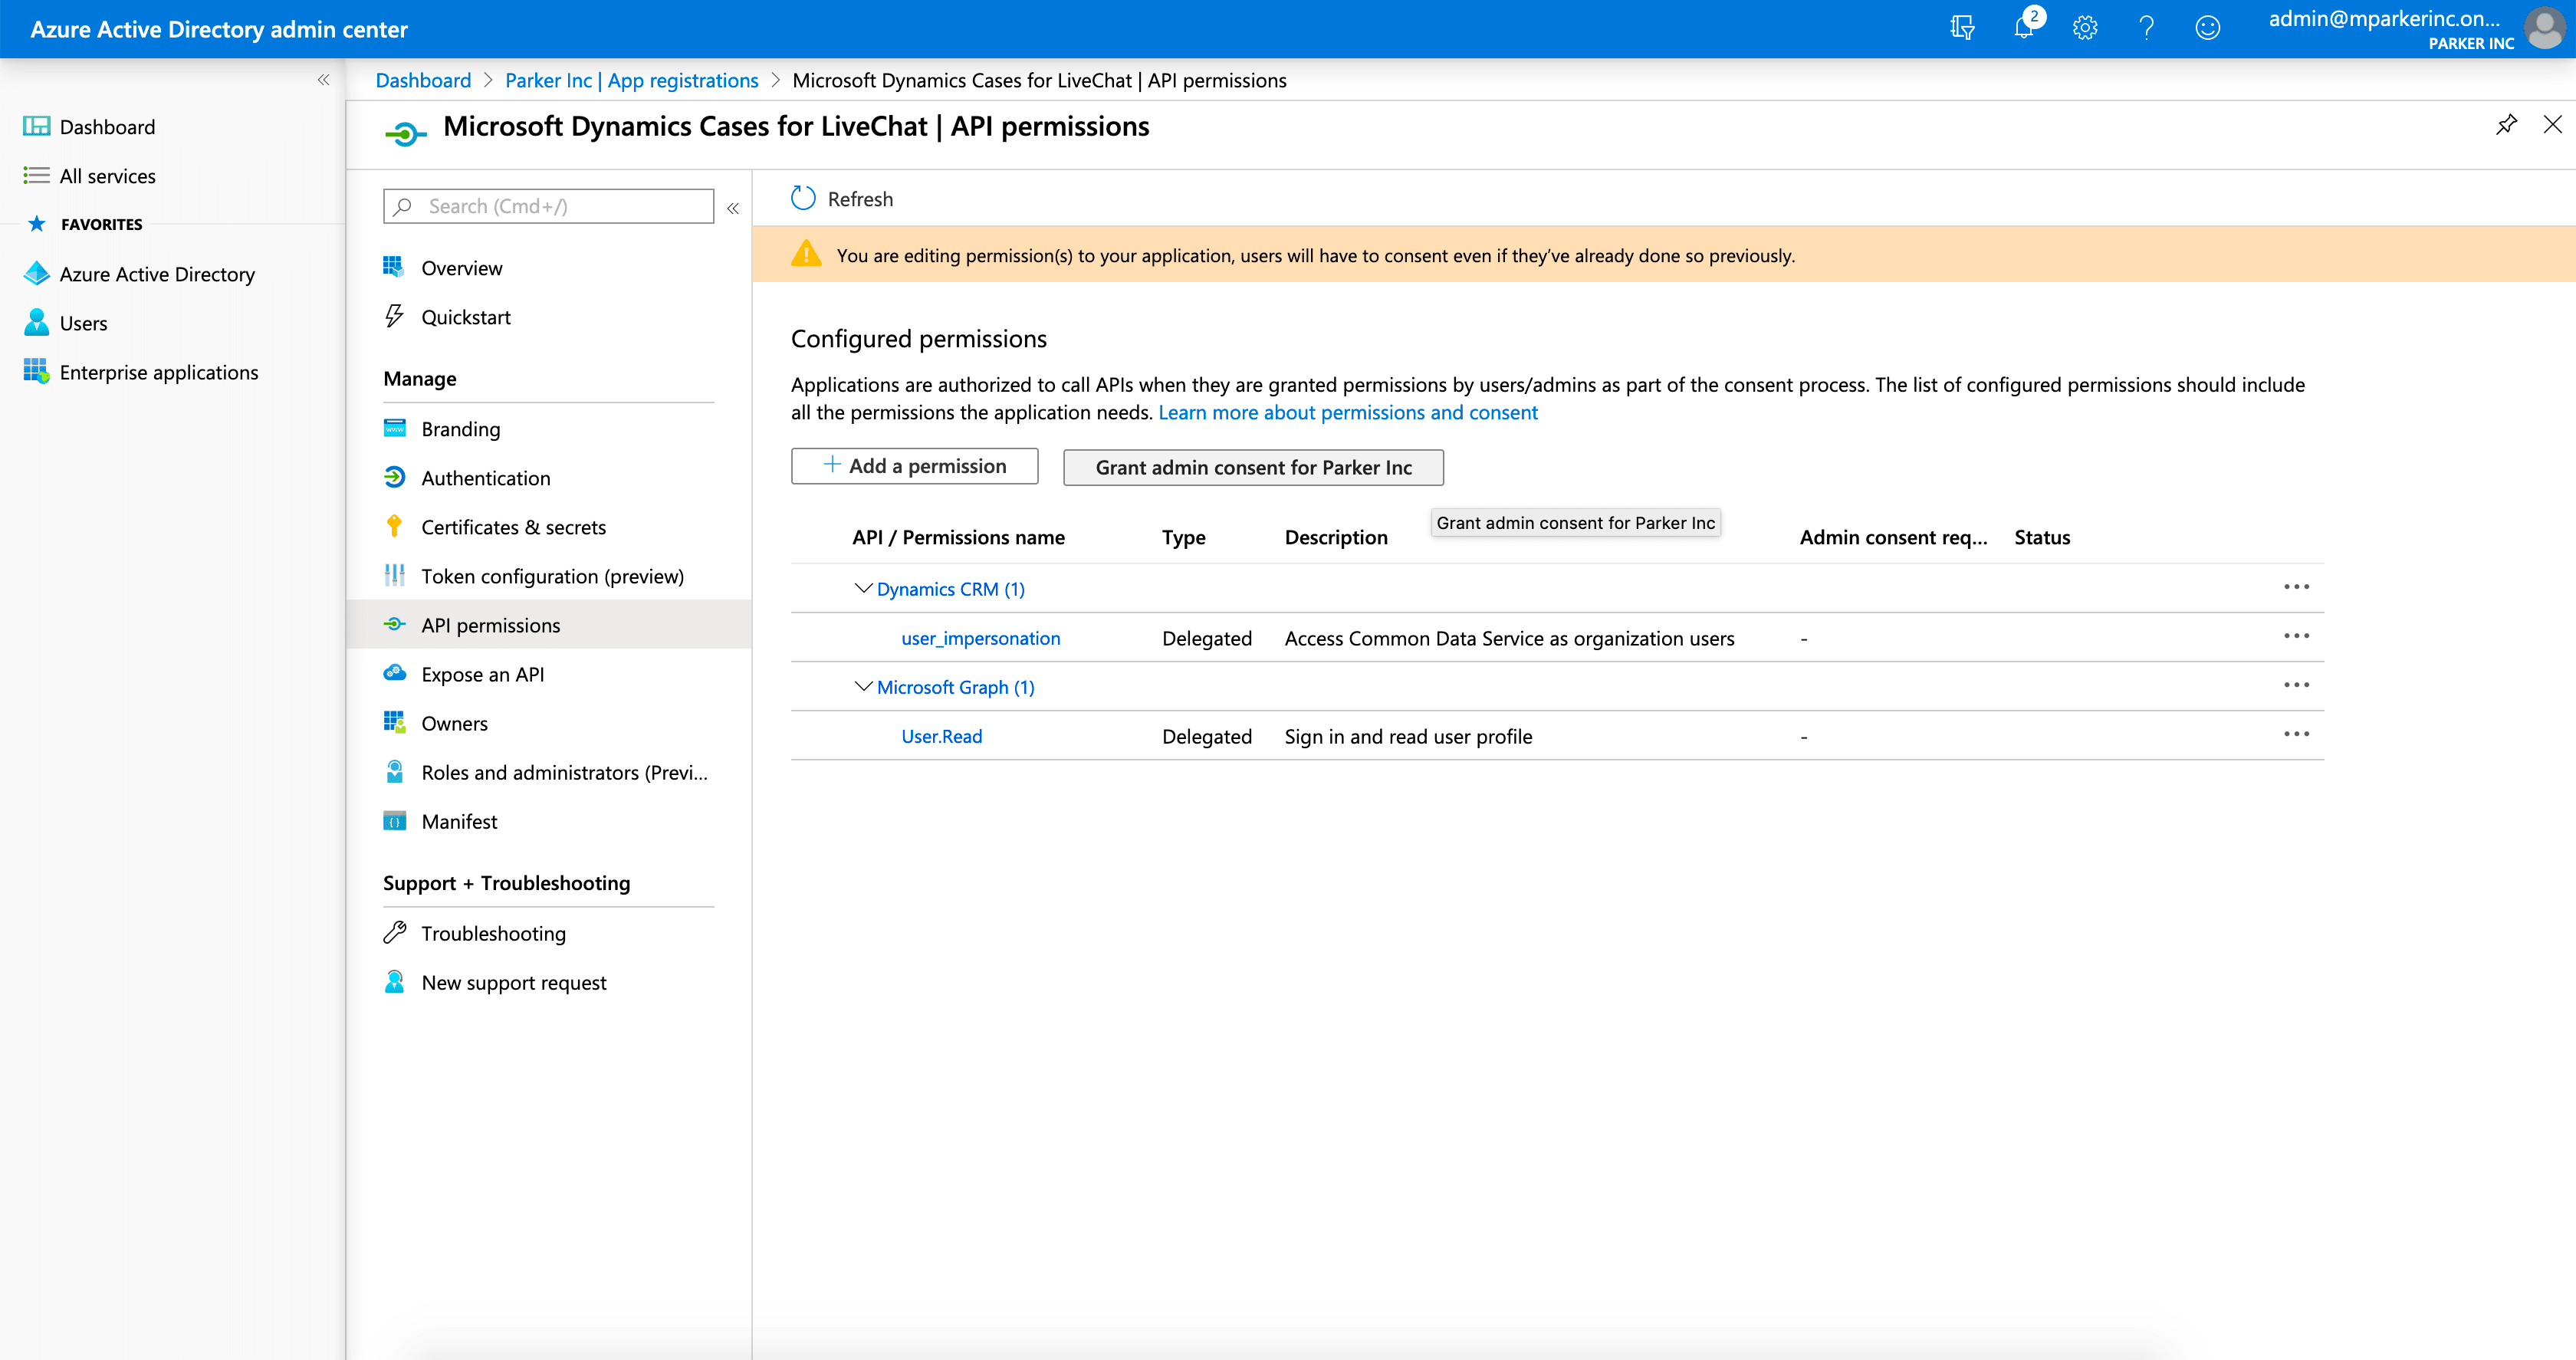
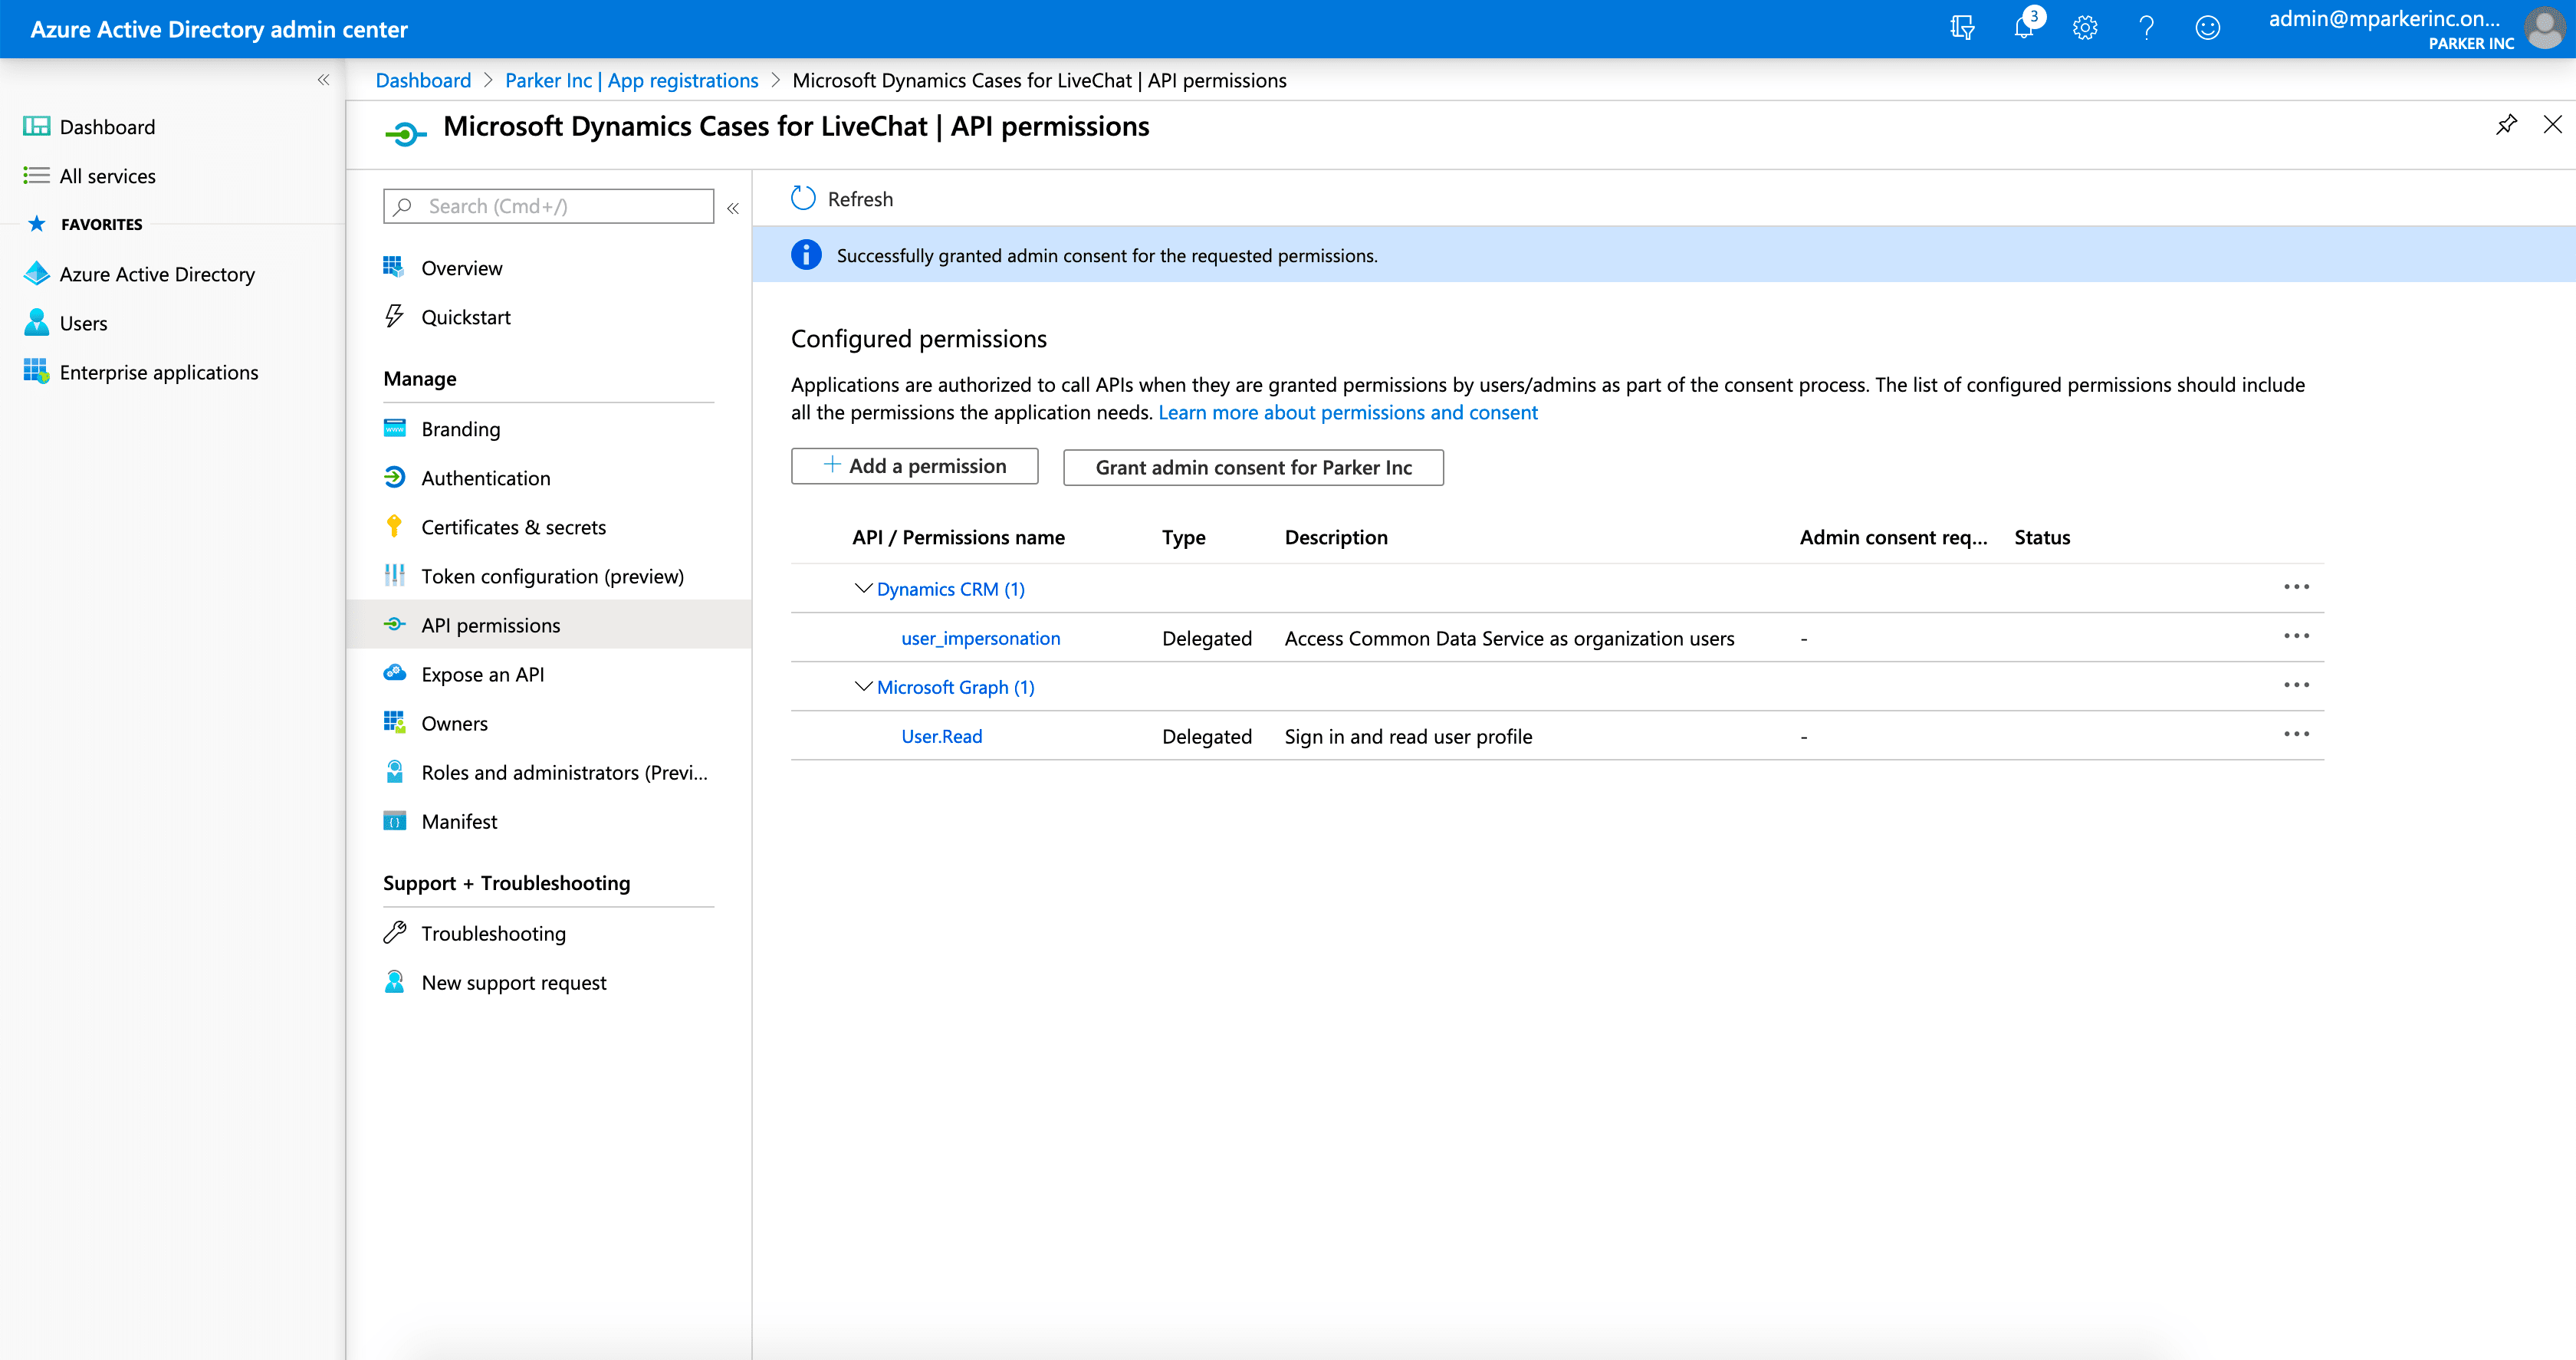
- Click on Grant admin consent for your organization and confirm it by clicking Yes. You should see: Successfully granted admin consent for the requested permissions.
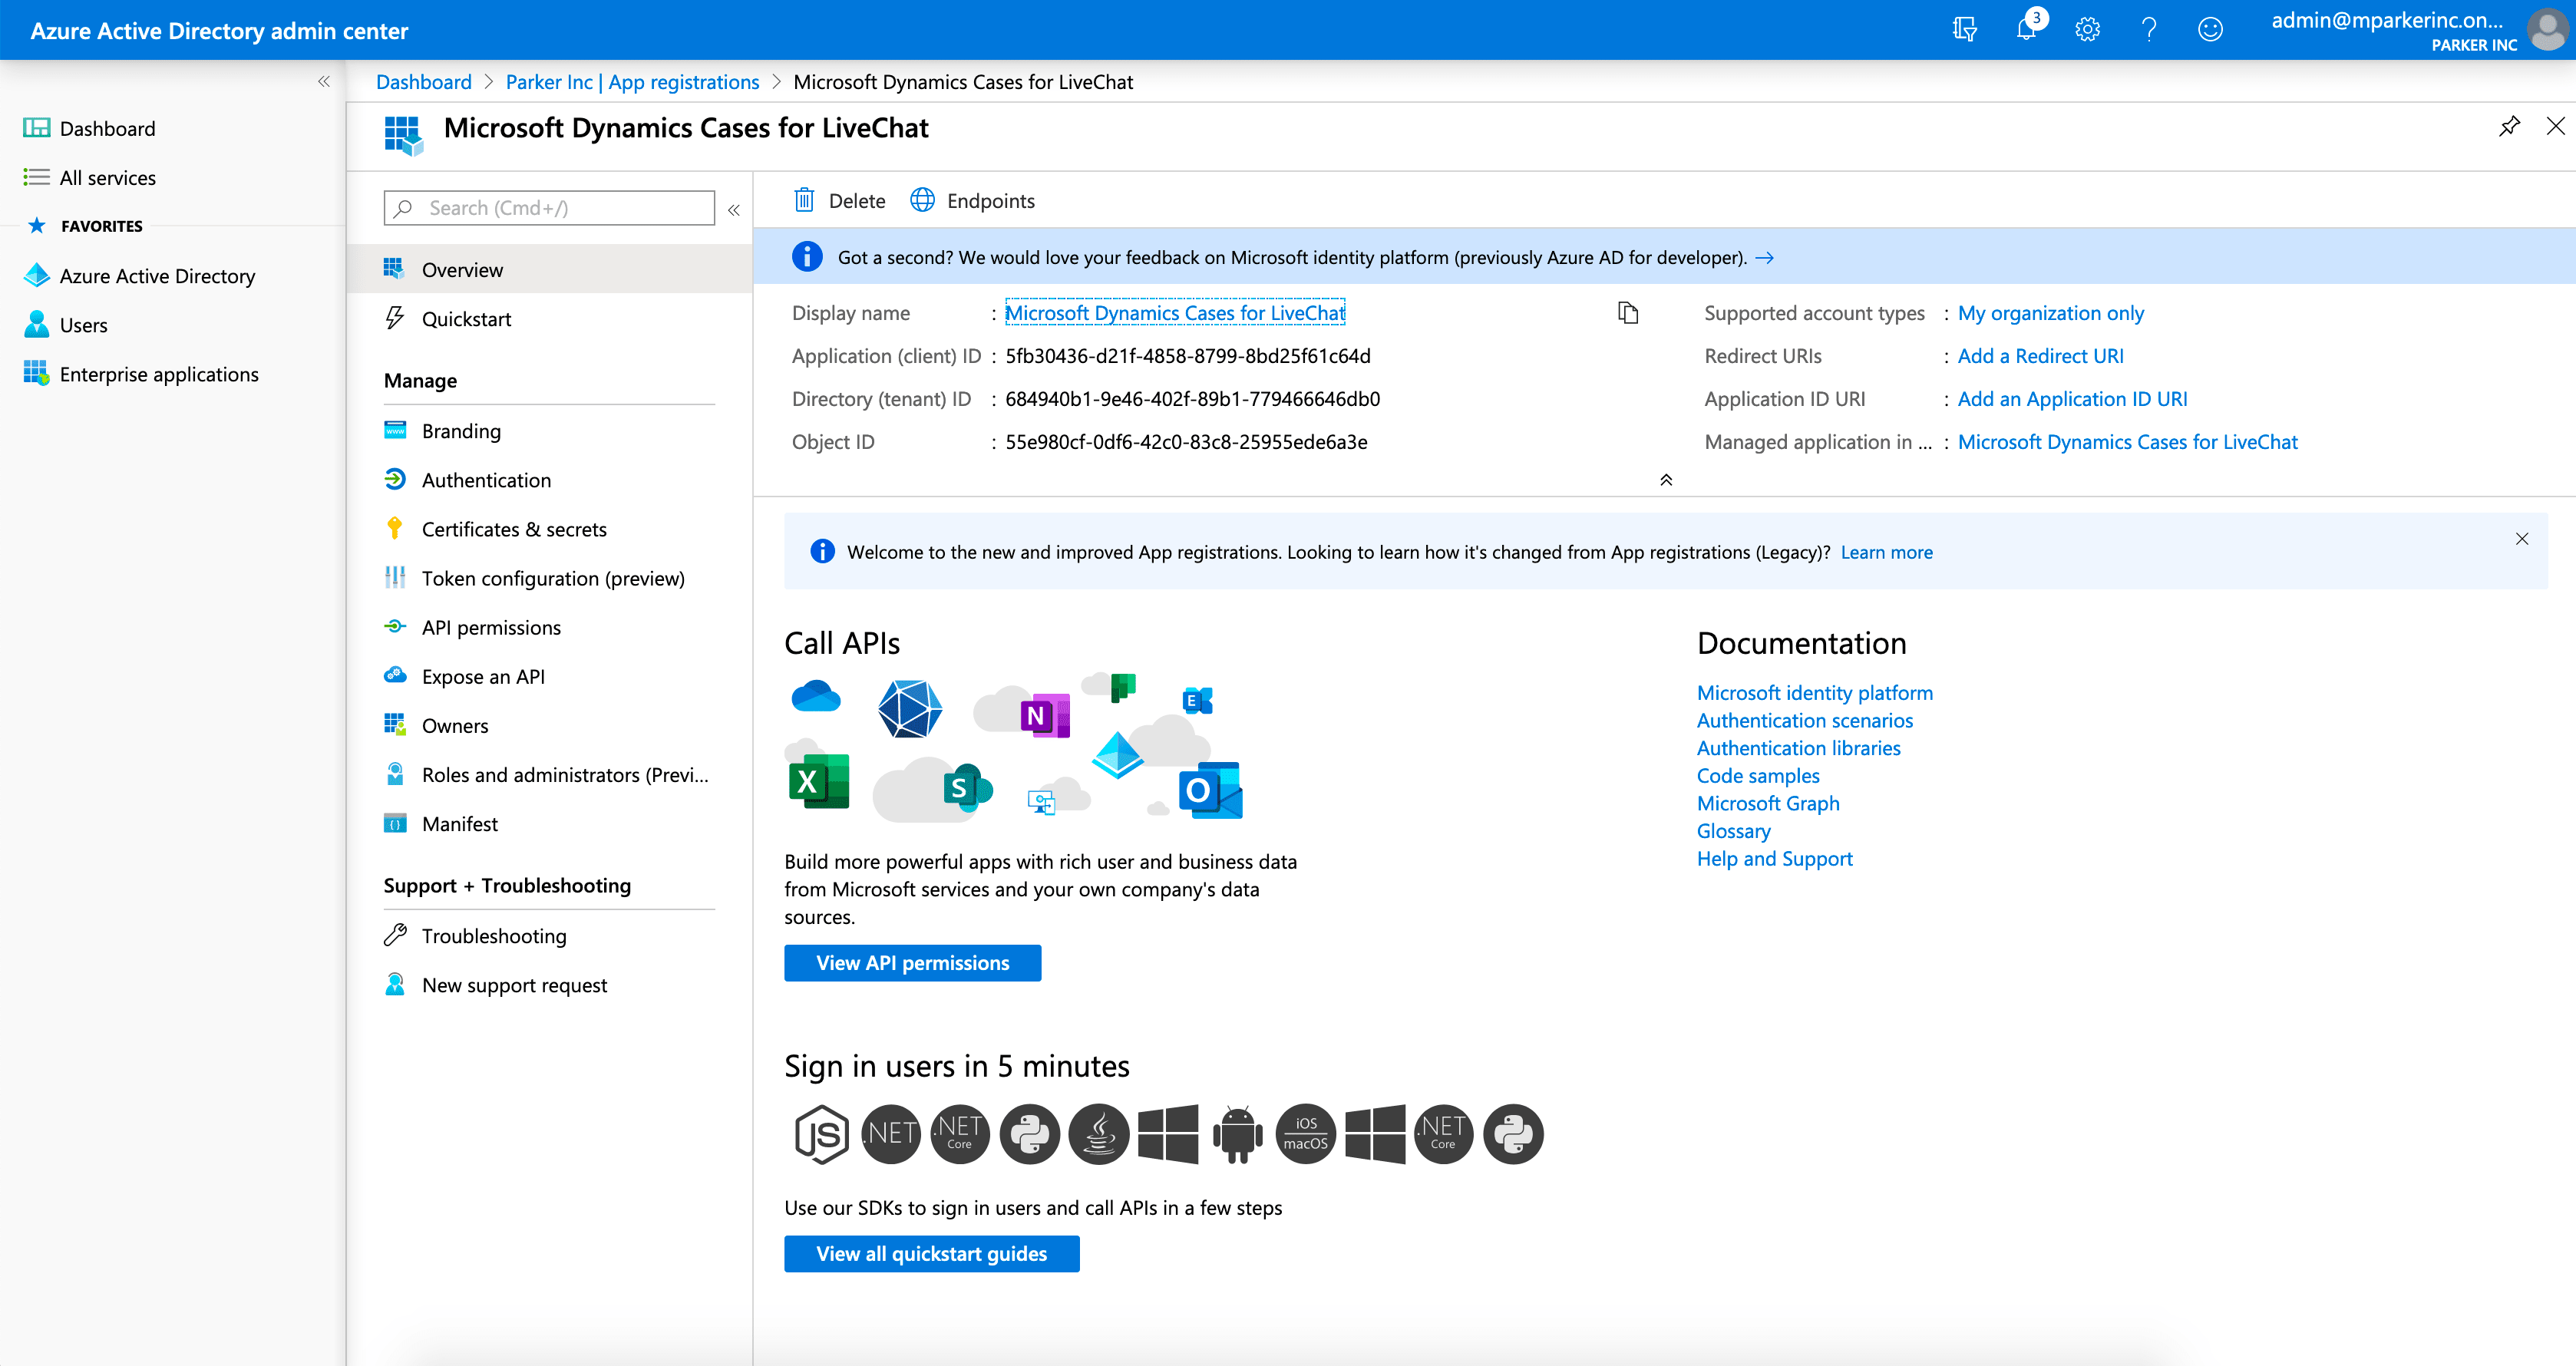
- Go to the Overview tab, find, and store in a safe place the following info:
- Application (client) ID
- Directory (tenant) ID
You will need it during the setup of the LiveChat integration.
- Go to Certificates & secrets and add a new client secret by clicking the button.
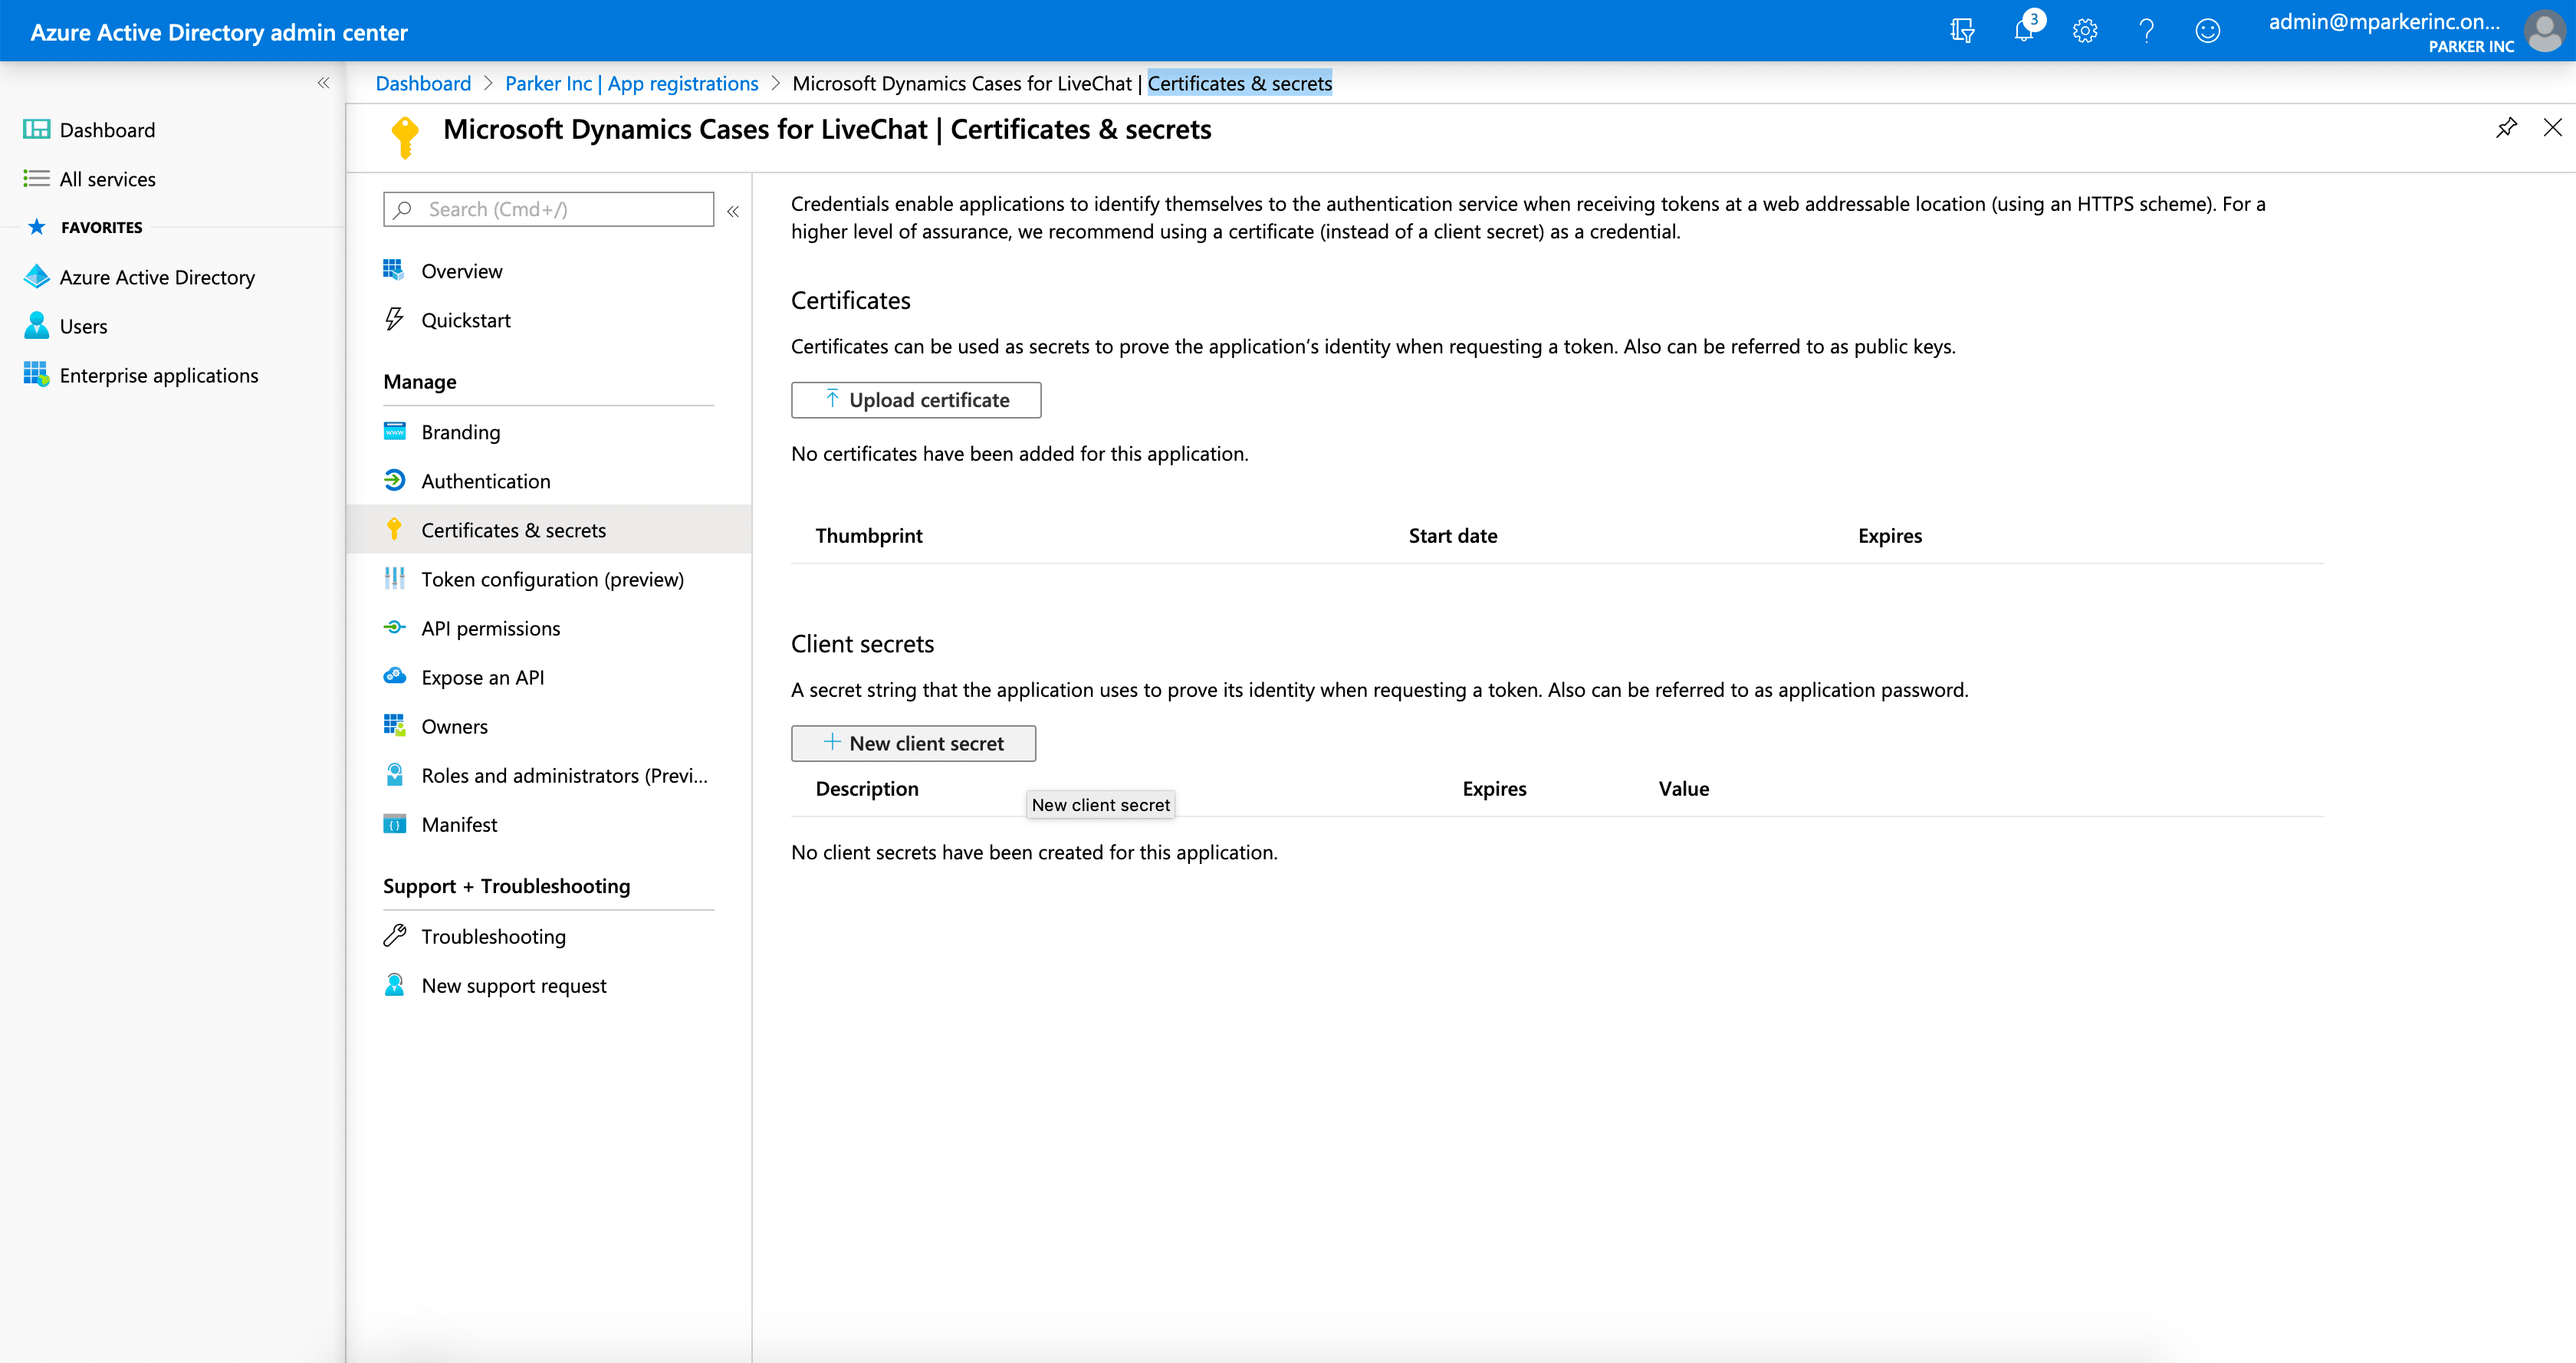
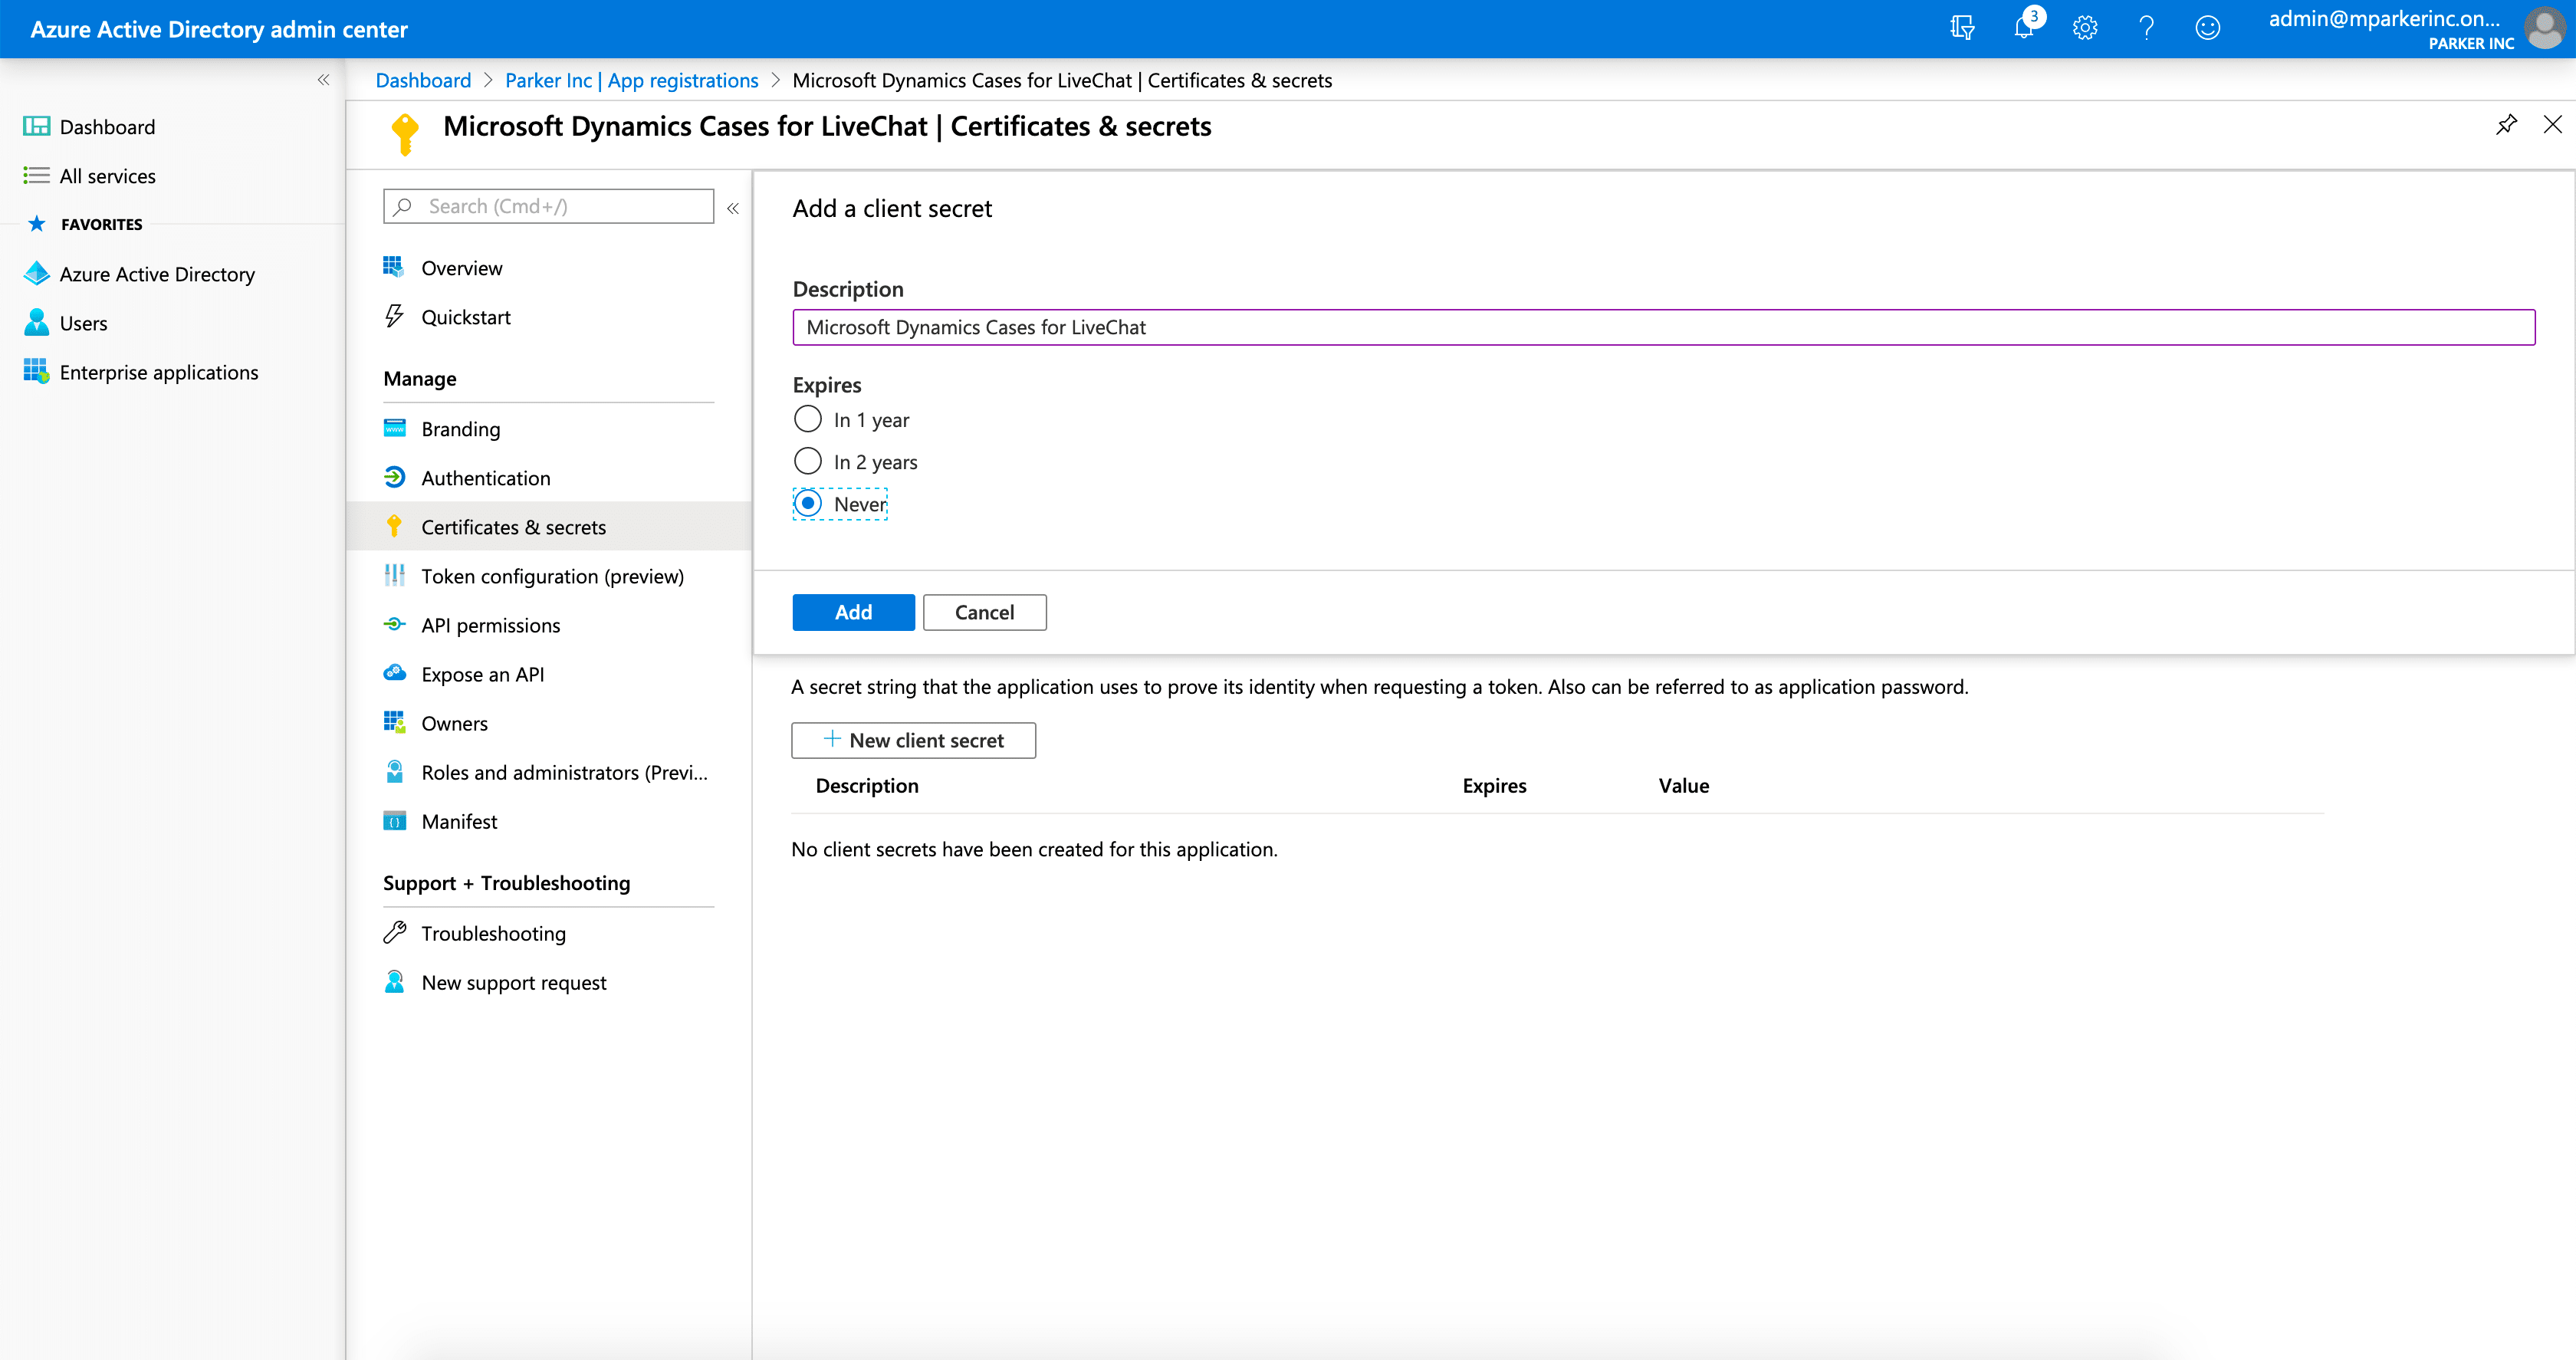
- In the Description field, enter "Microsoft Dynamics Cases for LiveChat" and choose the expiration time period for the client secret. For the expiration date, we suggest choosing Never, but it all depends on your organization. Click
Add to save changes.
- Make sure to store the newly created secret value in a safe place. You will need it later when setting up the LiveChat integration.
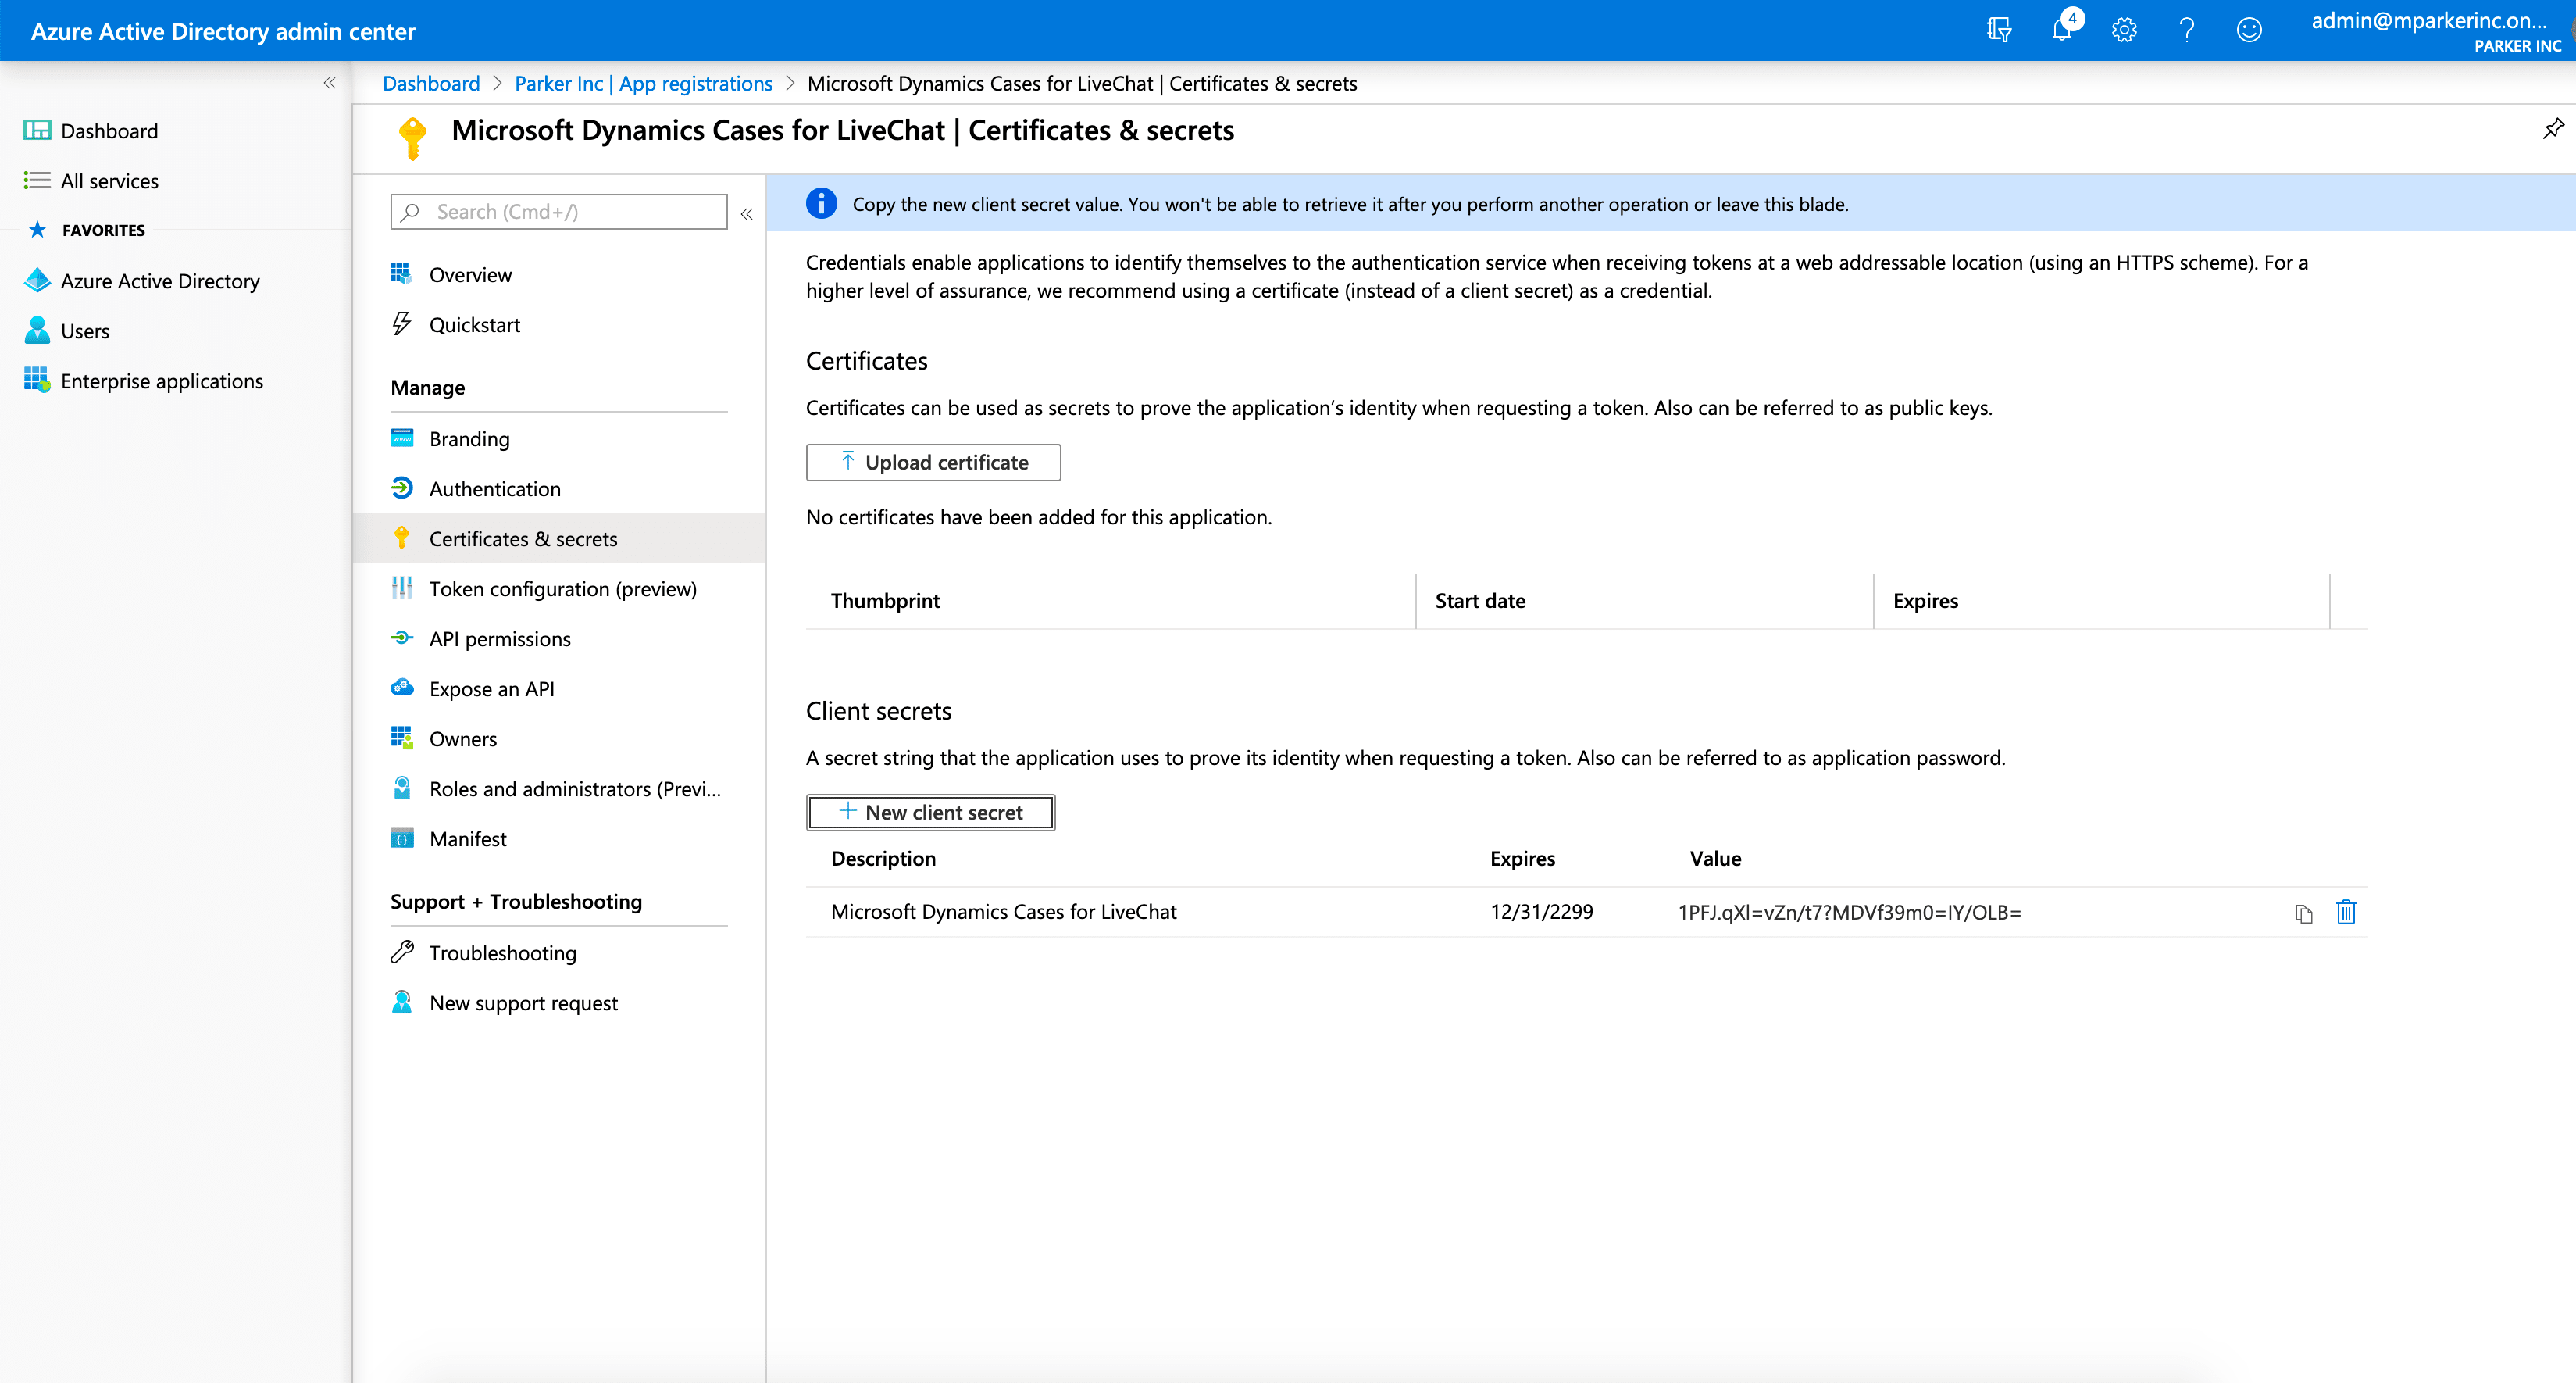
- At this point, you should have the following info:
- Application (client) ID
- Directory (tenant) ID
- Secret
Create an application user
- Go to https://admin.microsoft.com and select Dynamics 365 from the left-hand side menu.

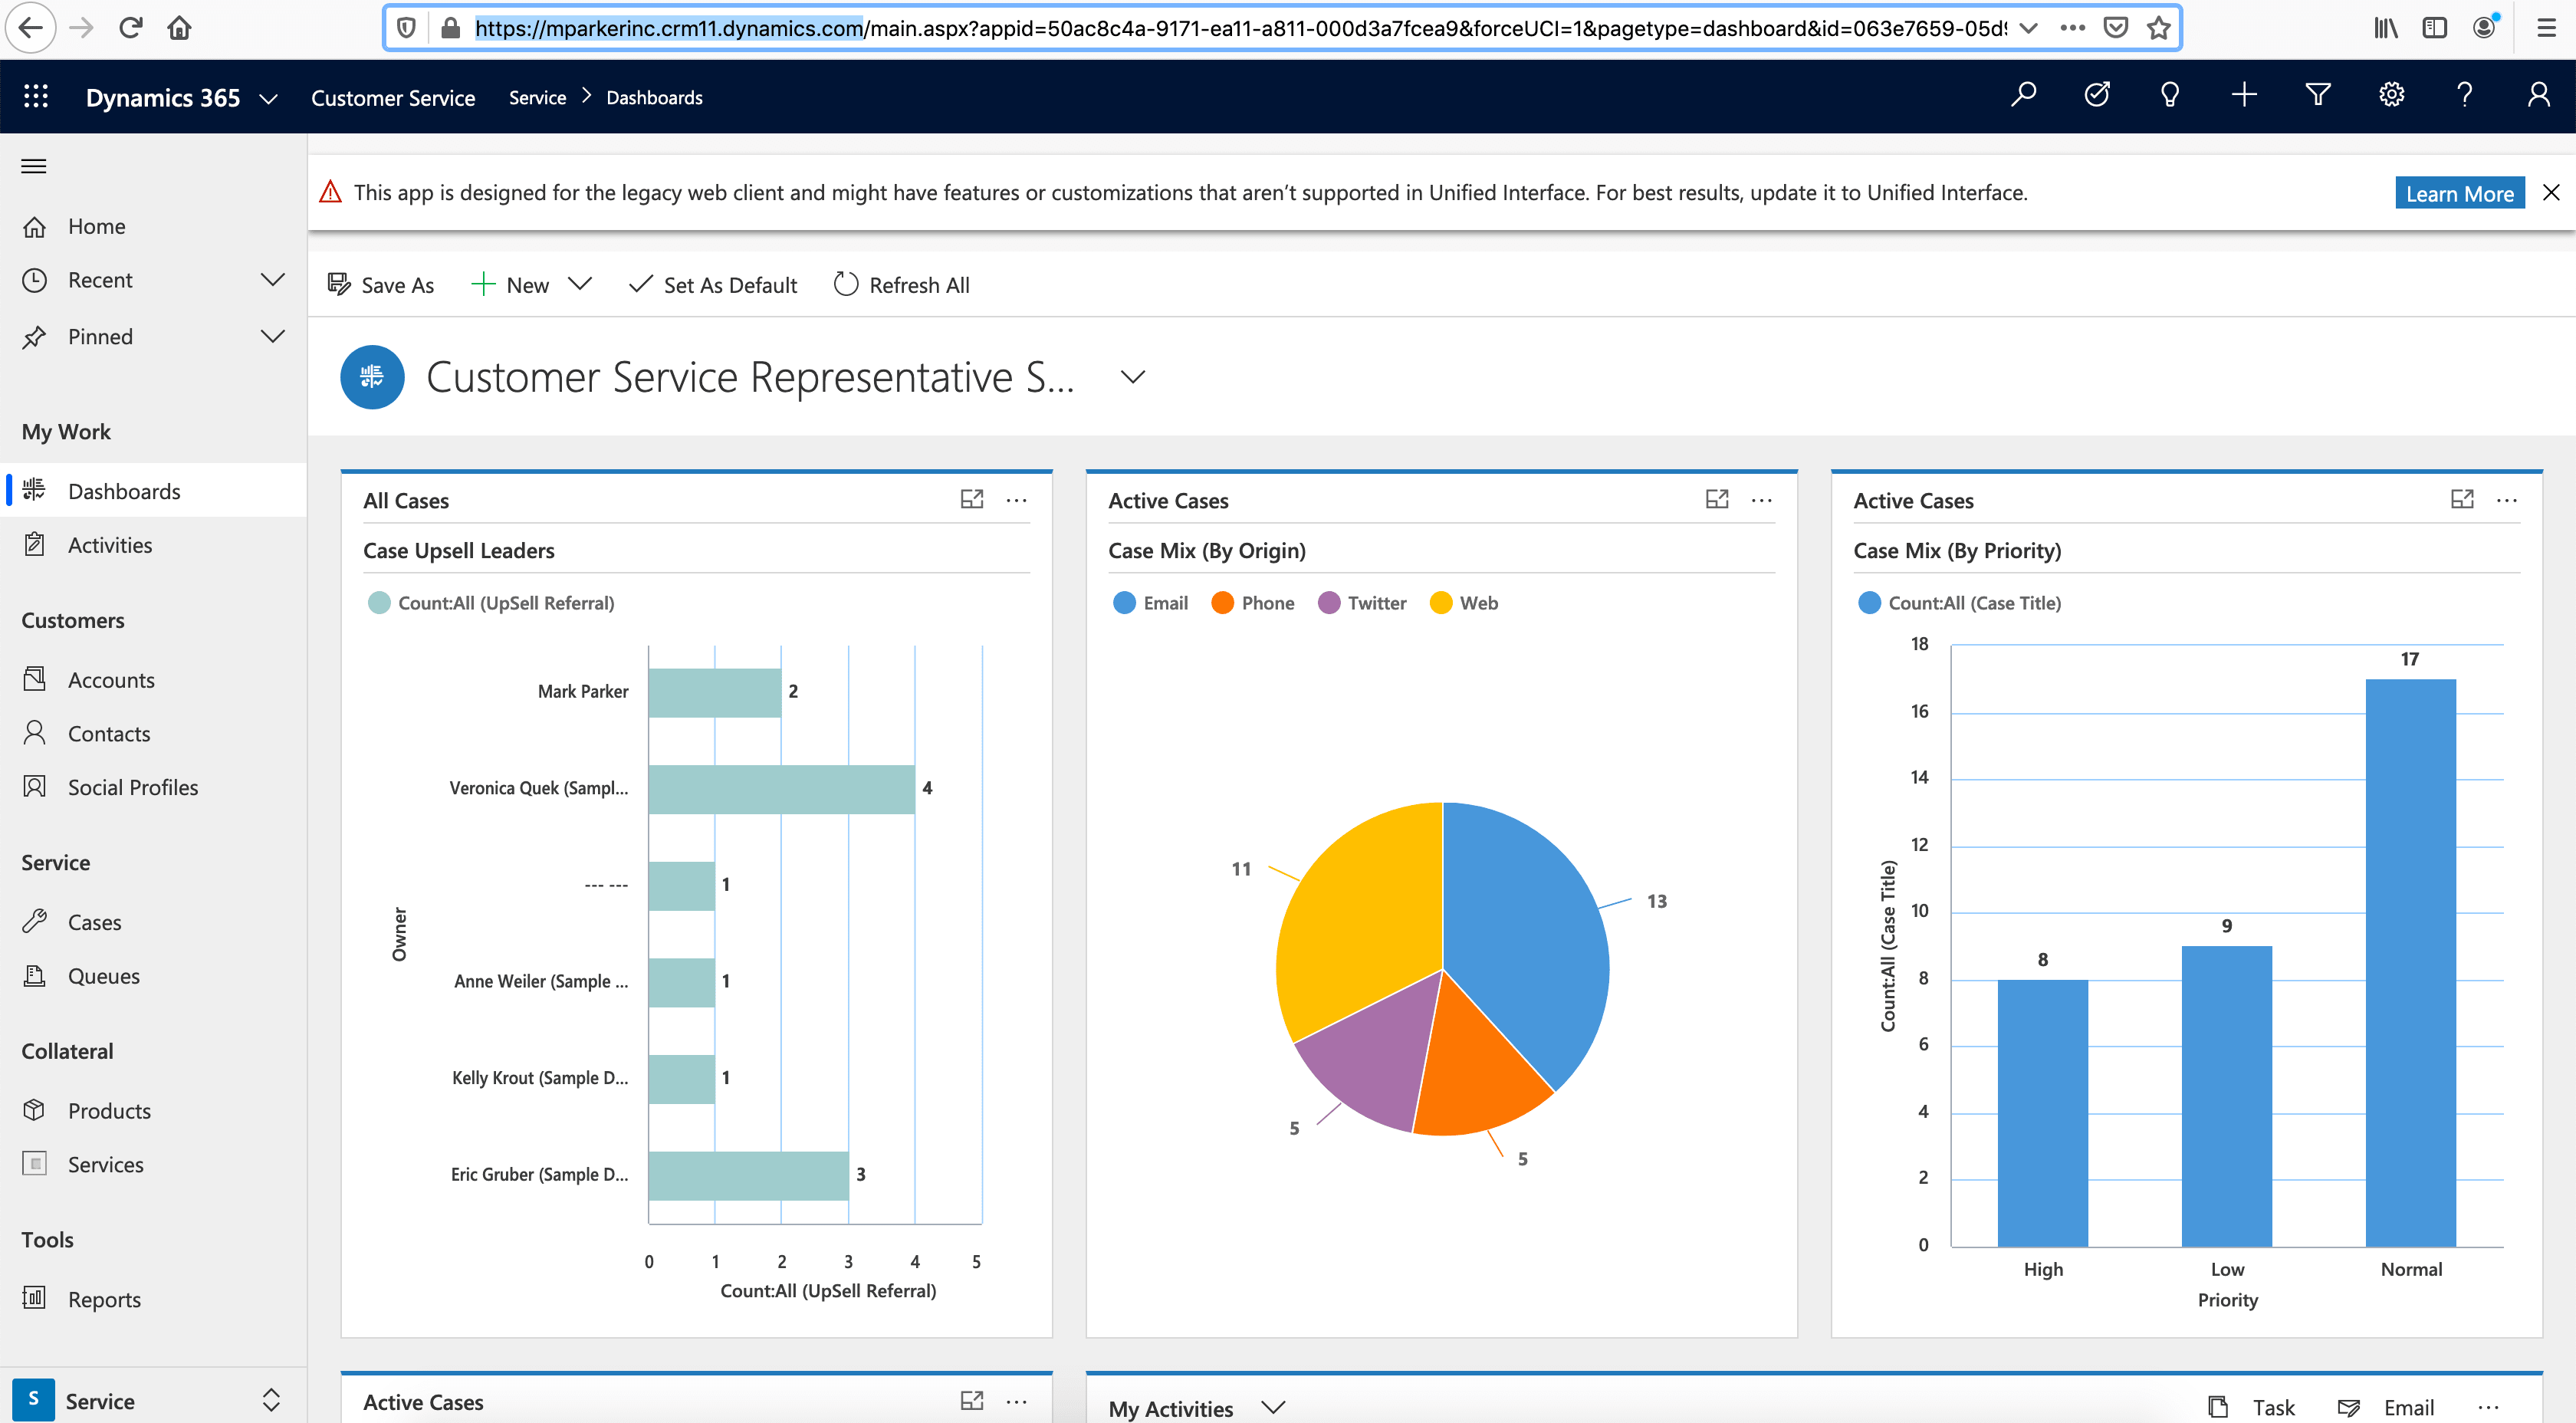
- Click on your Customer Service application.

- You should be redirected to a URL looking somewhat like this one: https://[YOUR_ORGANIZATION].crm[XX].dynamics.com. Copy the organization from the URL and store it in a safe place. You will need when setting up the LiveChat integration.
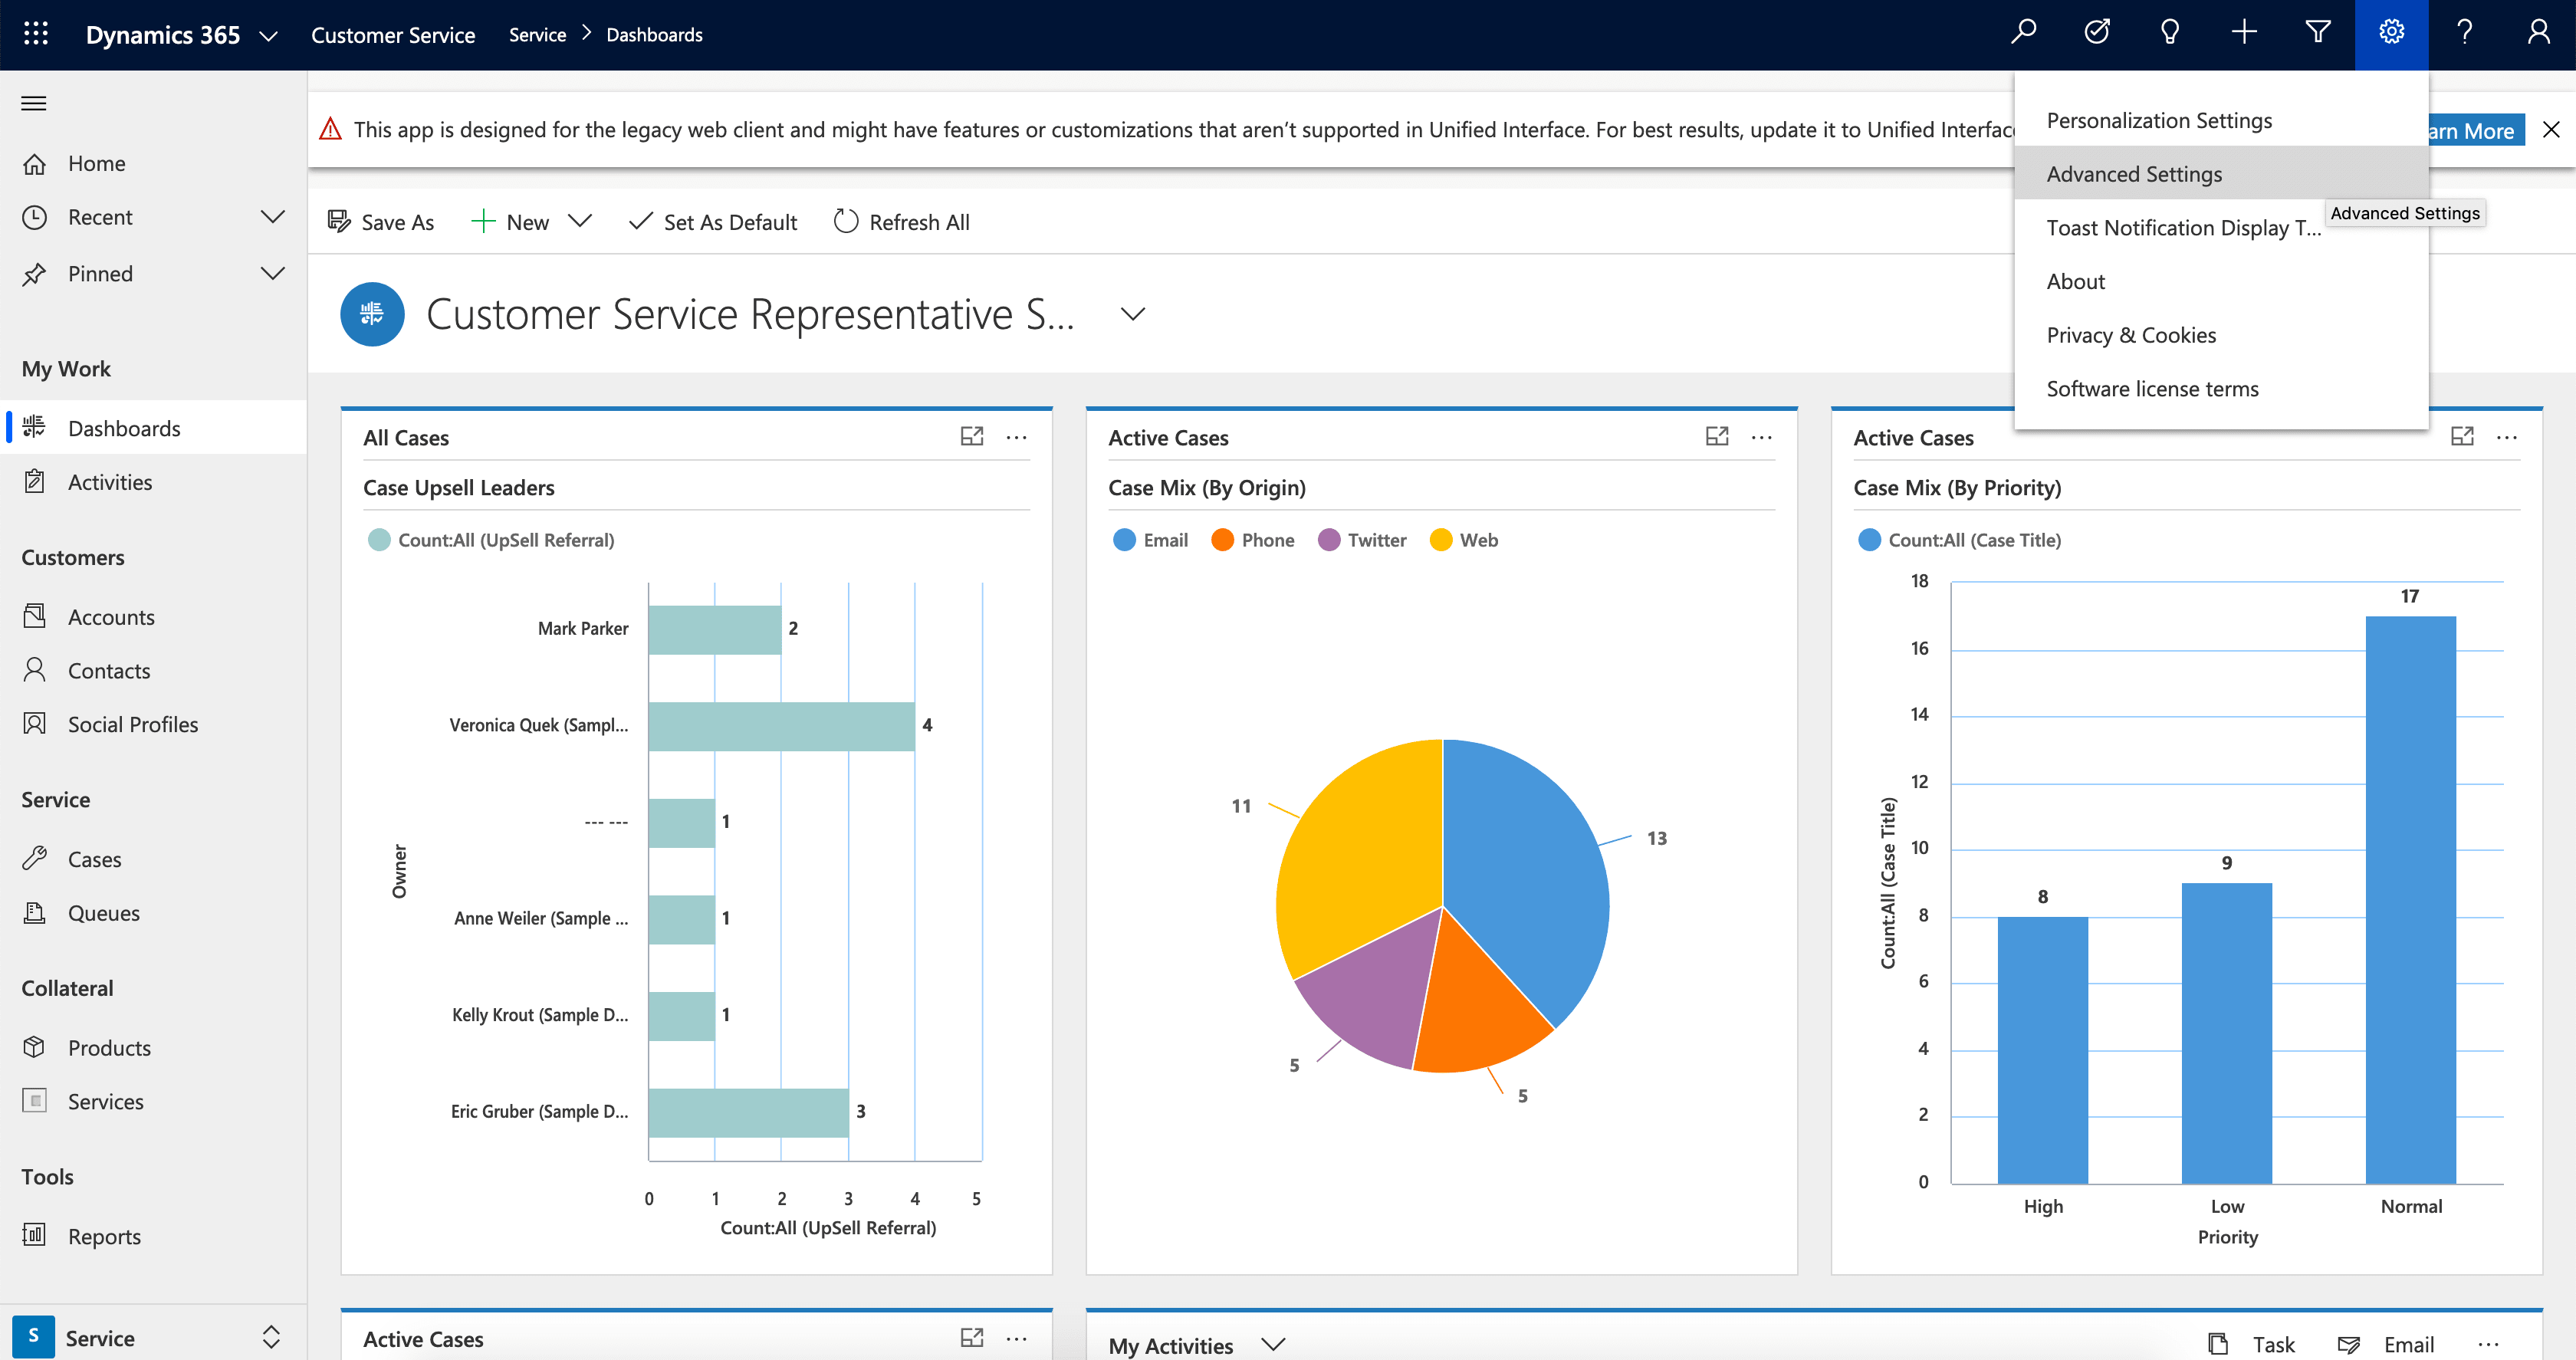
- From Settings in the top right corner select Advanced Settings.
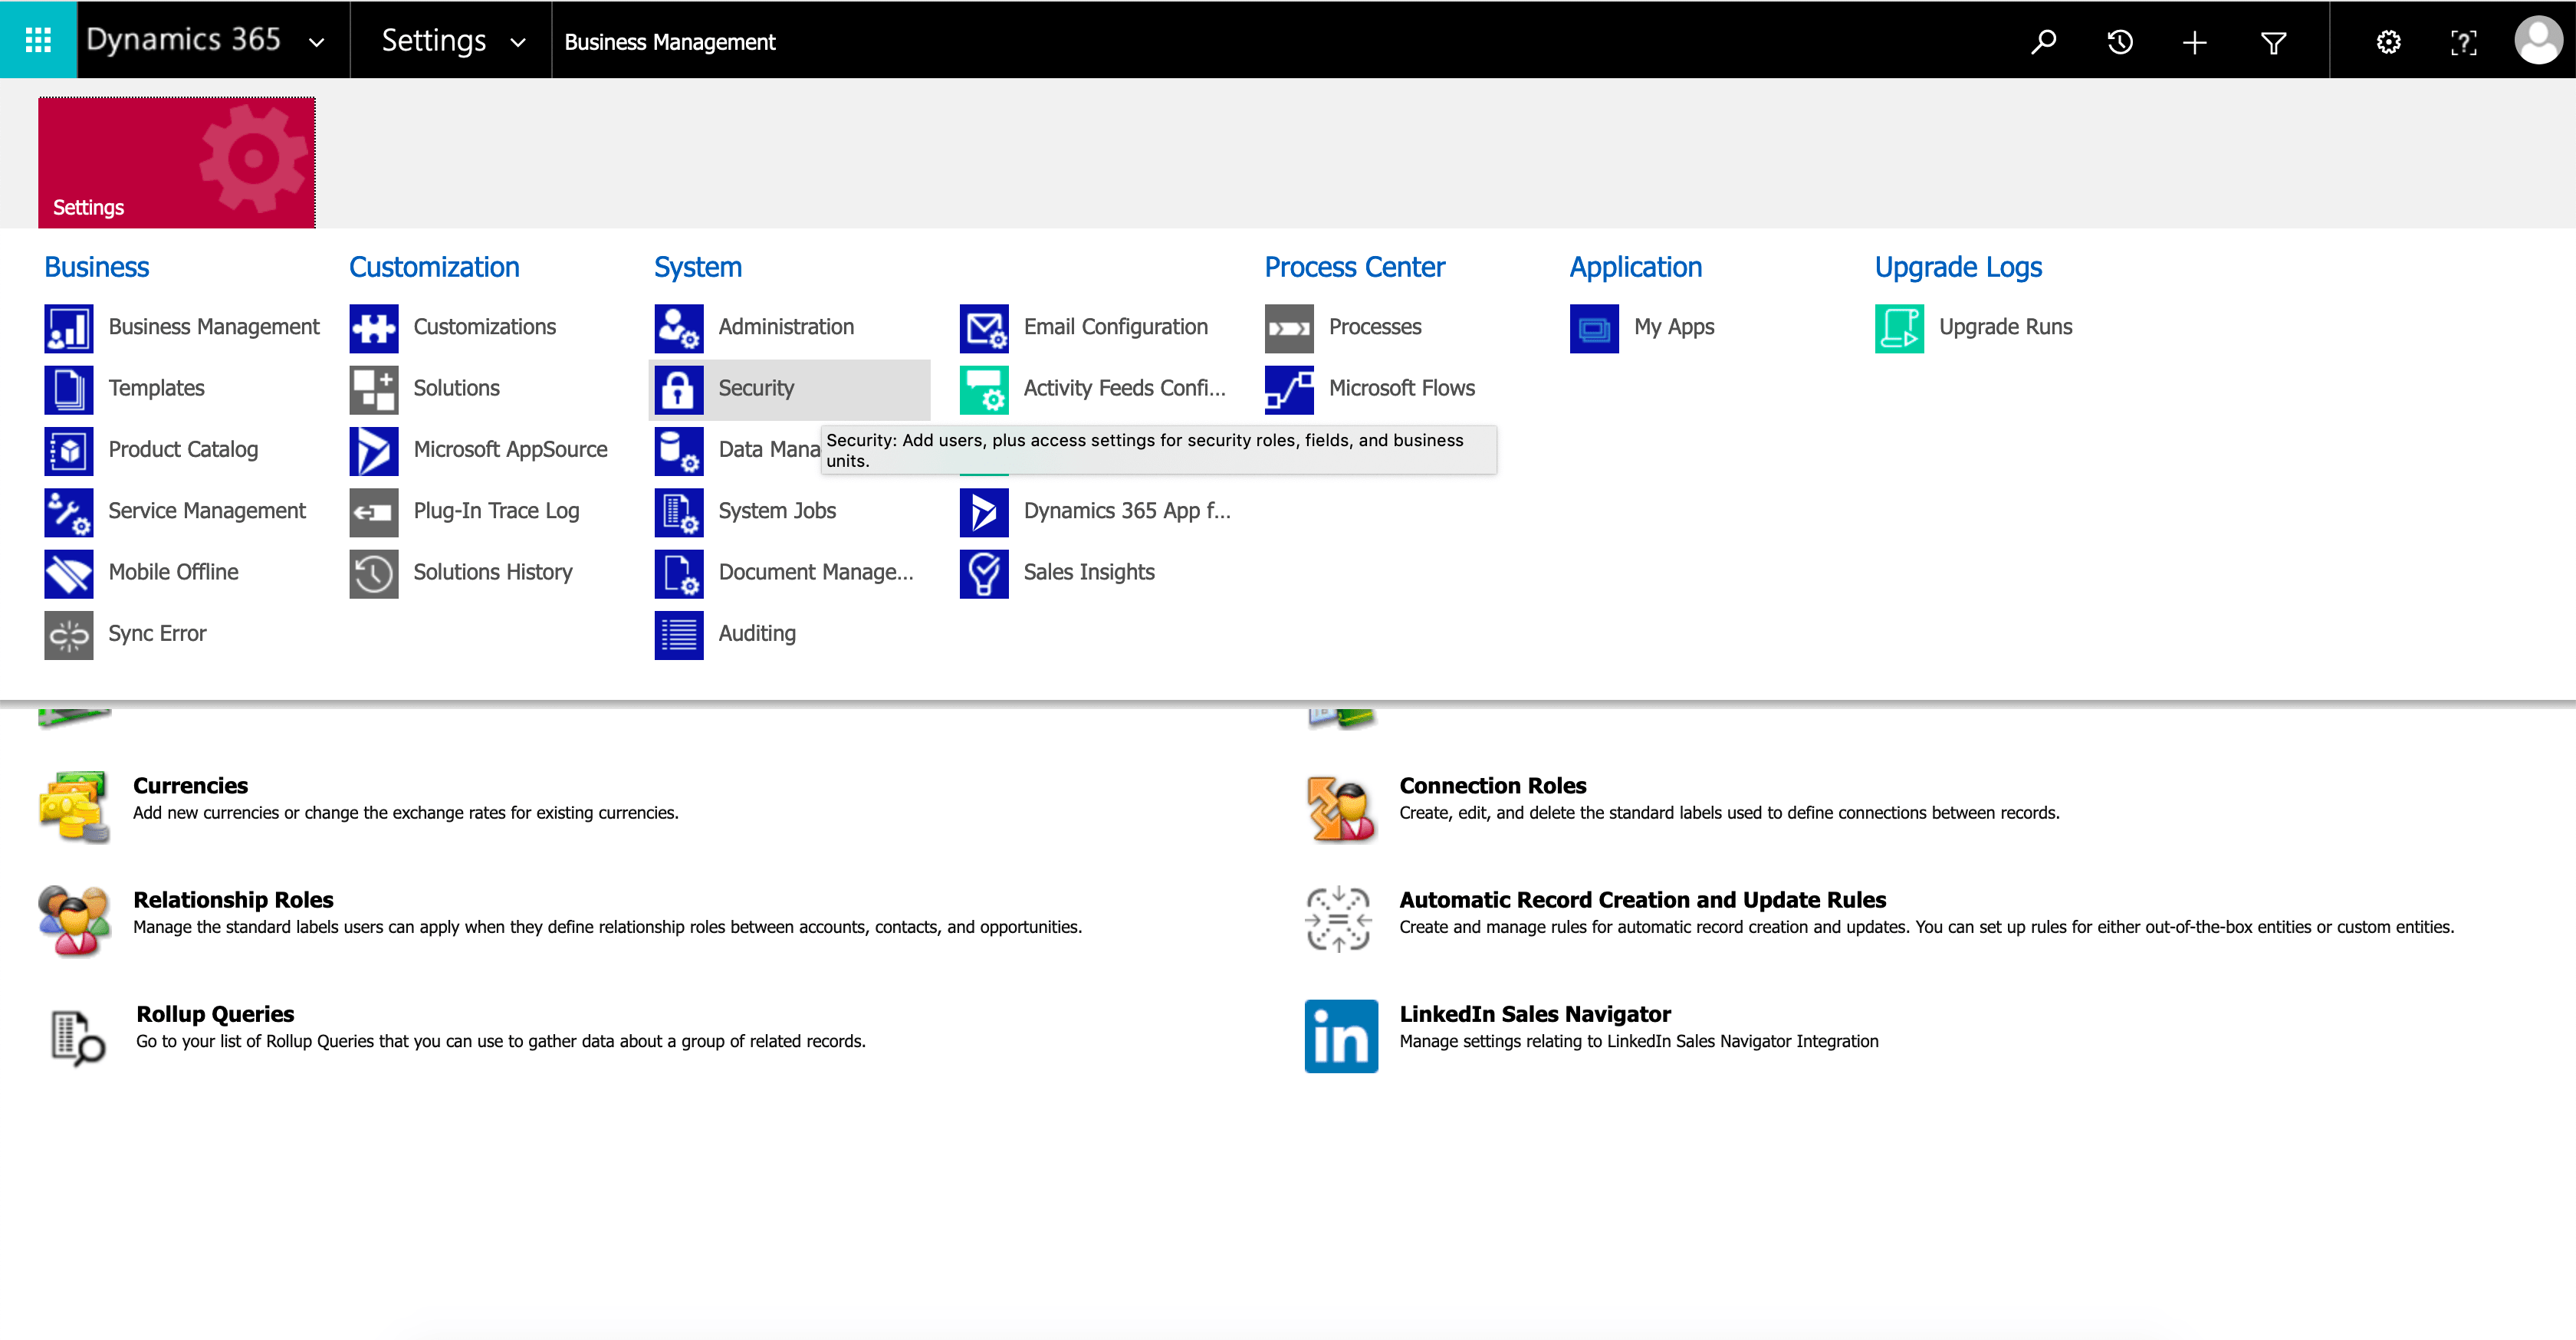
- Click on Settings and then Security.
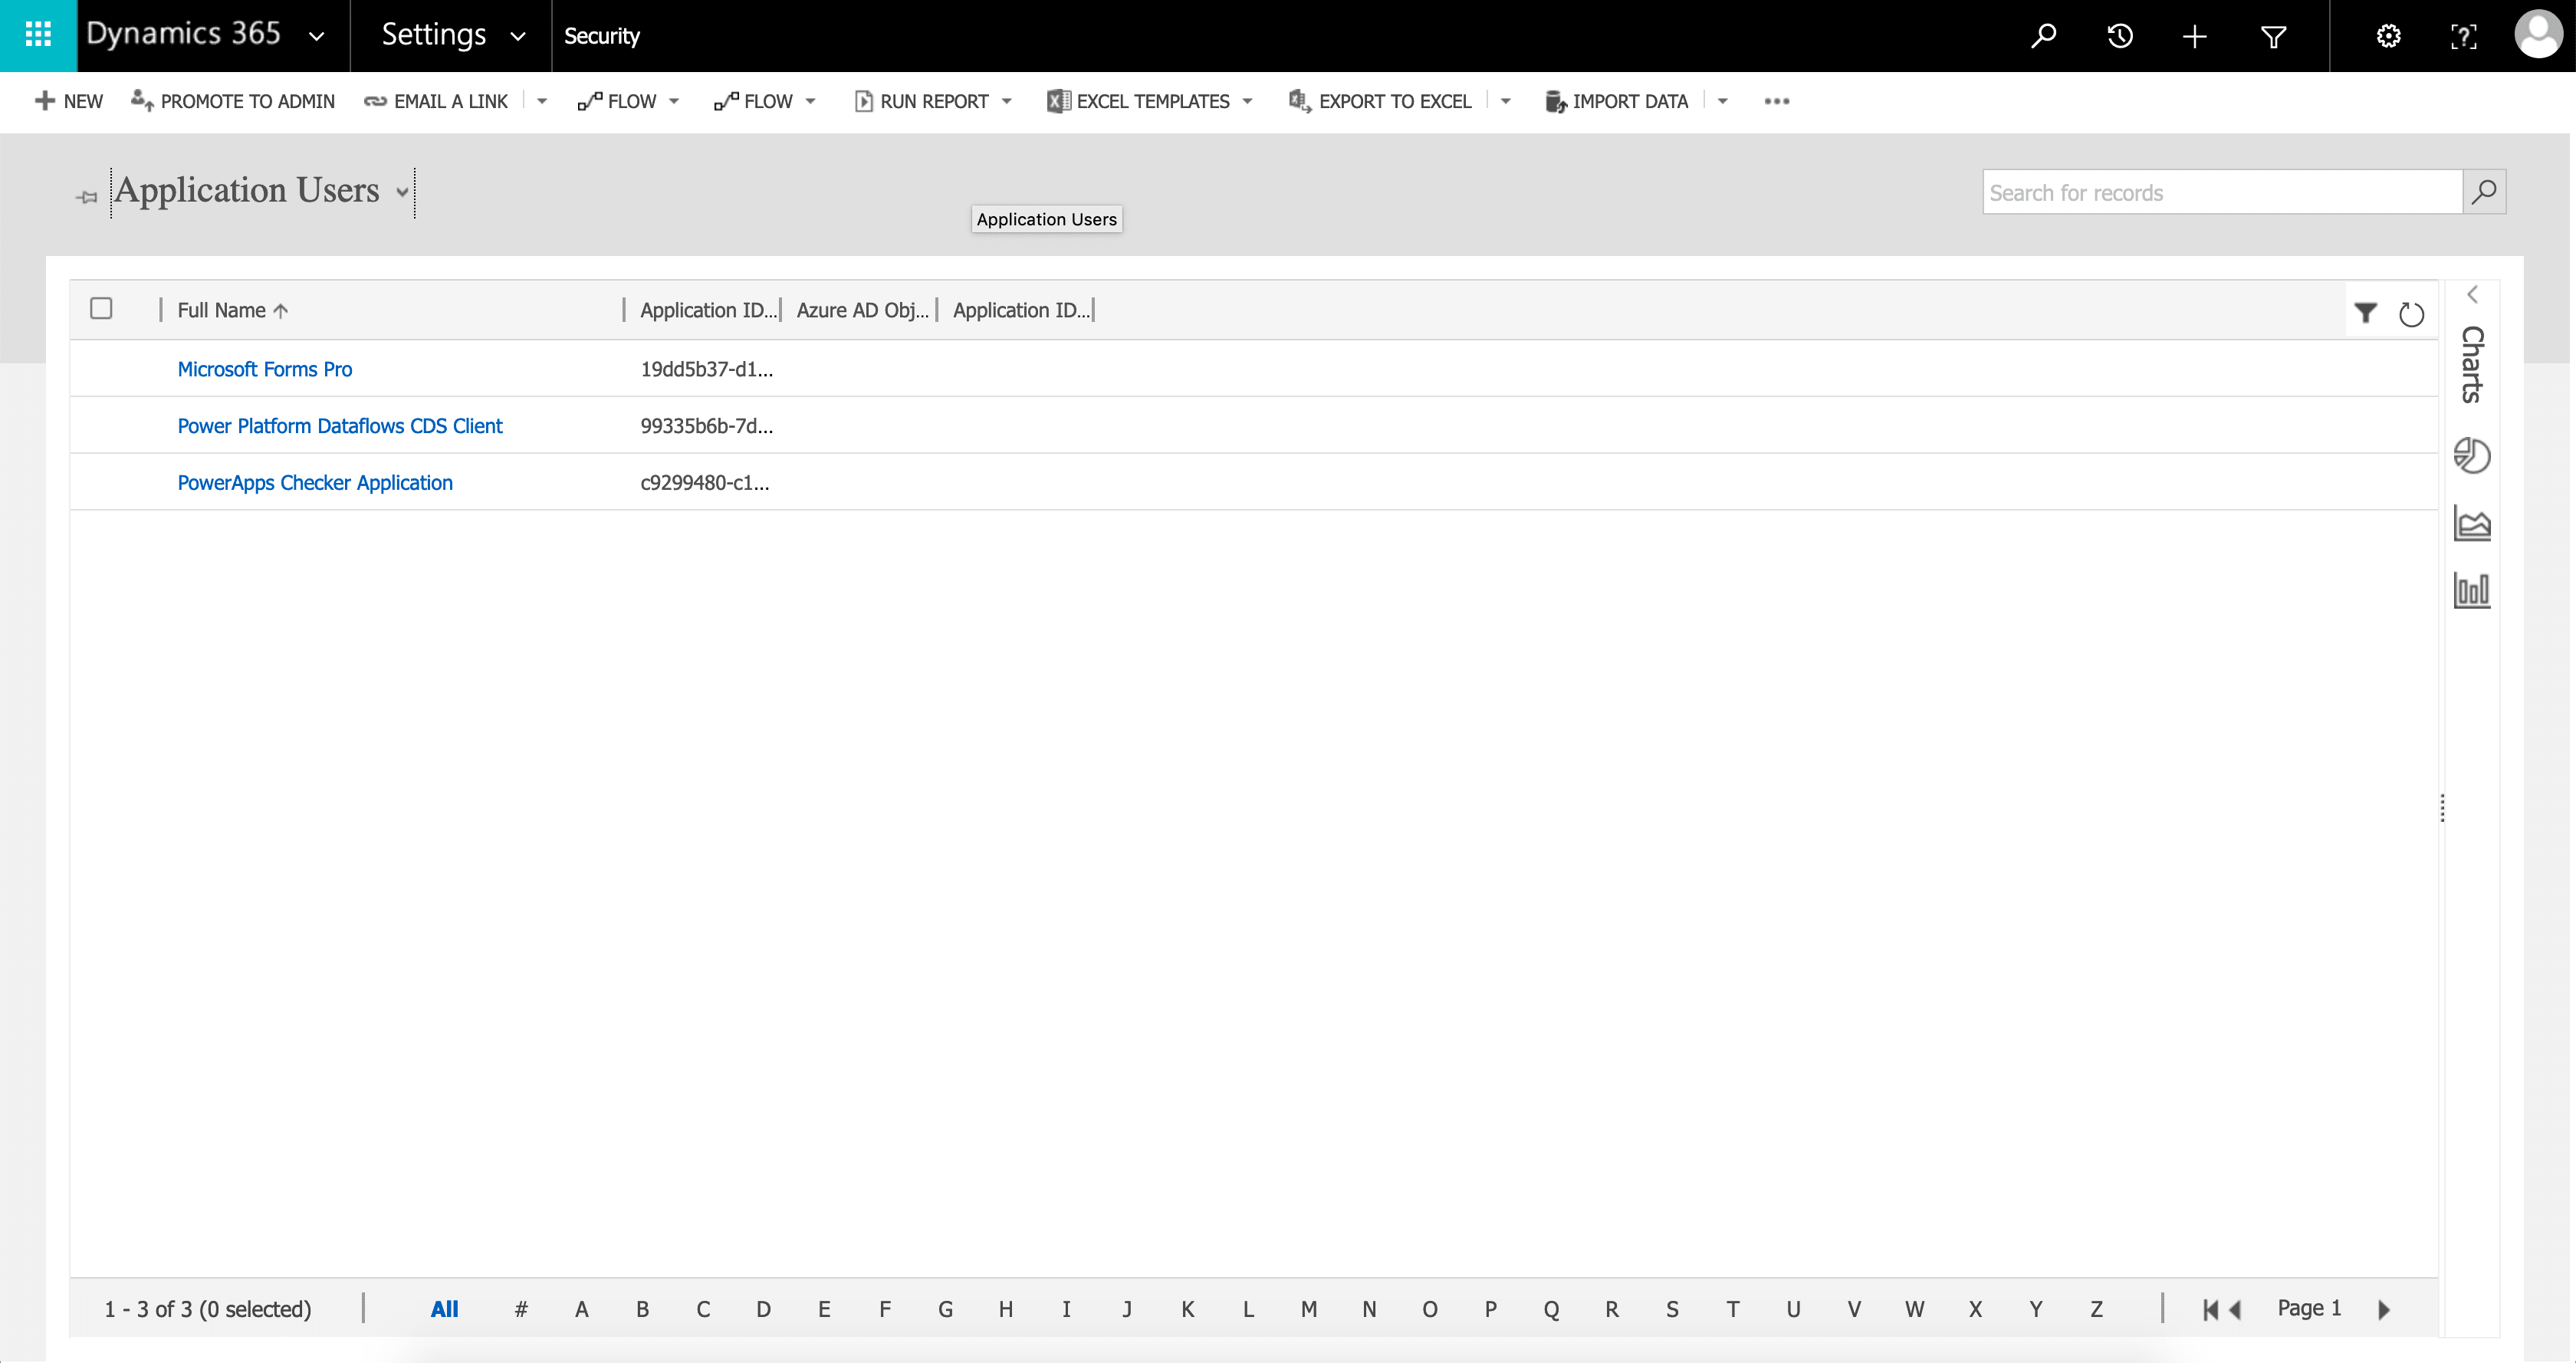
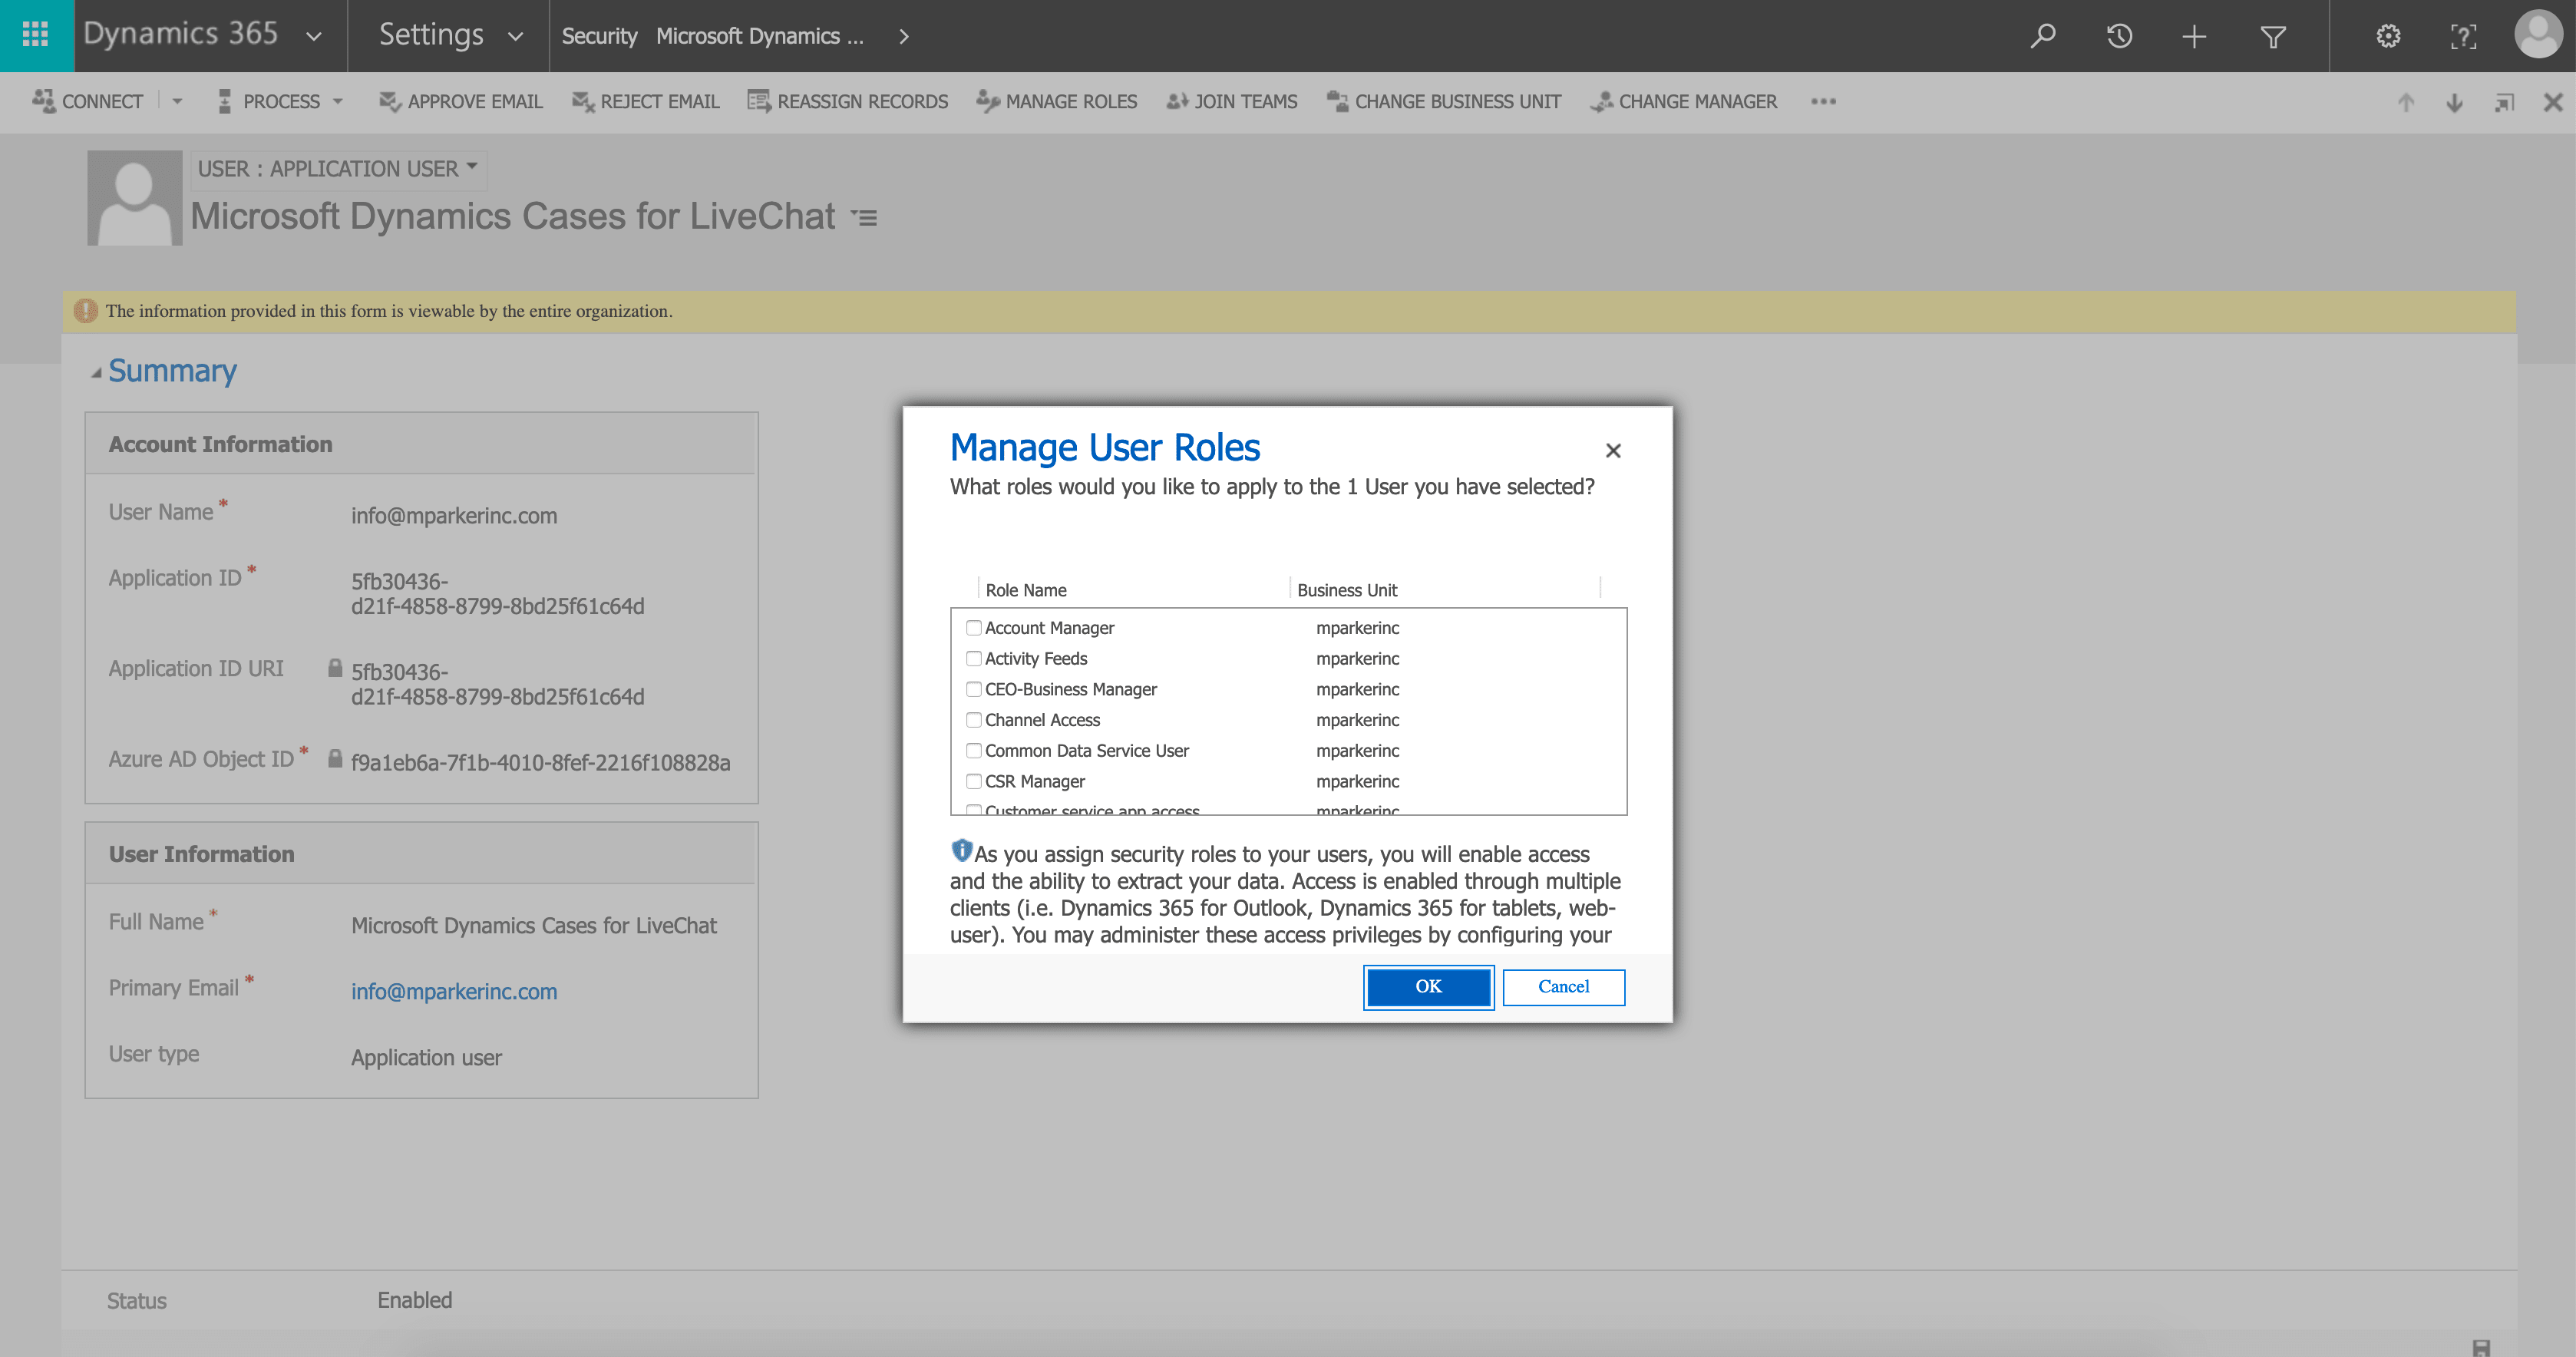
- Go to Users > Application Users > New.
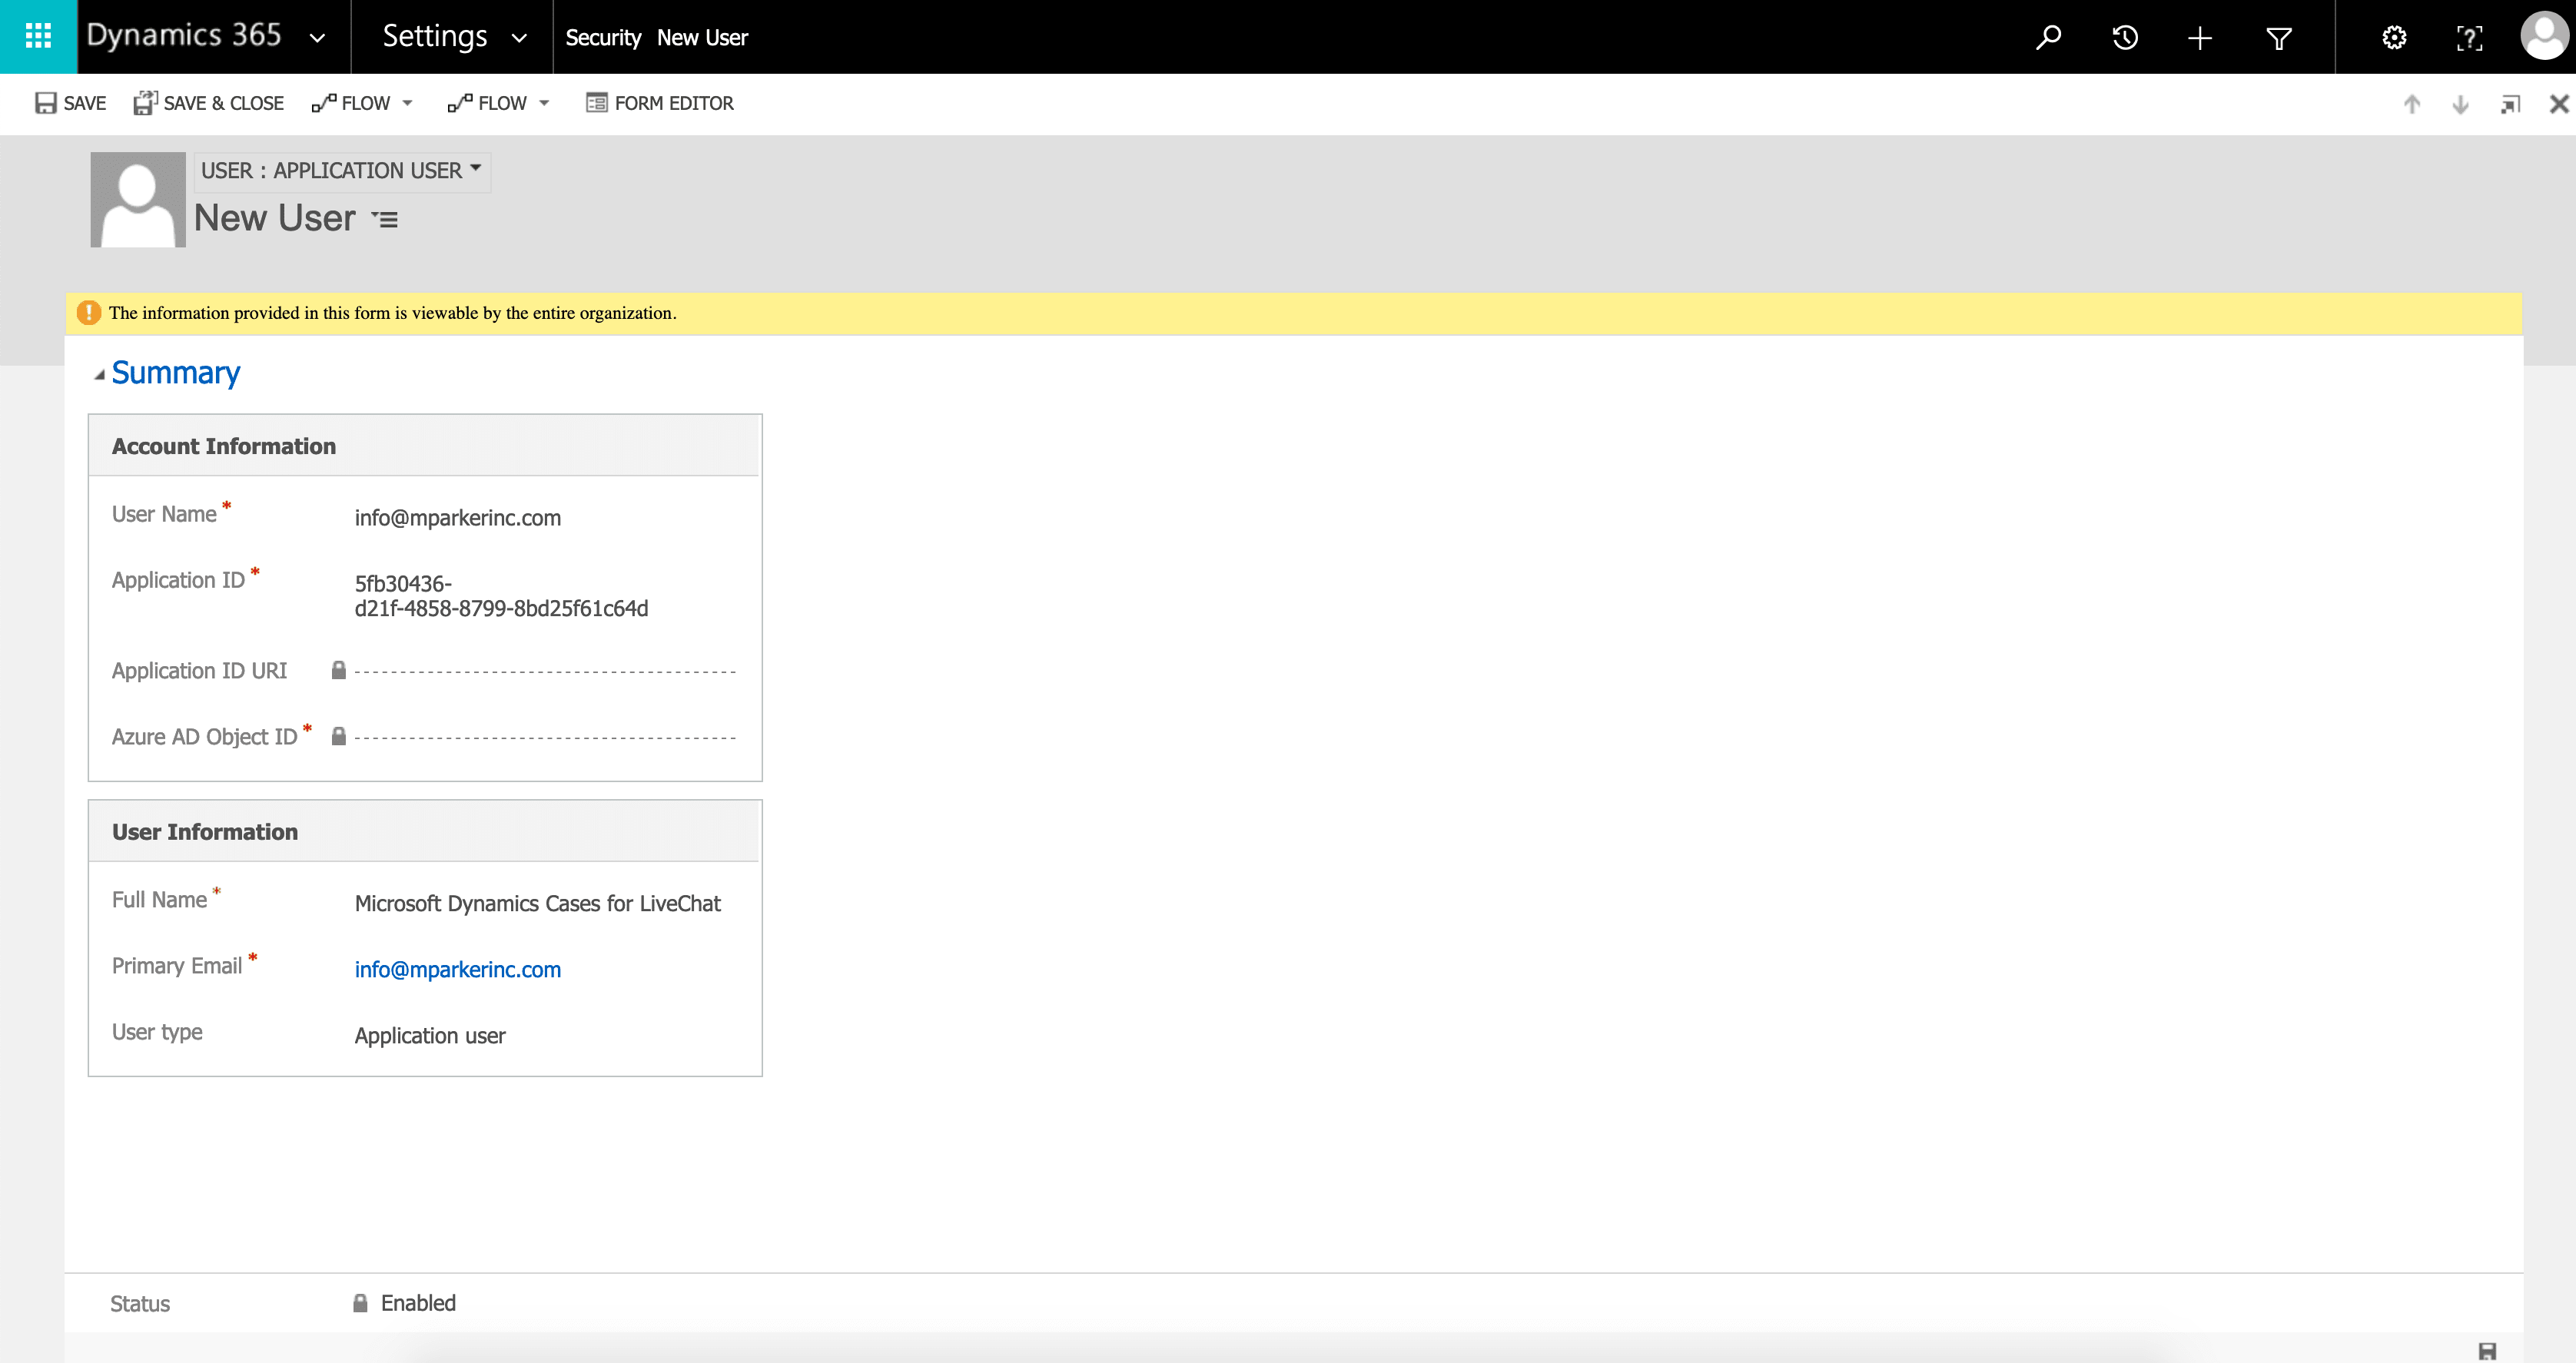
- Enter your details including Application ID from Azure Active Directory. Click Save & Close.
- Your newly created user needs specific User Roles to access the organization data such as Contacts and Cases. We suggest the following Roles:
- Common Data Service User
- Customer Service Representative
Connect LiveChat with your Dynamics organization
-
Go to the LiveChat Marketplace and click Buy.
-
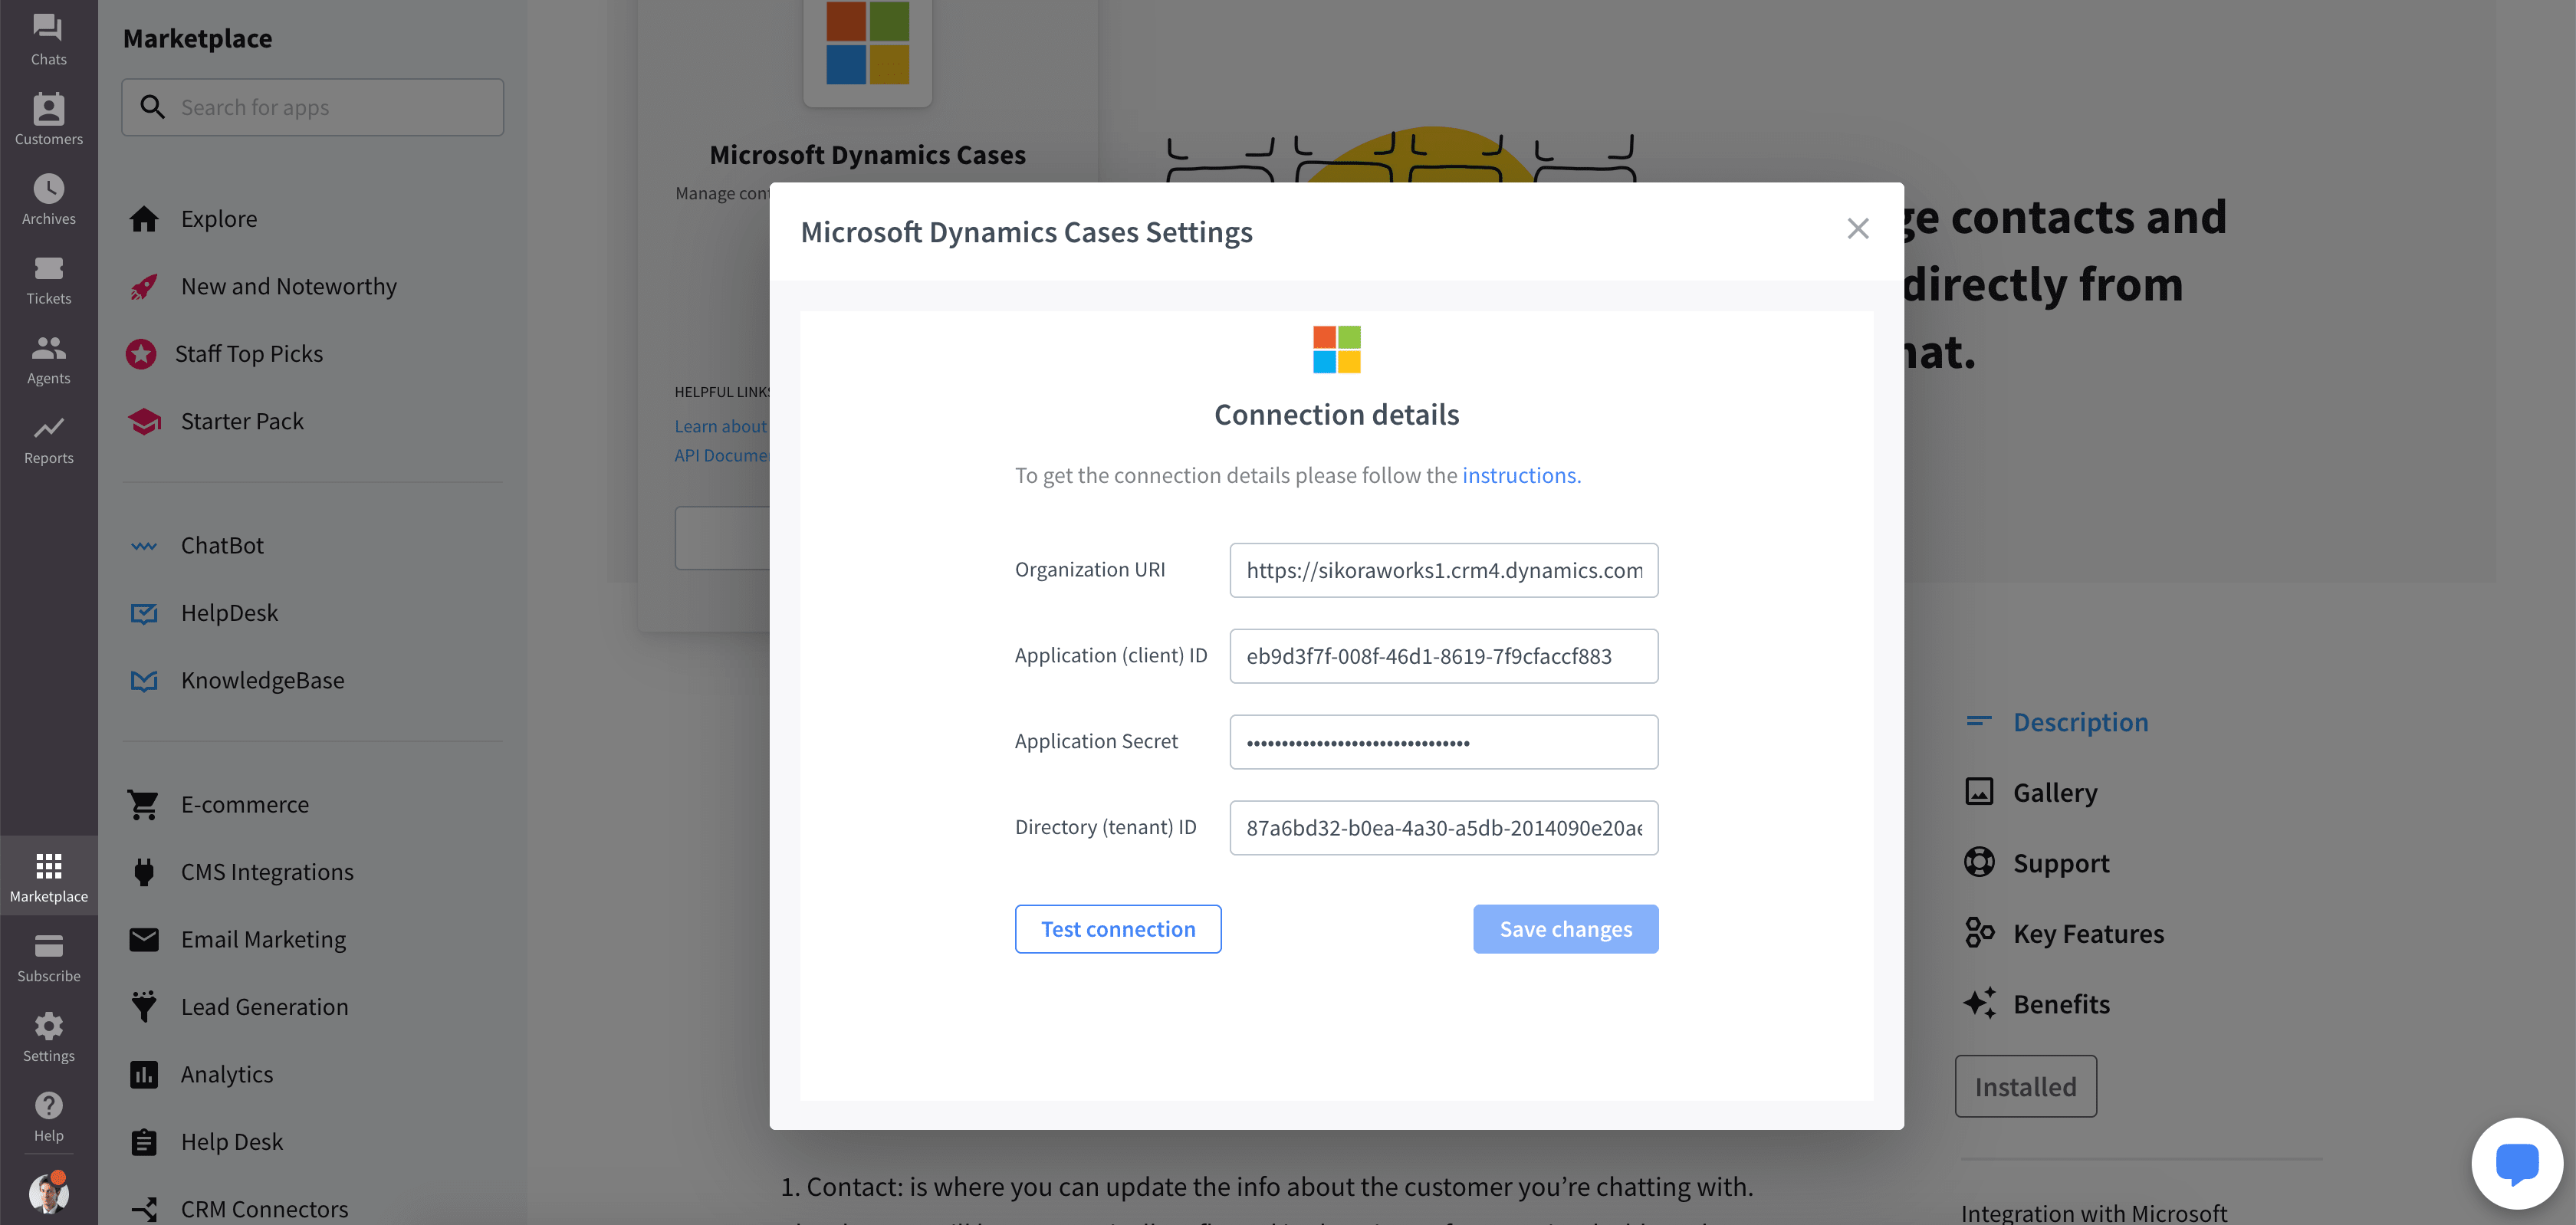
Next, navigate to the integration's settings page.
-
Enter the previously stored data:
- Organization URI
- Application (client) ID
- Application Secret
- Directory (tenant) ID
-
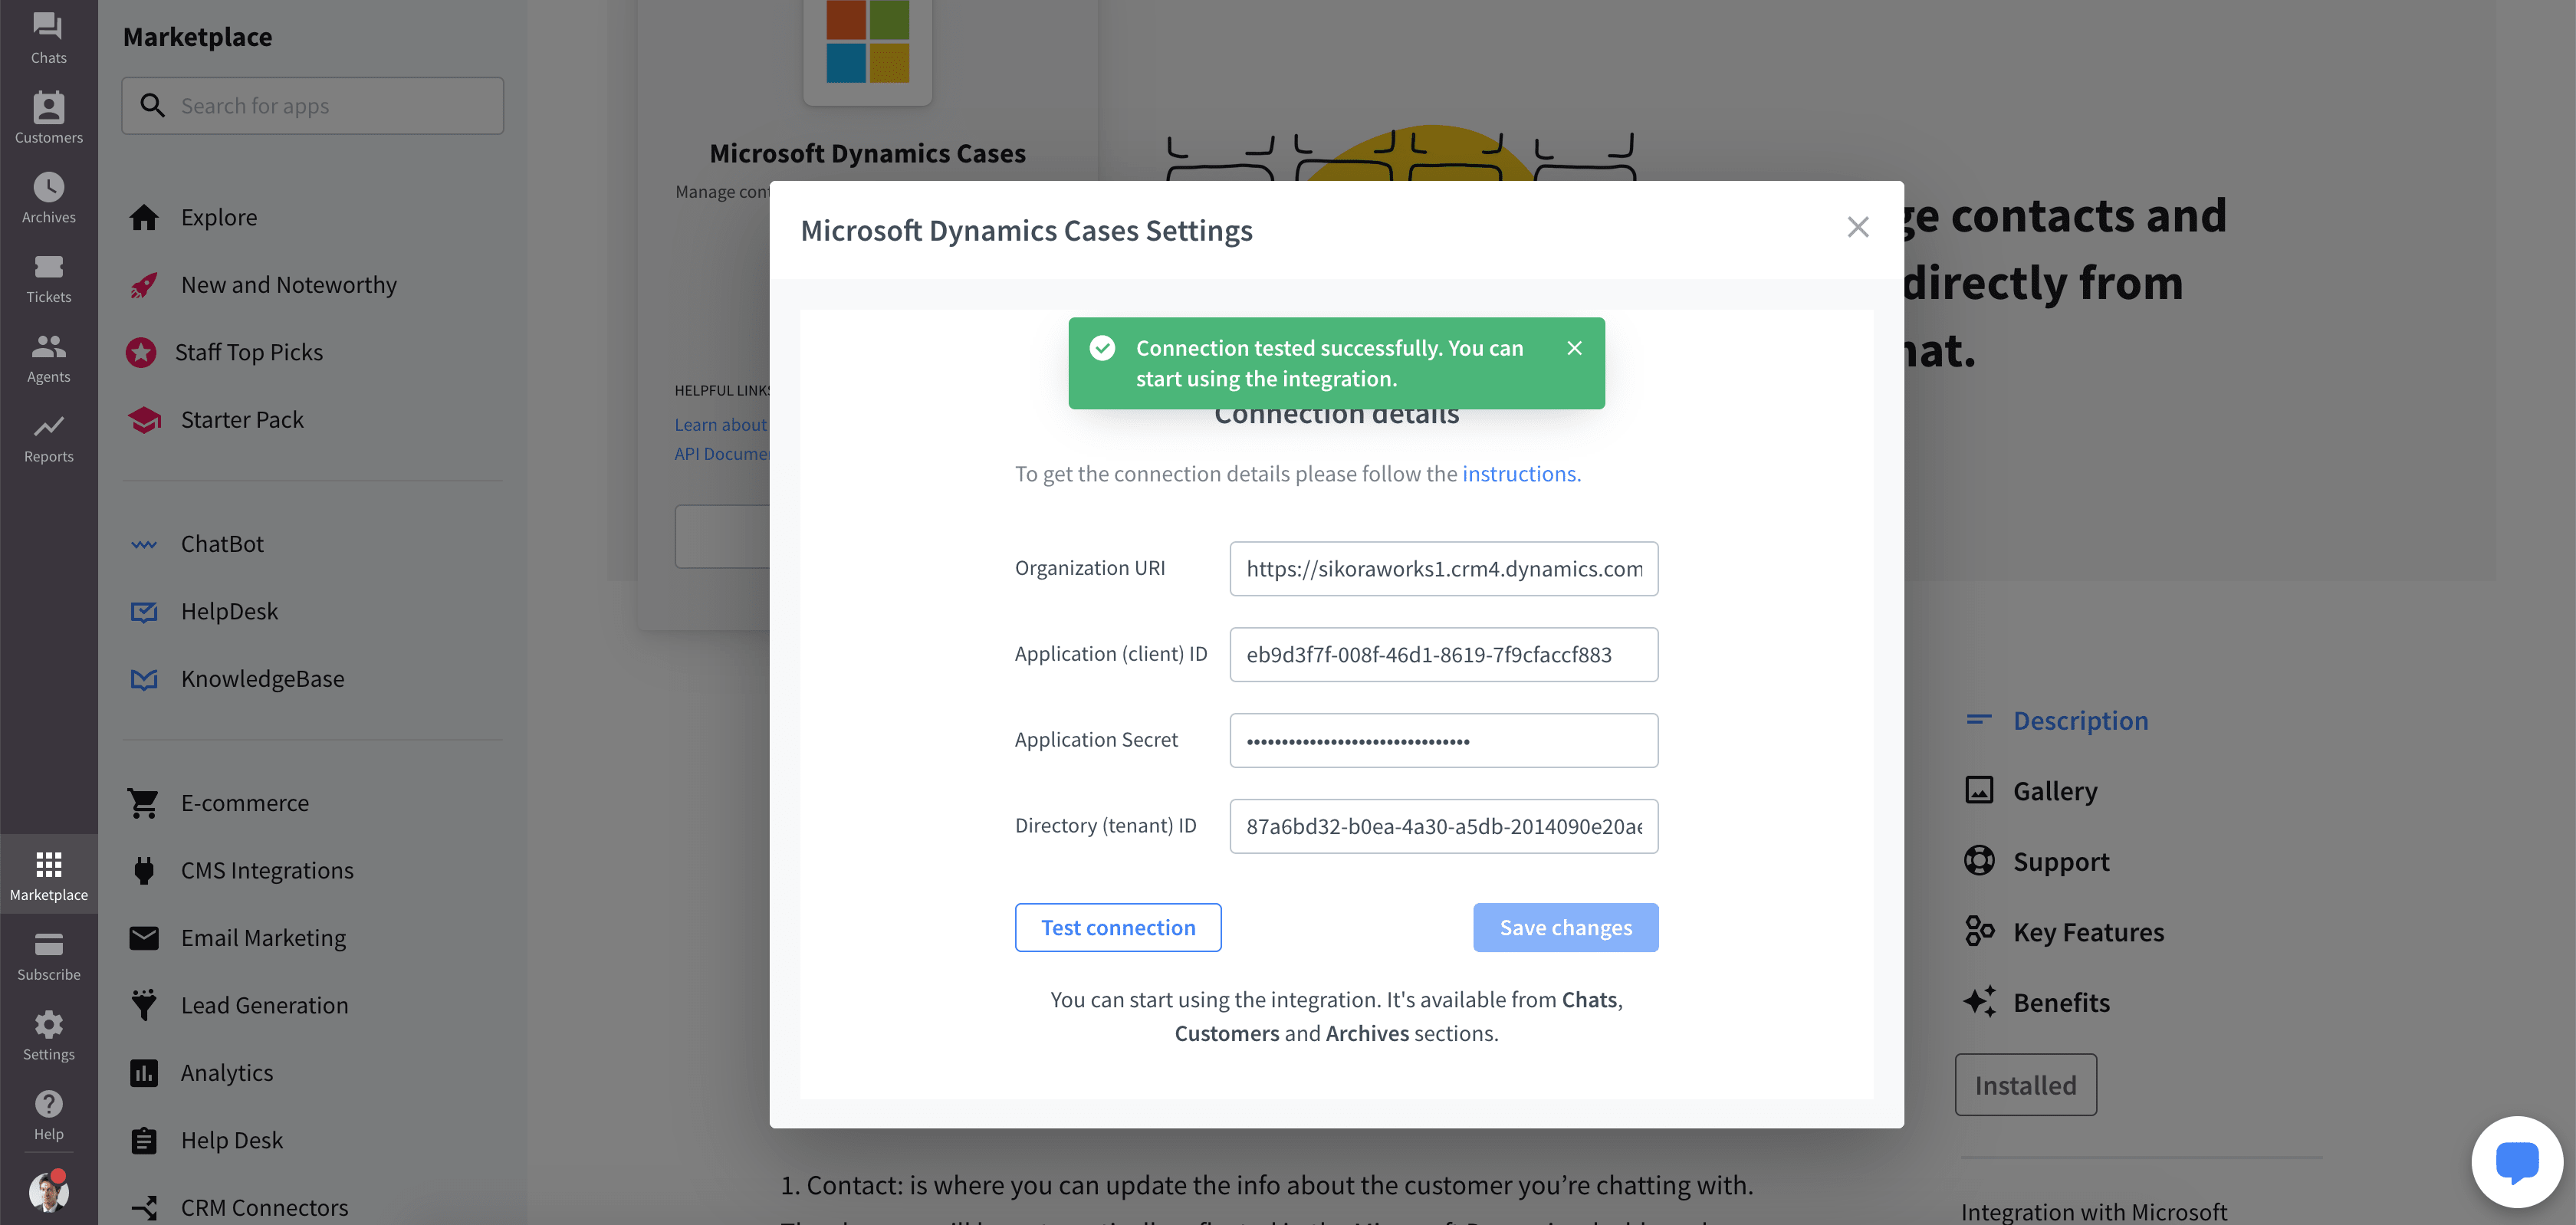
Click on Save changes and then Test connection. This step is necessary to verify all the permissions of your newly created Application User (see Create Application User). Please, make sure that you have at least one existing Contact in your CRM before testing the connection.
- If all goes well, you should receive a success notification.
How to use Microsoft Dynamics Cases
You can access the integration from 3 sections of the LiveChat application:
- Chats
- Customers
- Archives
Existing contact
The integration uses a customer's email. If the email matches a contact existing in Microsoft Dynamics, you 'll see the contact in the Customer Details section.
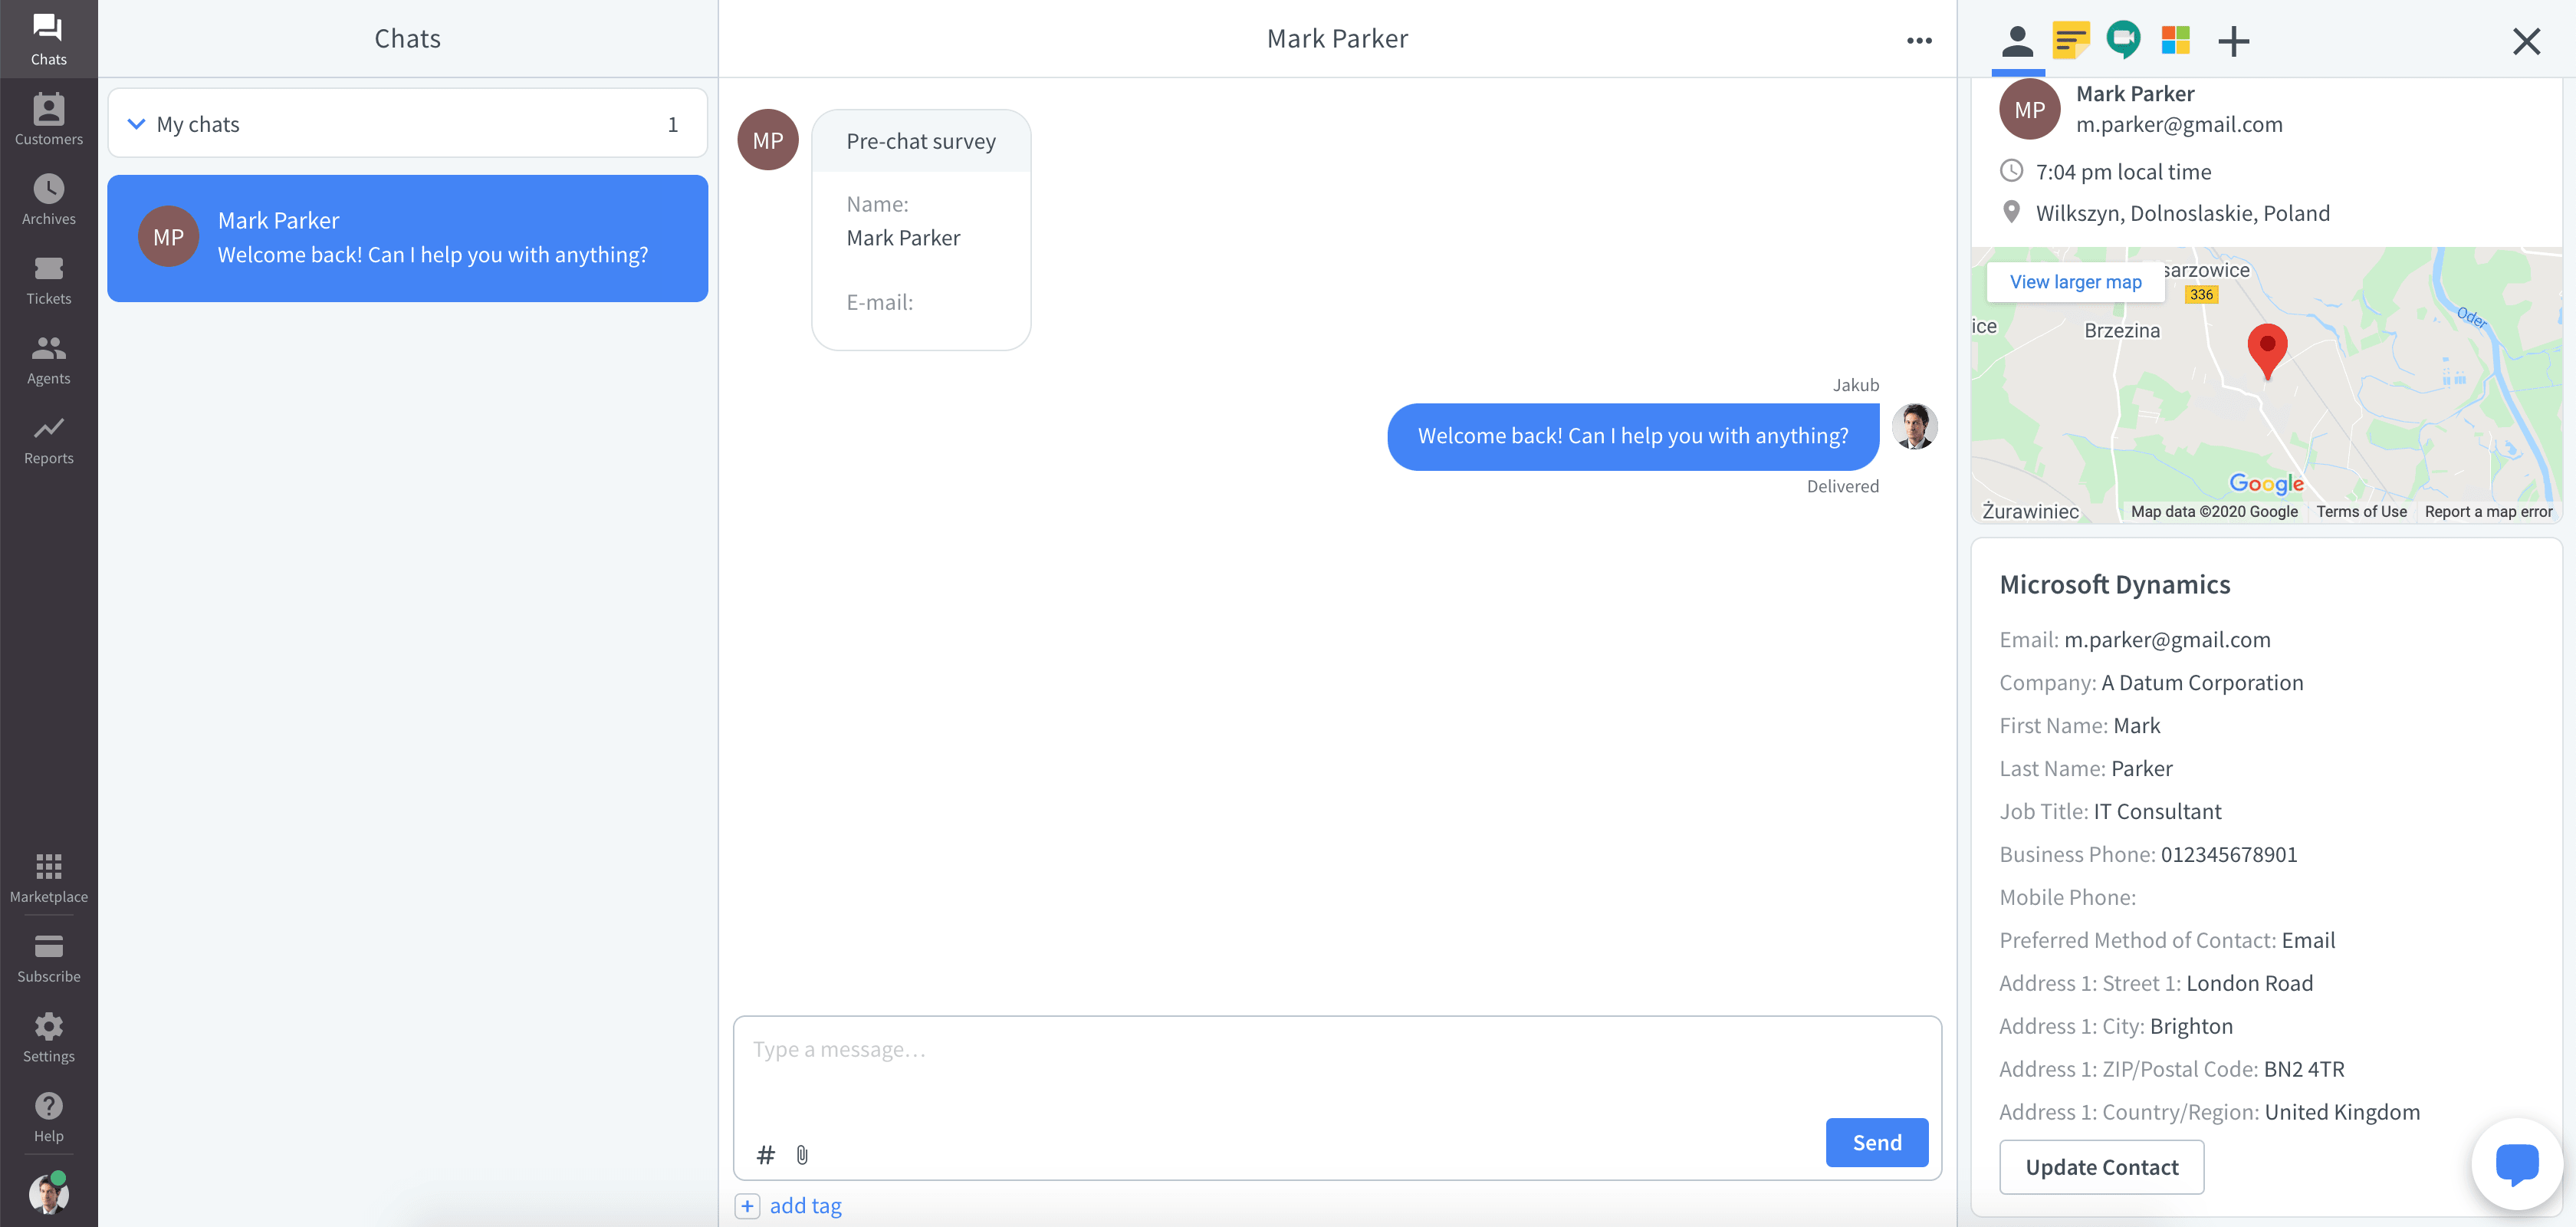
You can then edit the contact right in the integration. You can access it from the Contact tab.
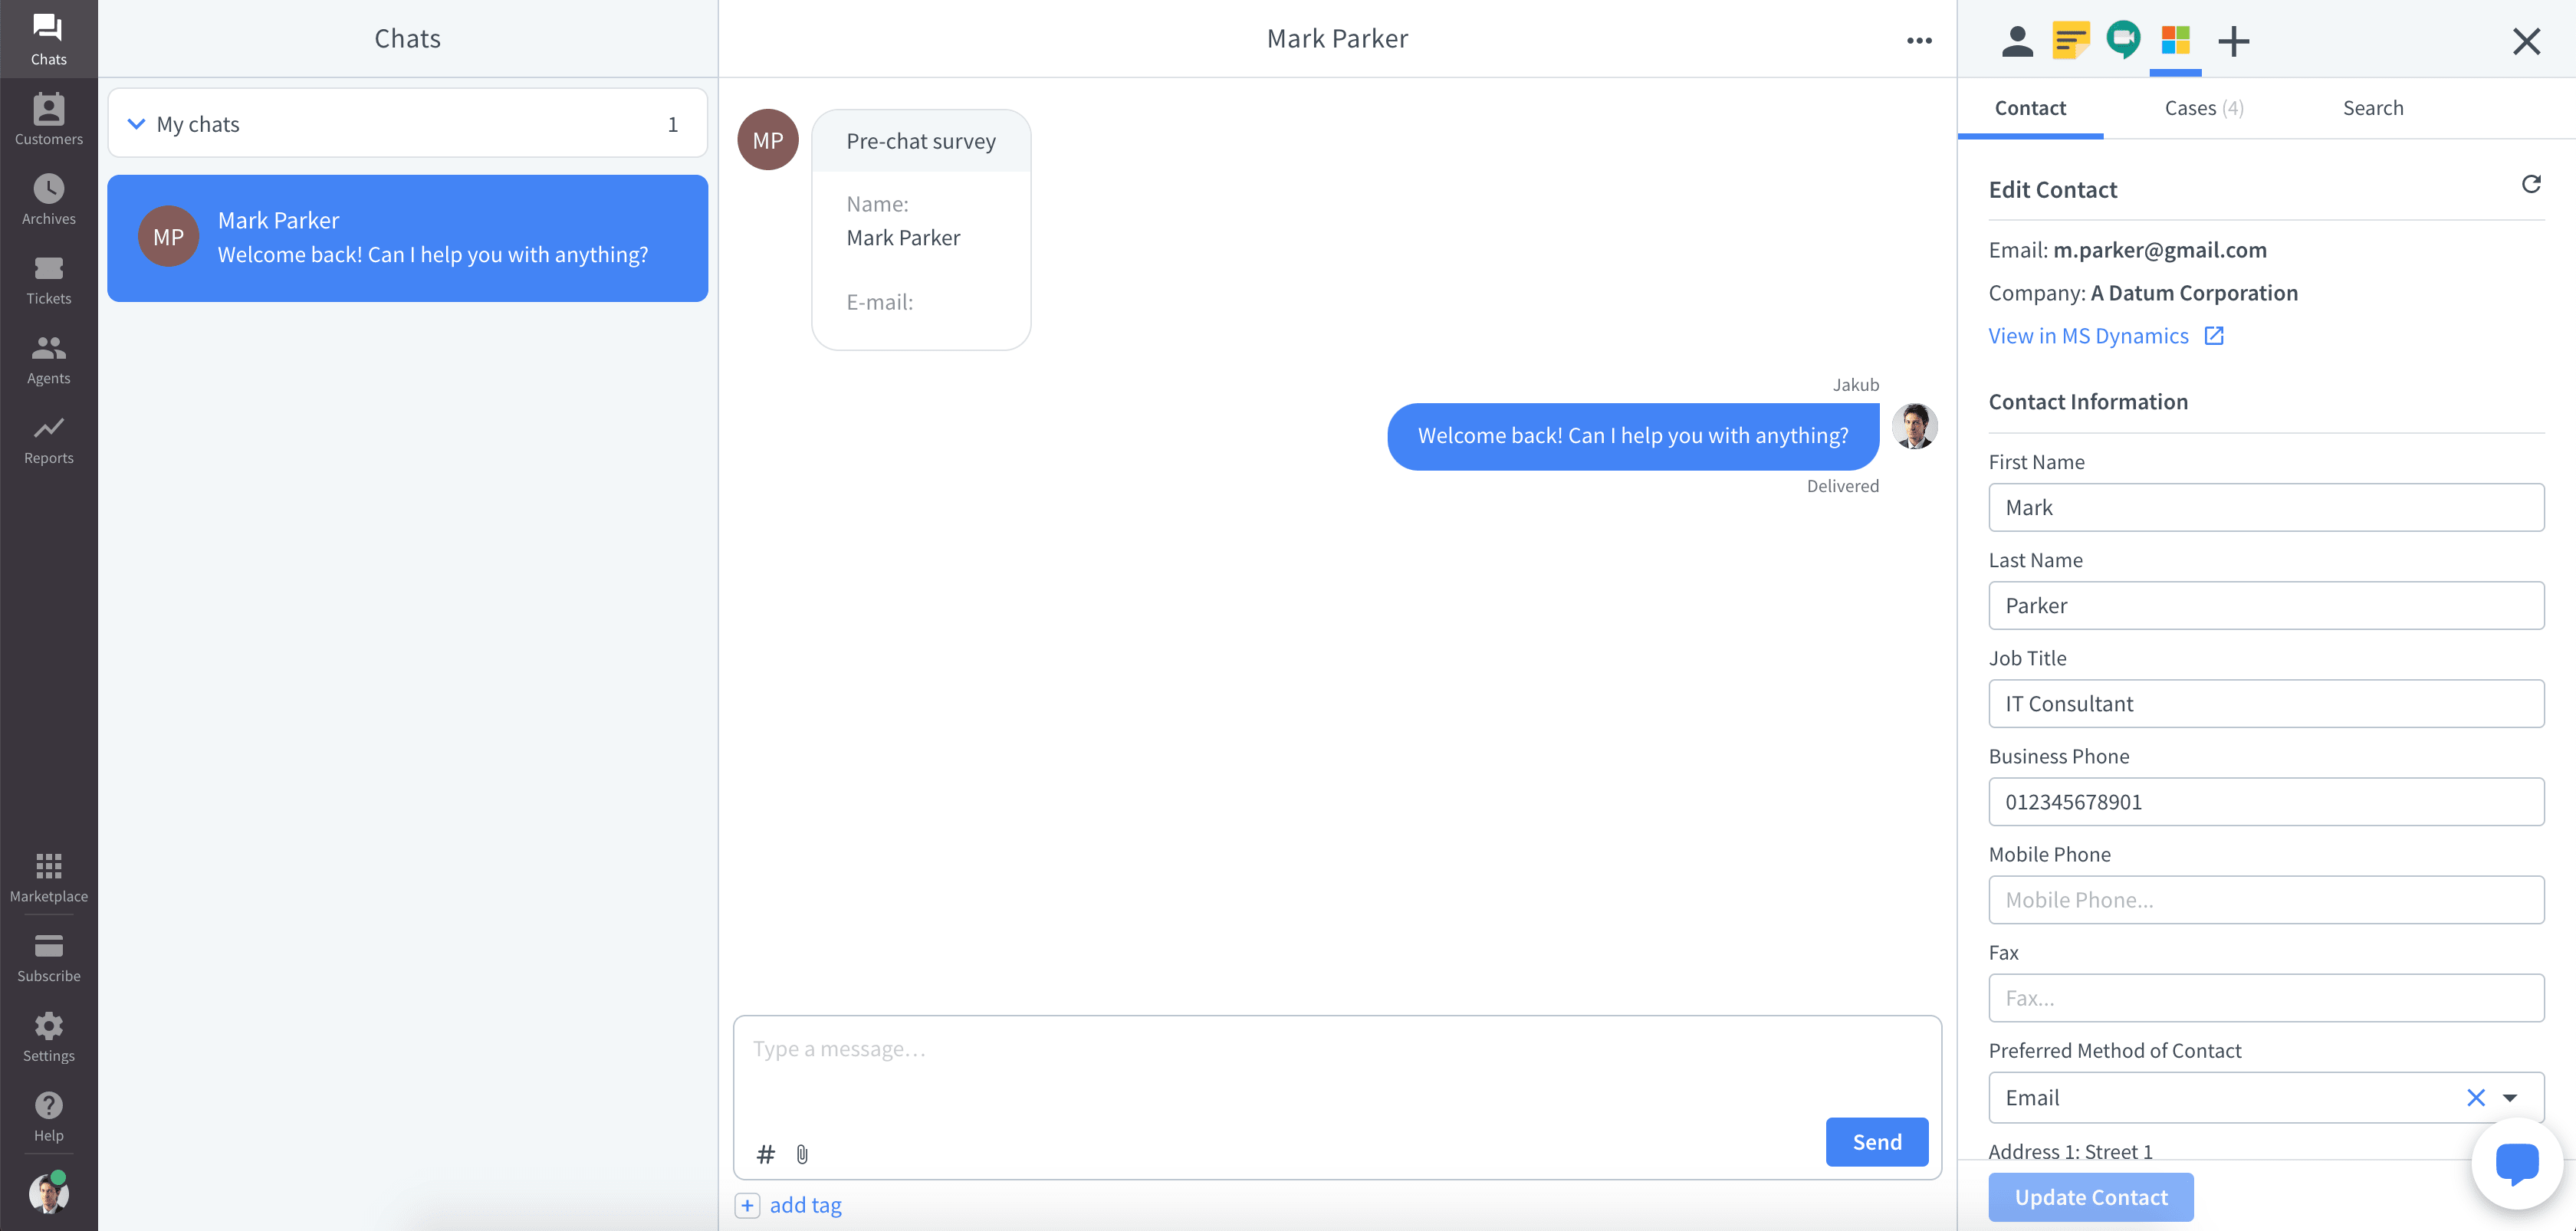
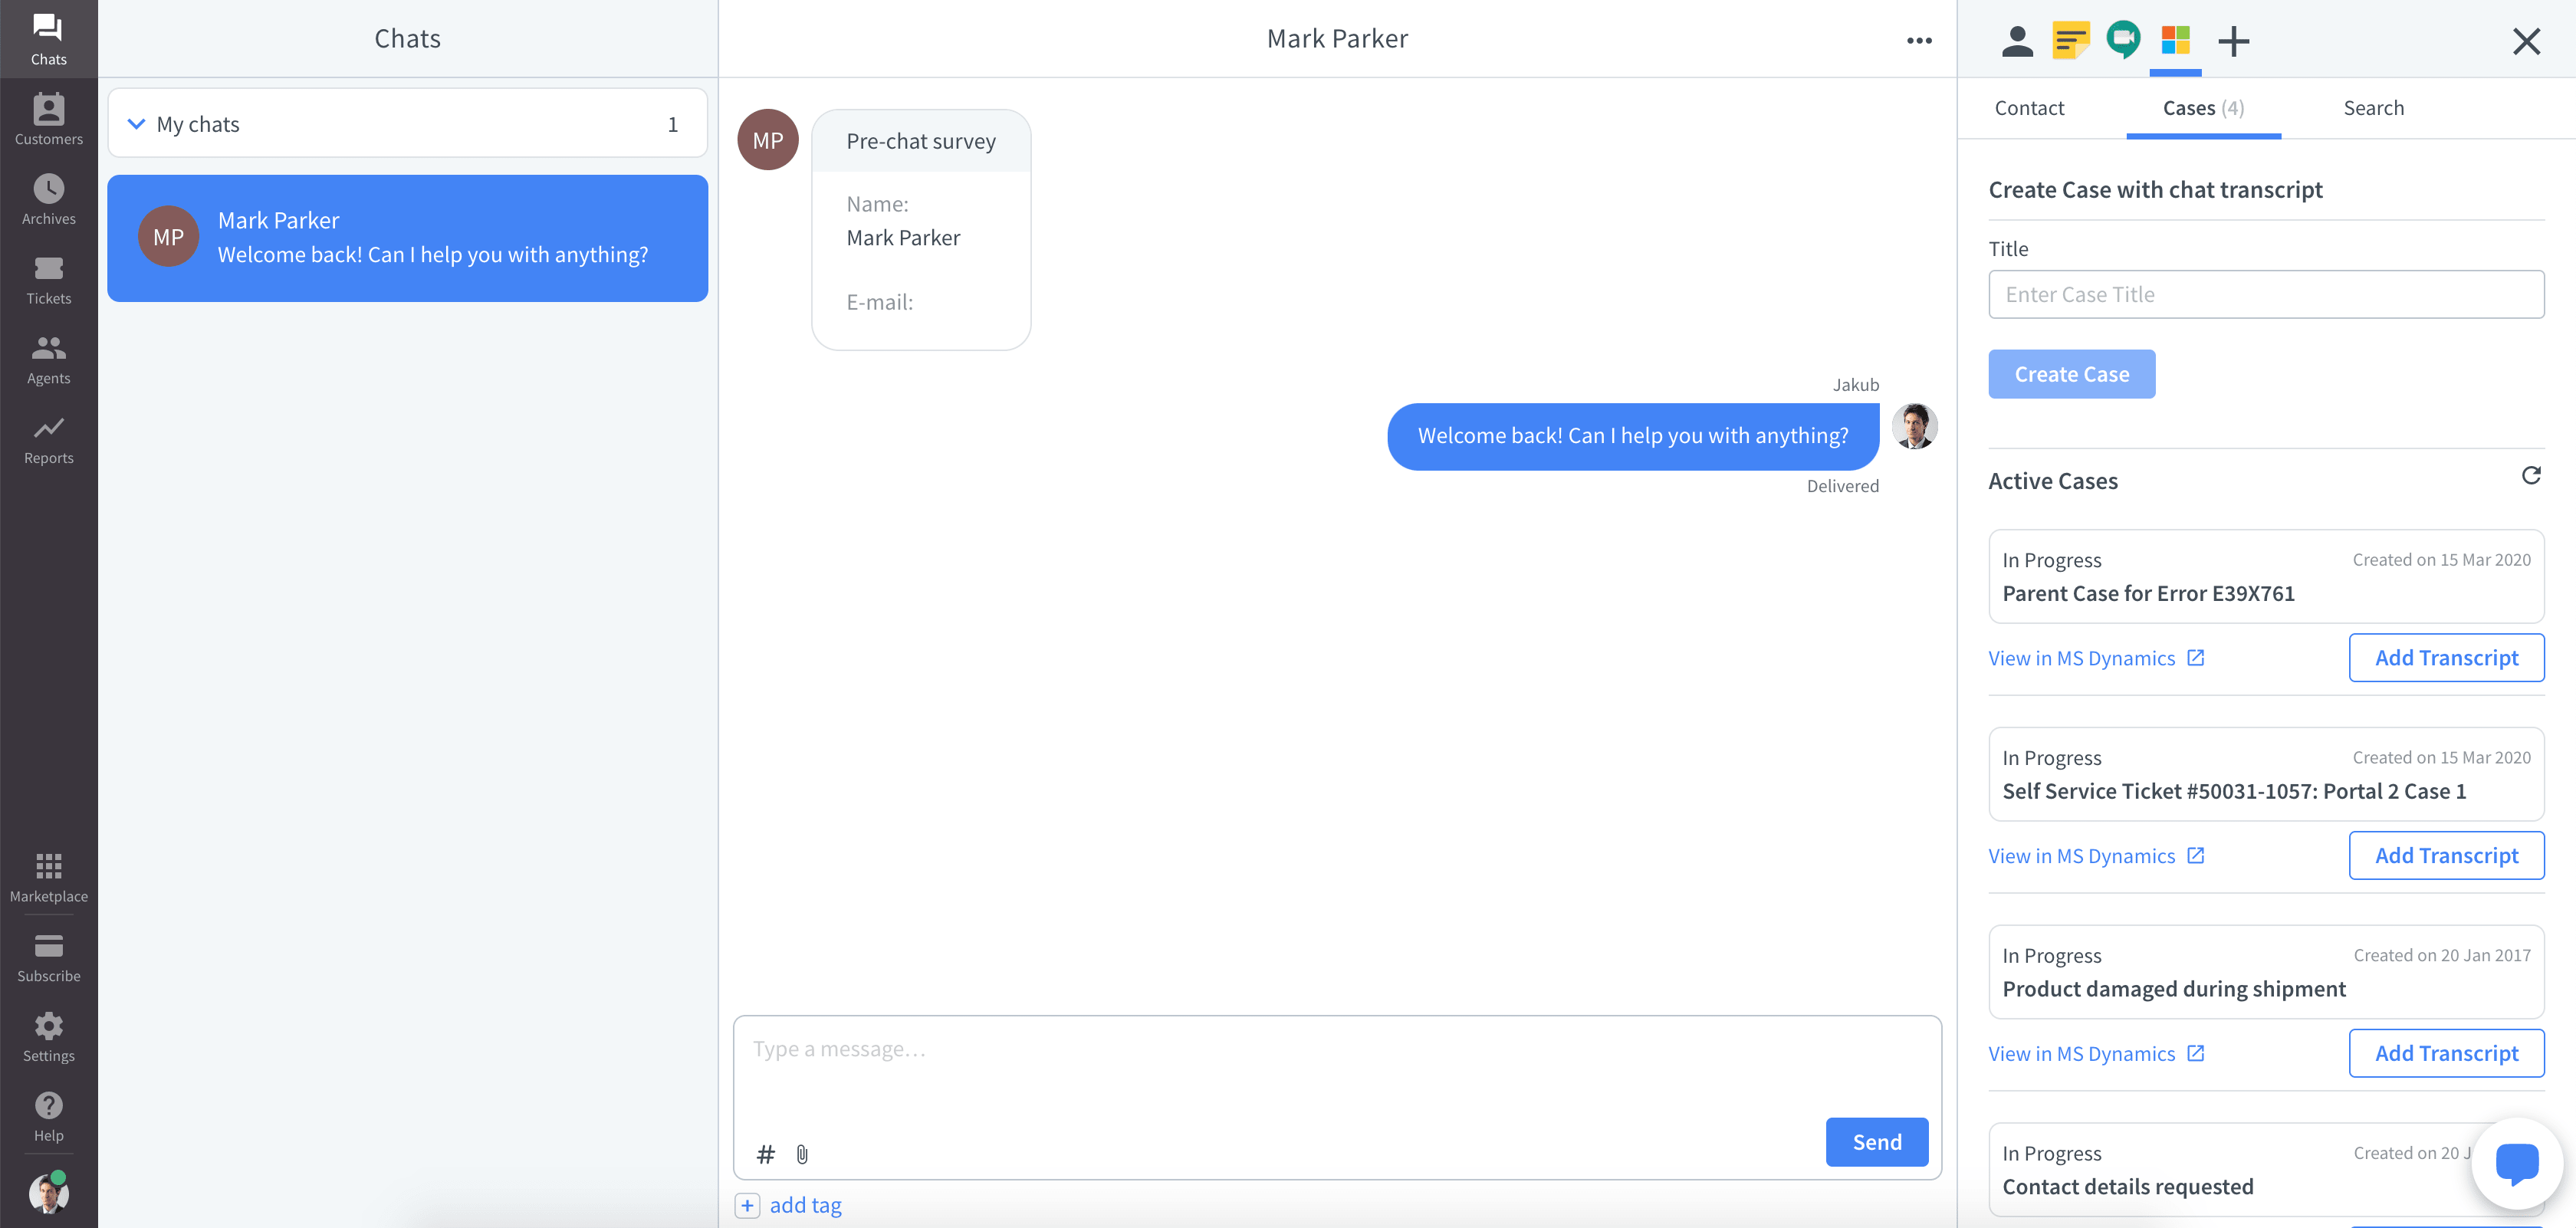
All cases assigned to a contact are available in the Cases tab.
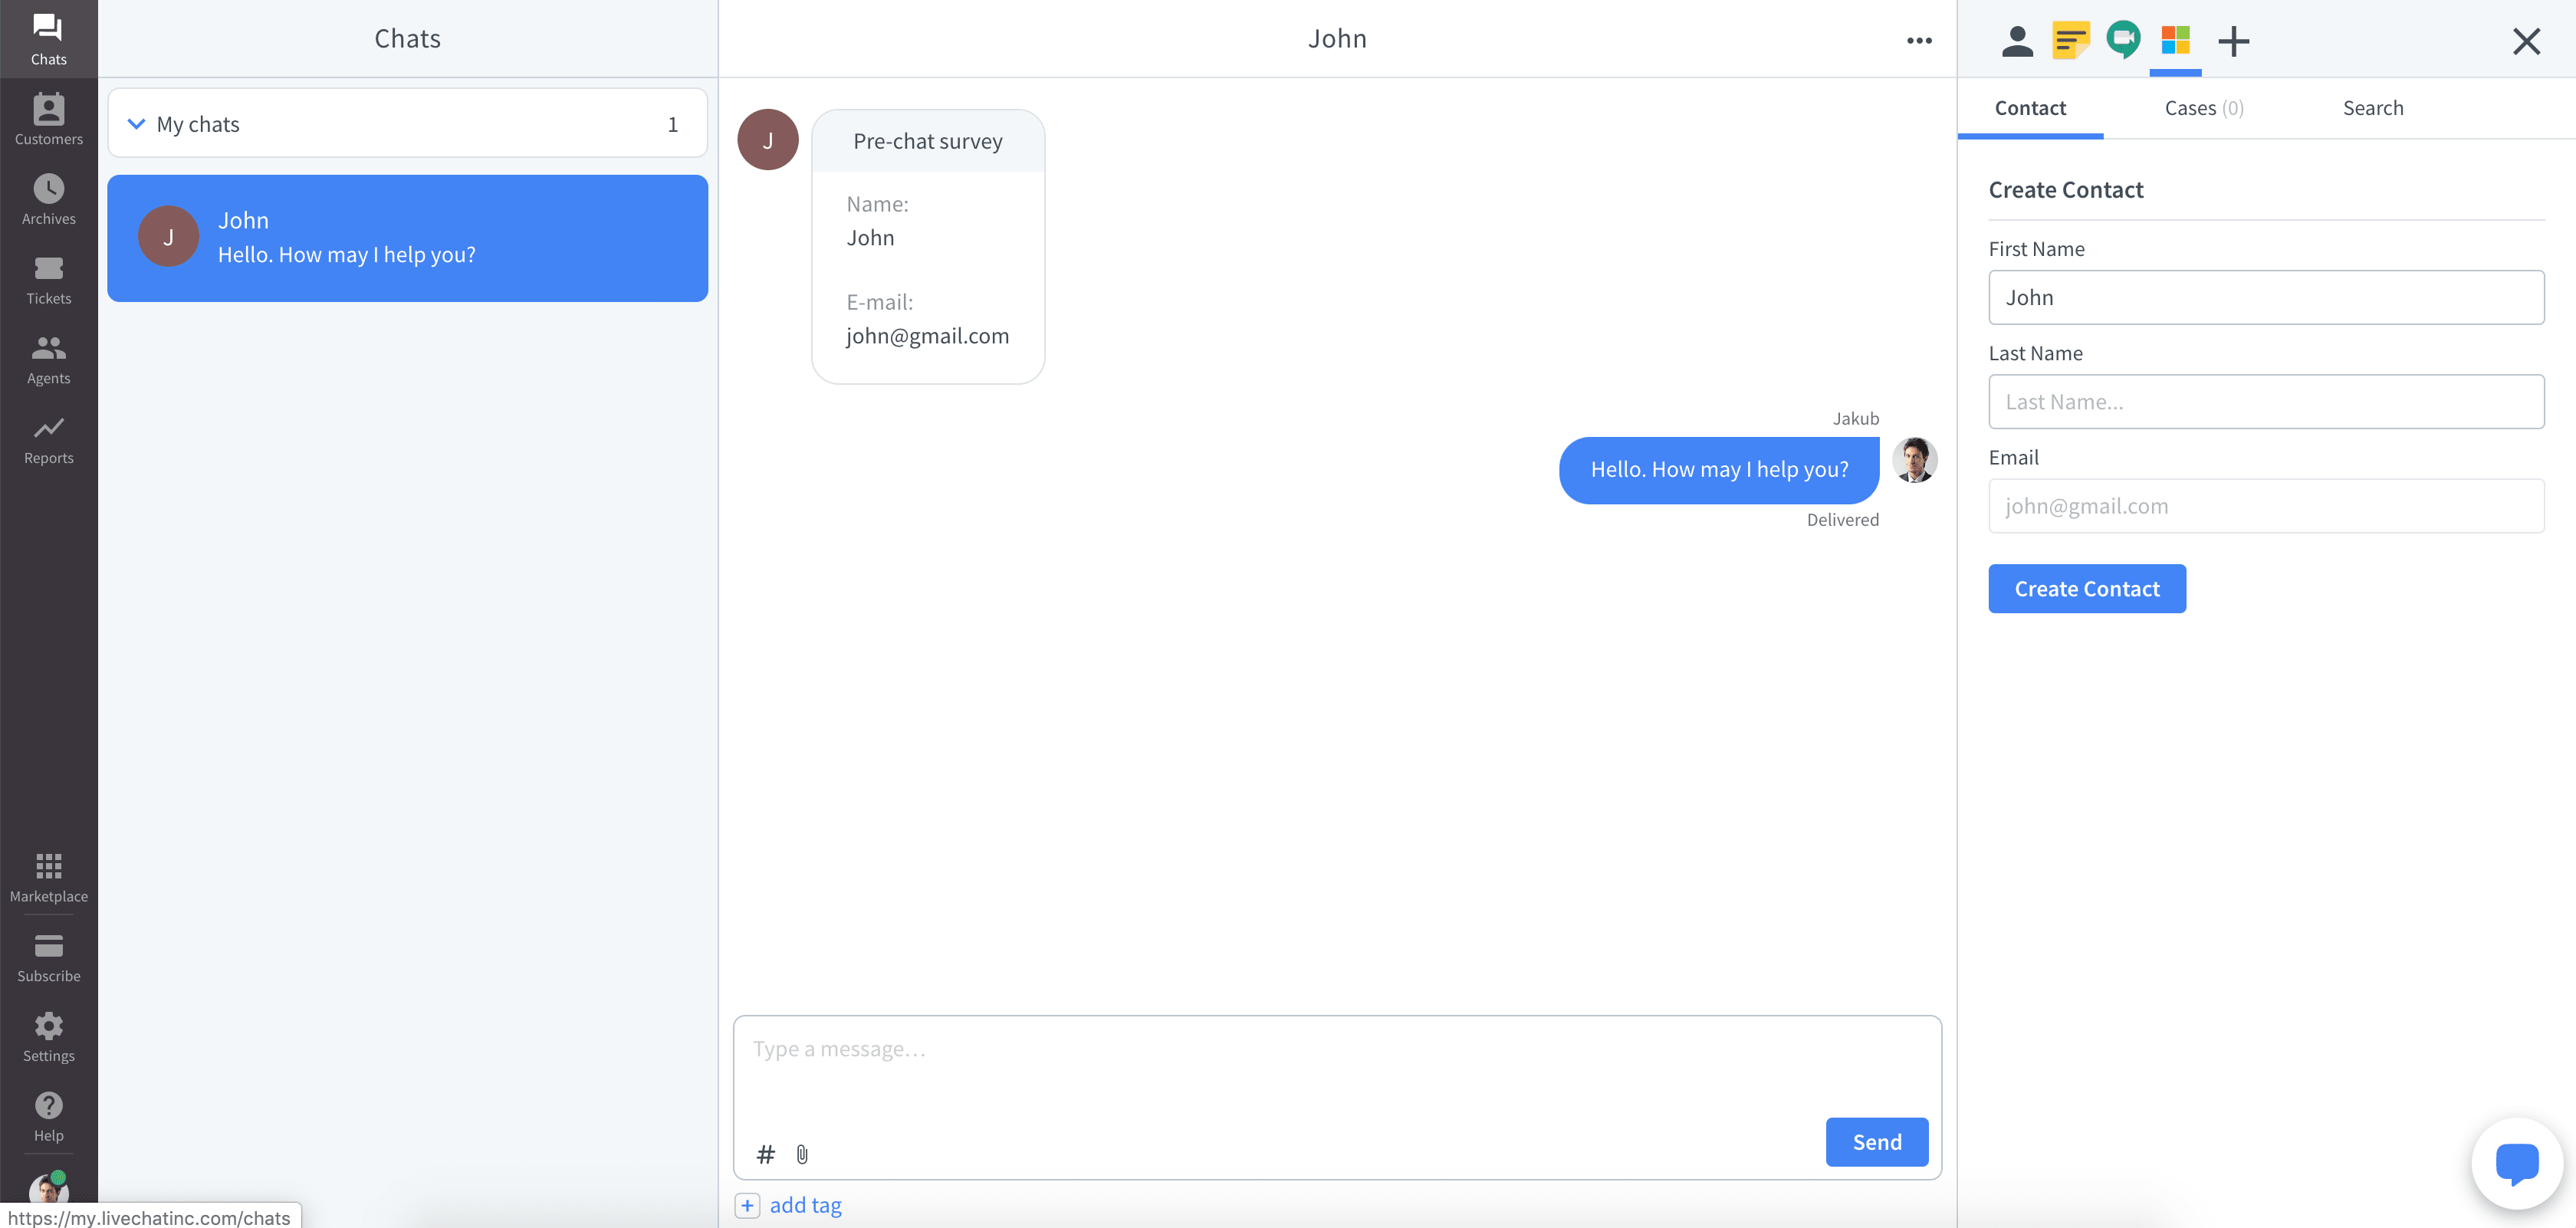
New contacts
If the email doesn't match any contact in your CRM, Customer details will tell you that "Contact doesn't exist yet".

You can create a new contact right in the integration, in the Contact tab.
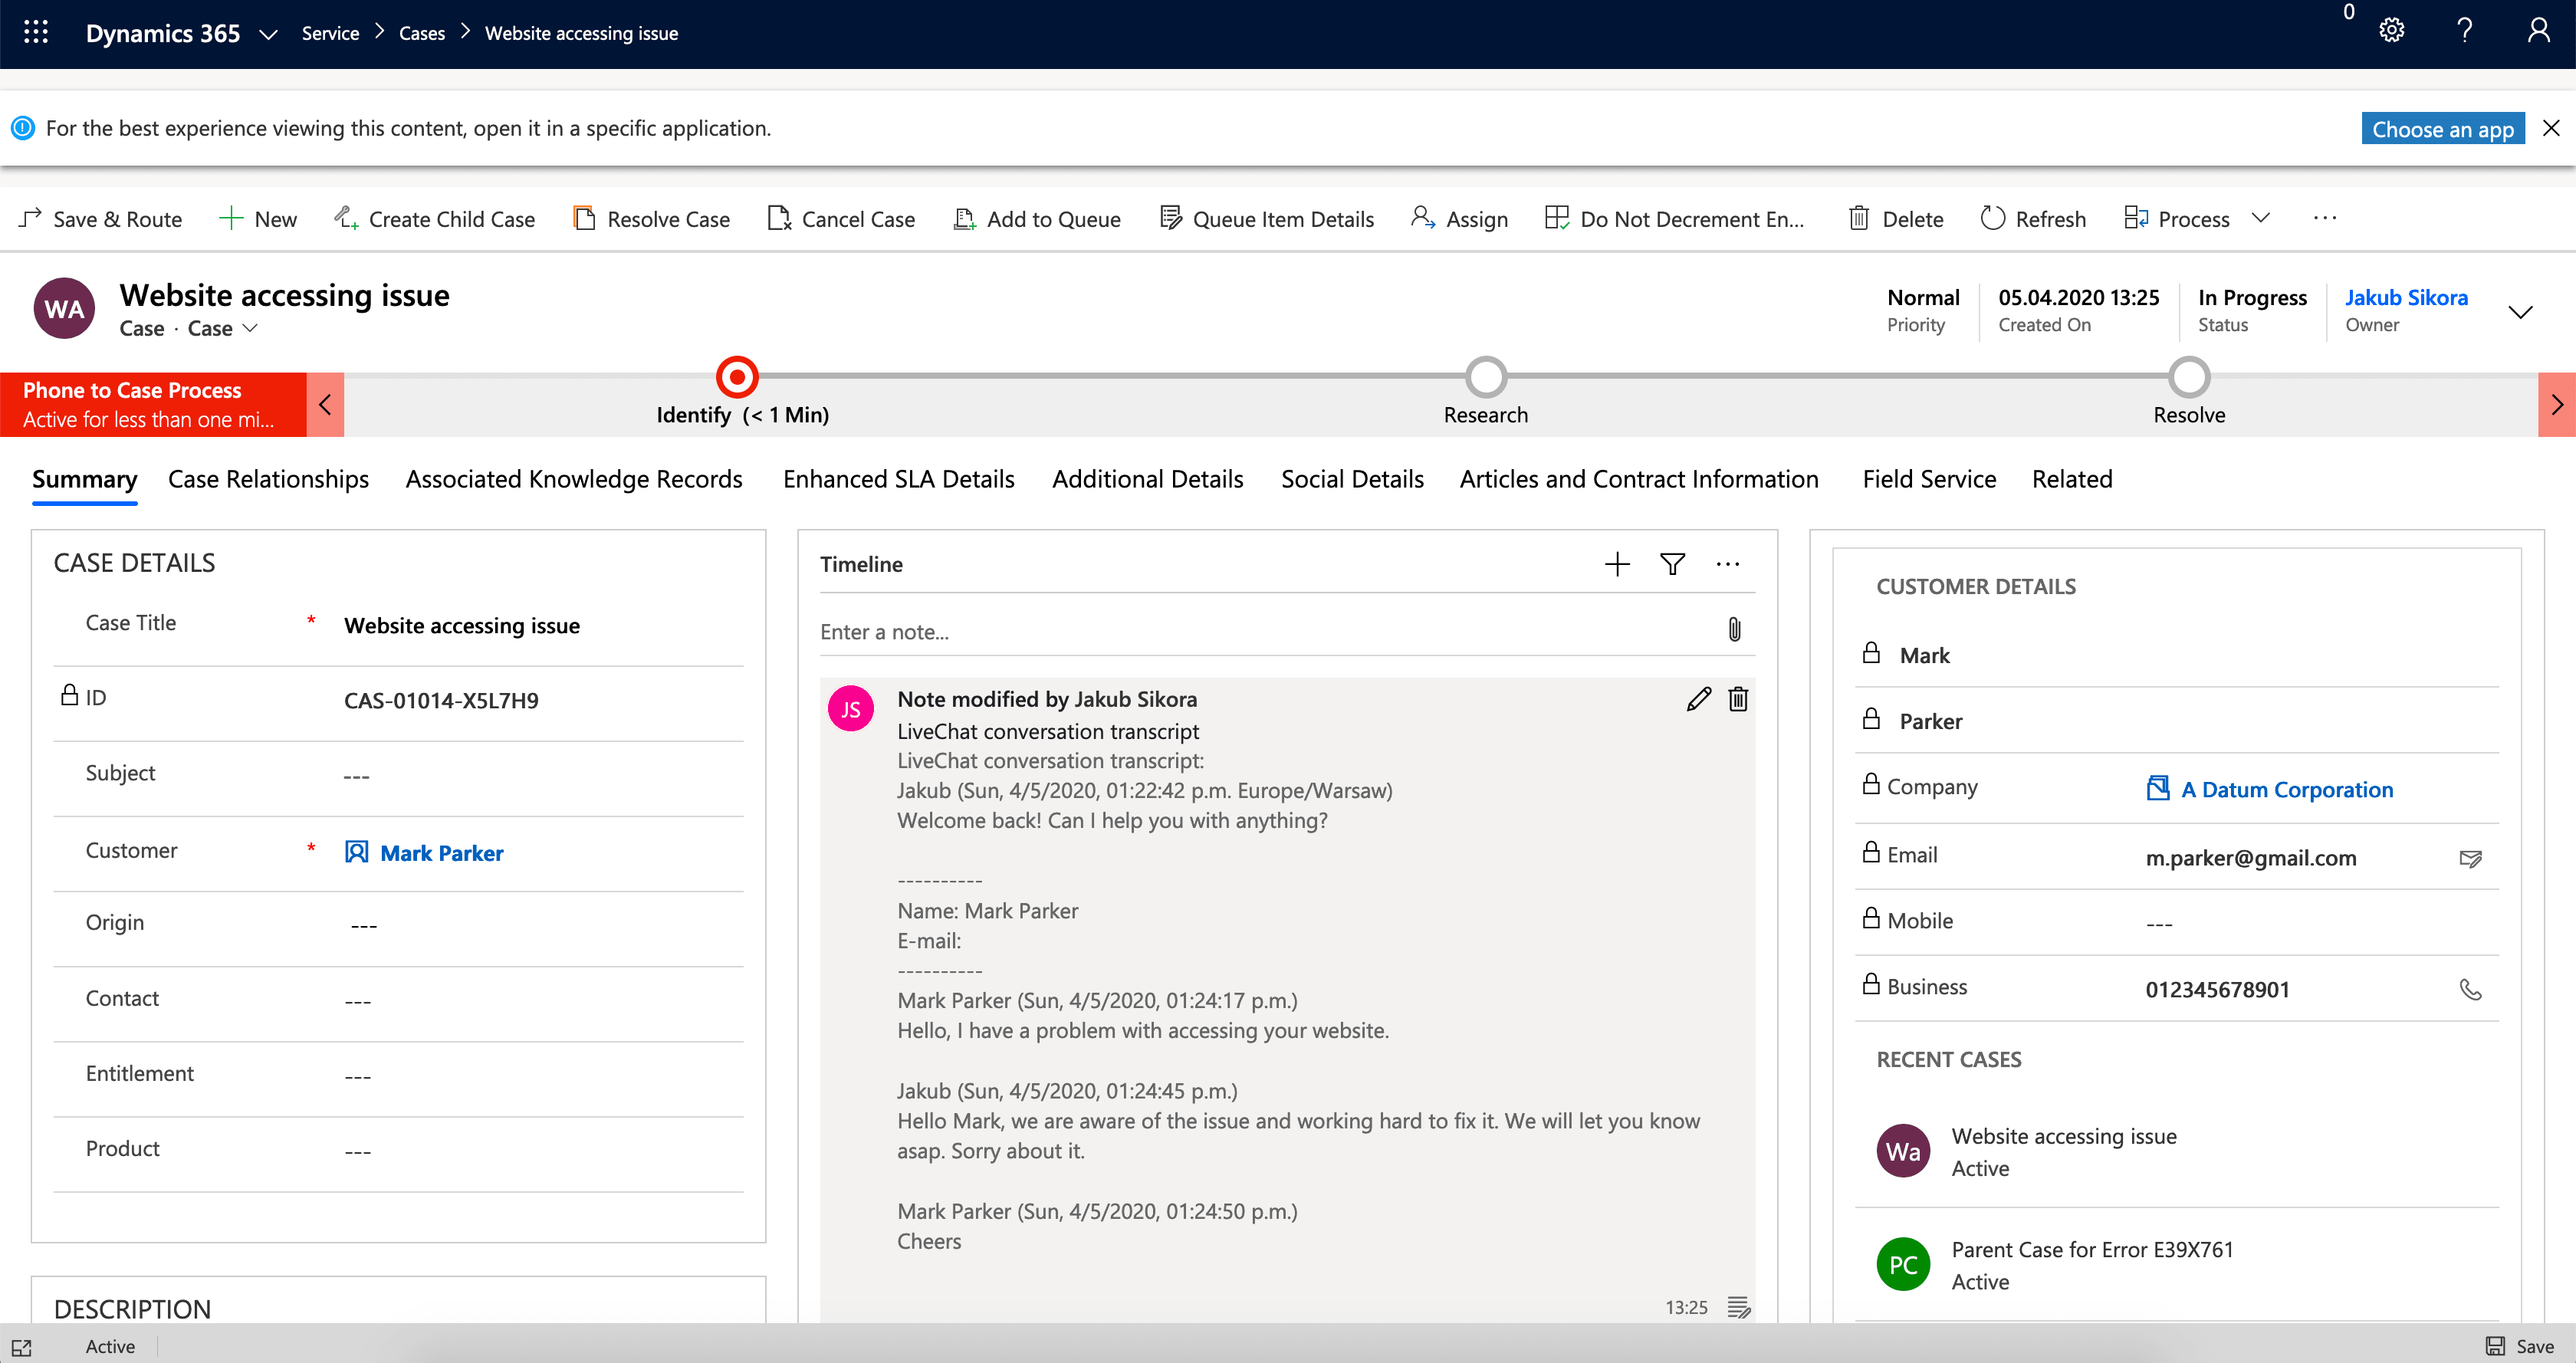
Adding chat transcripts
You can create a new Case based on the chat transcript. The newly created Case will appear first on the list of cases. You can also assign the transcript to an existing case.
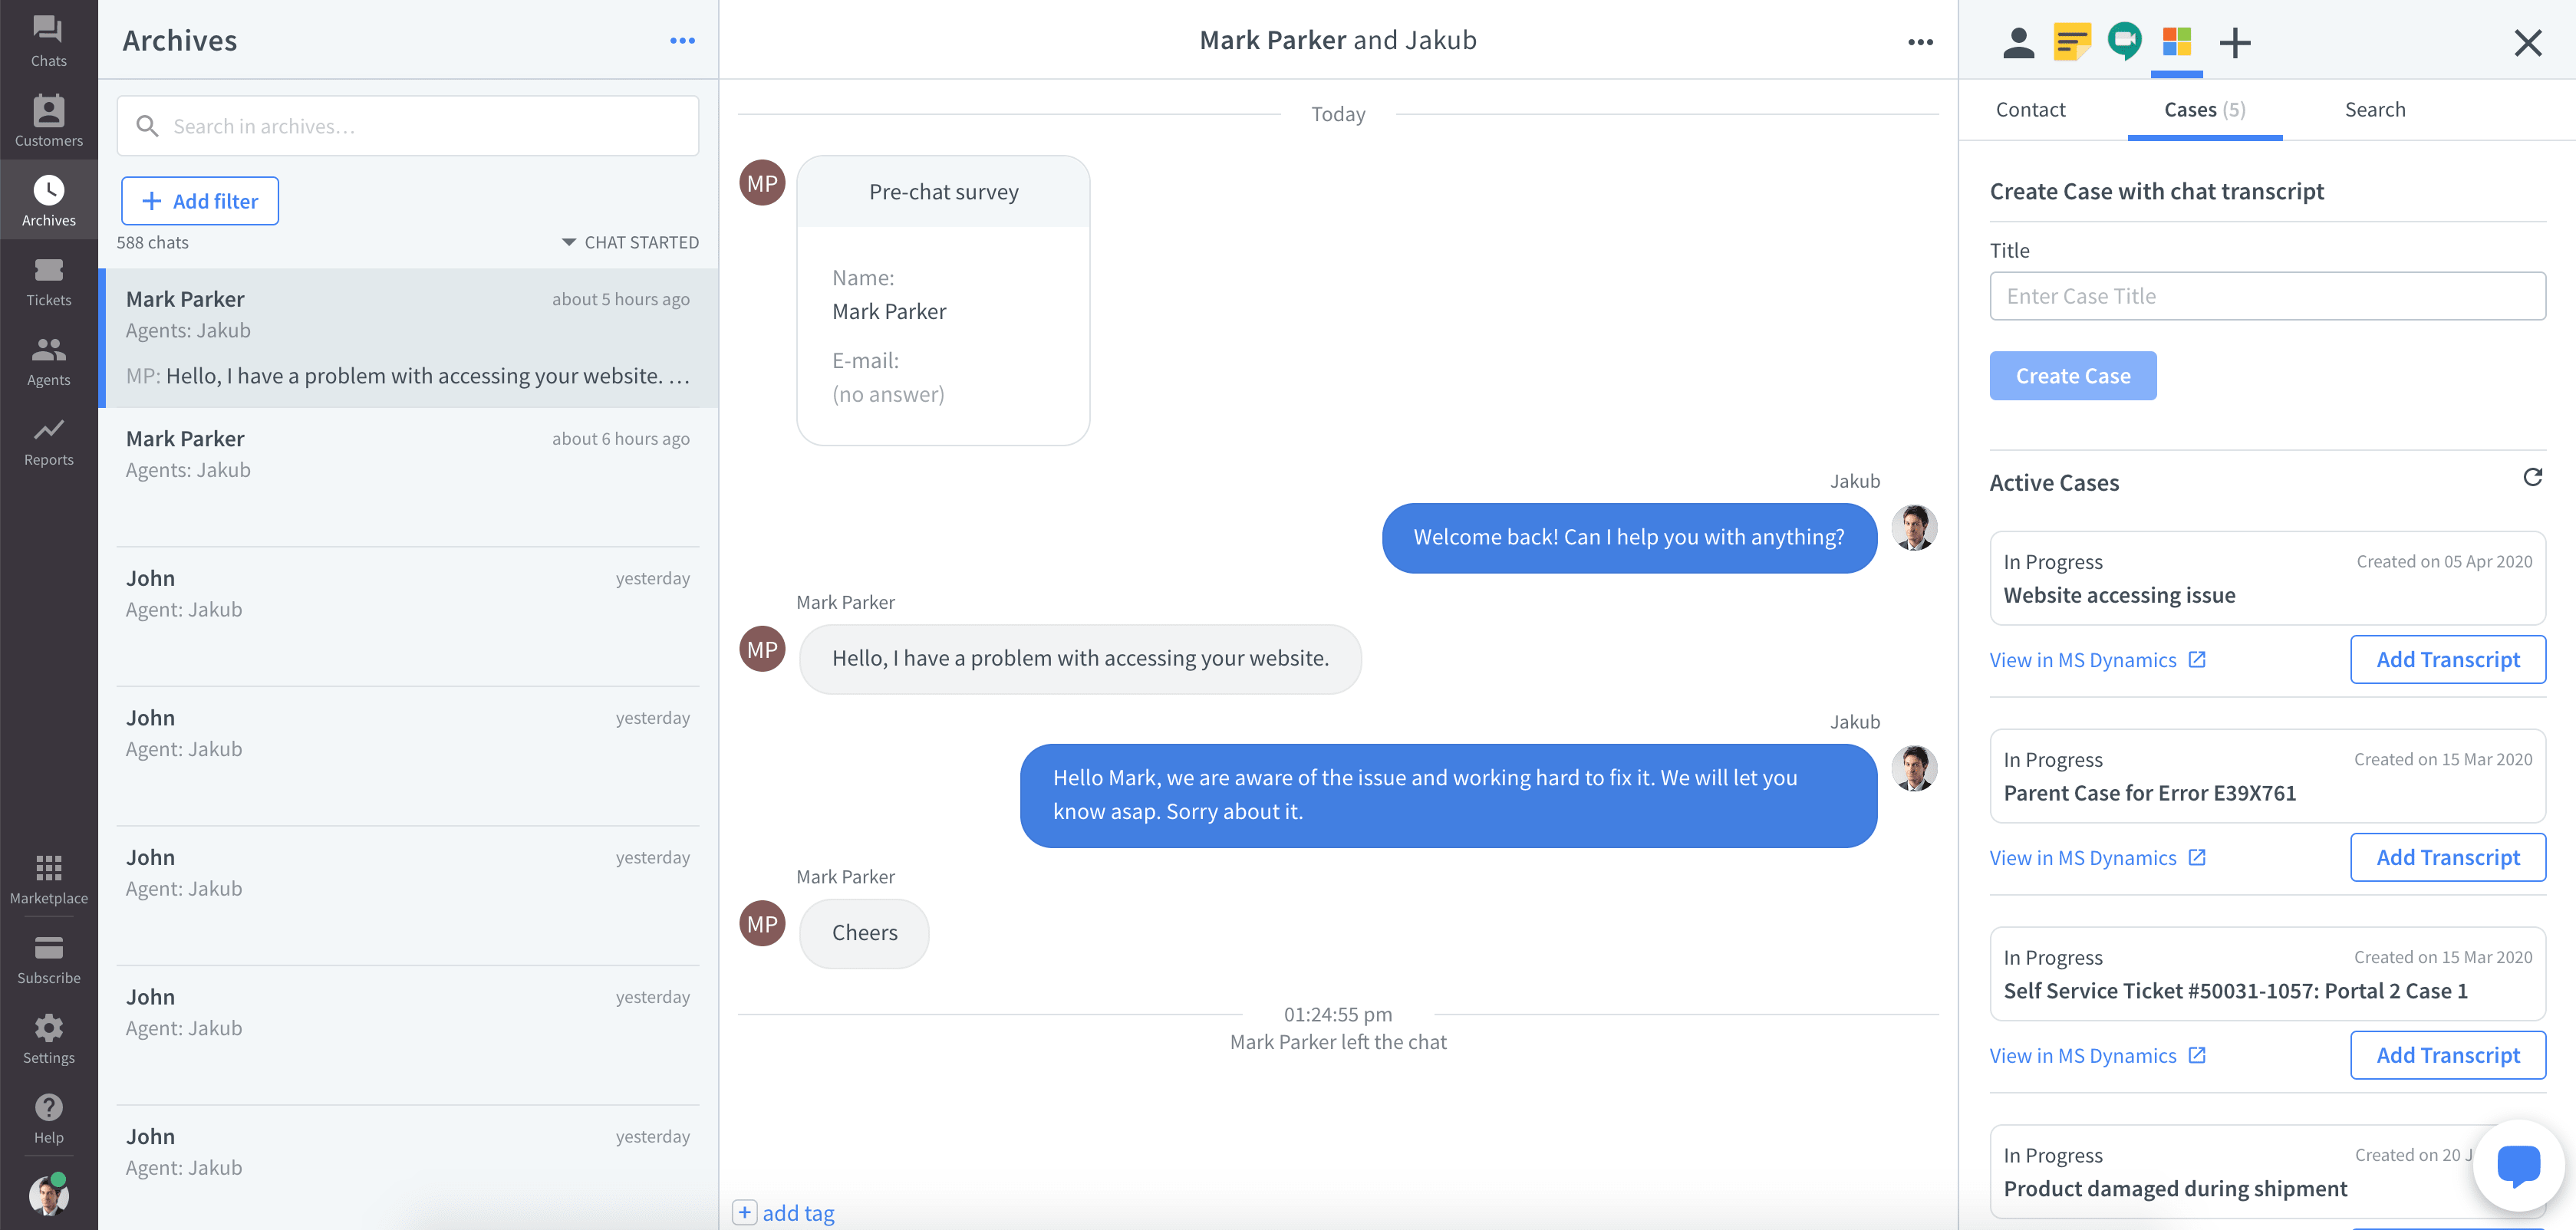
The chat transcript, which includes all information from the pre-chat survey will be added to the Case timeline.